Install and connect SaaS Agent
To collect from your SaaS accounts, install the OpenLM SaaS Agent on a Windows machine, connect it to OpenLM Platform with its authorization file, and add the platforms to monitor. The installer is OpenLM_SaaSAgent_<version>.msi.
Before you begin
Confirm that you have read Before you begin, which covers the host, the Windows account the service runs under, and the items to collect first. Choose the account before you start, because changing it later breaks the stored credentials.
Install the SaaS Agent
Install the SaaS Agent with the installer, signed in to Windows with the account the service will run under. To deploy it from a script, see Install silently.
To install the SaaS Agent with the installer:
-
Sign in to Windows on the host with the account the service will run under.
The account needs administrator rights. The installer gives this account access to the agent's Chrome profile and saves it for automatic updates.
-
Open the installer file,
OpenLM_SaaSAgent_<version>.msi. -
On the welcome page, select Next.
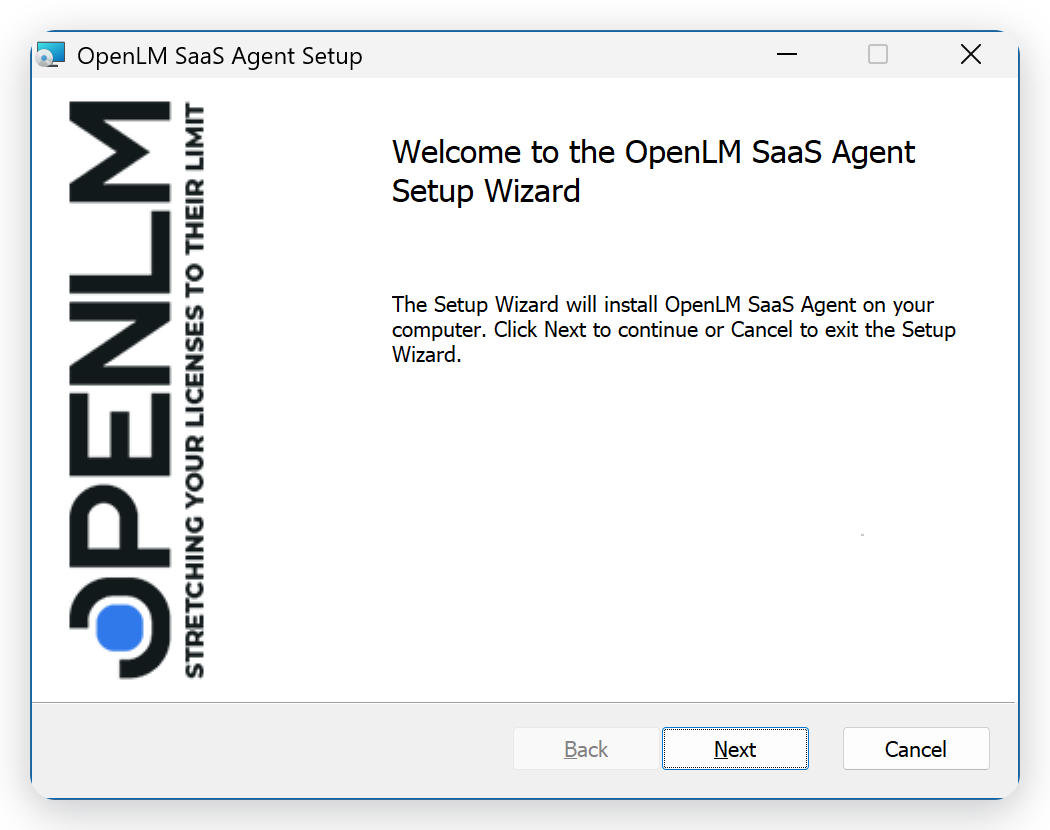 The first page of the installer
-
On the End-User License Agreement page, select I accept the terms in the License Agreement, and then select Next.
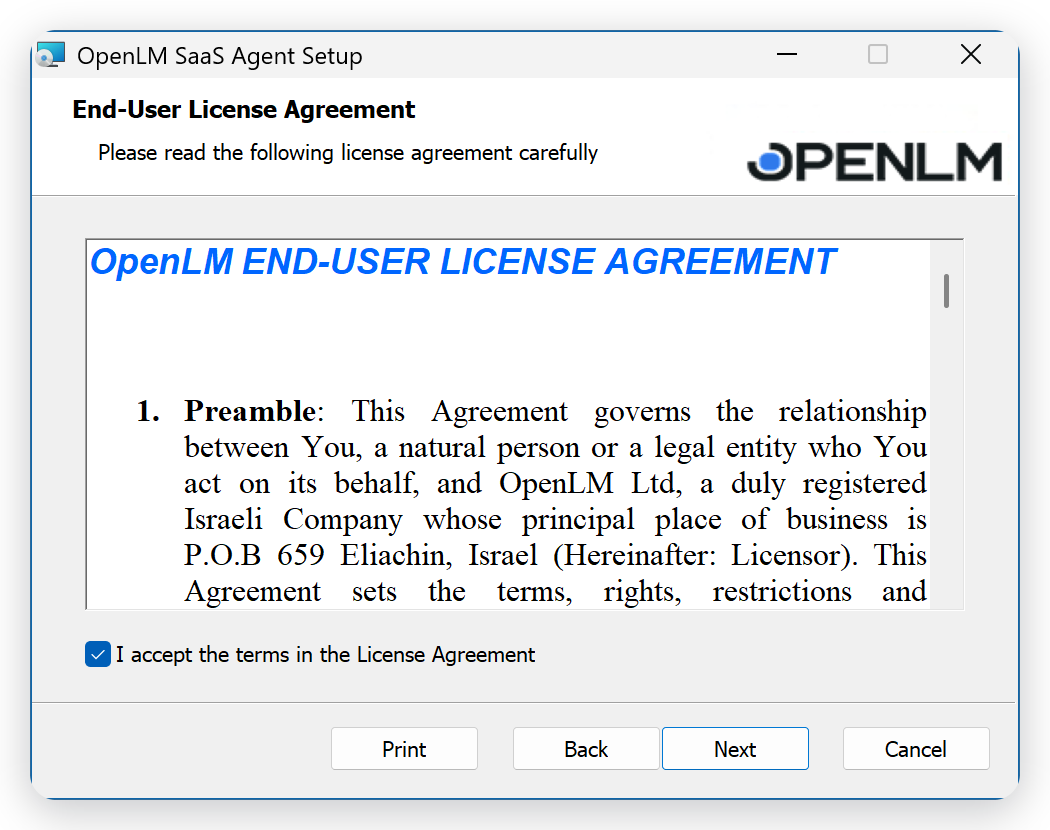 Accept the license terms
-
On the Destination Folder page, keep the default folder,
C:\Program Files\OpenLM\OpenLM SaaS Agent\, and then select Next.To install in another folder, select Change first. If an older OpenLM Cloud Broker Agent is installed, the installer finds it and upgrades it in place.
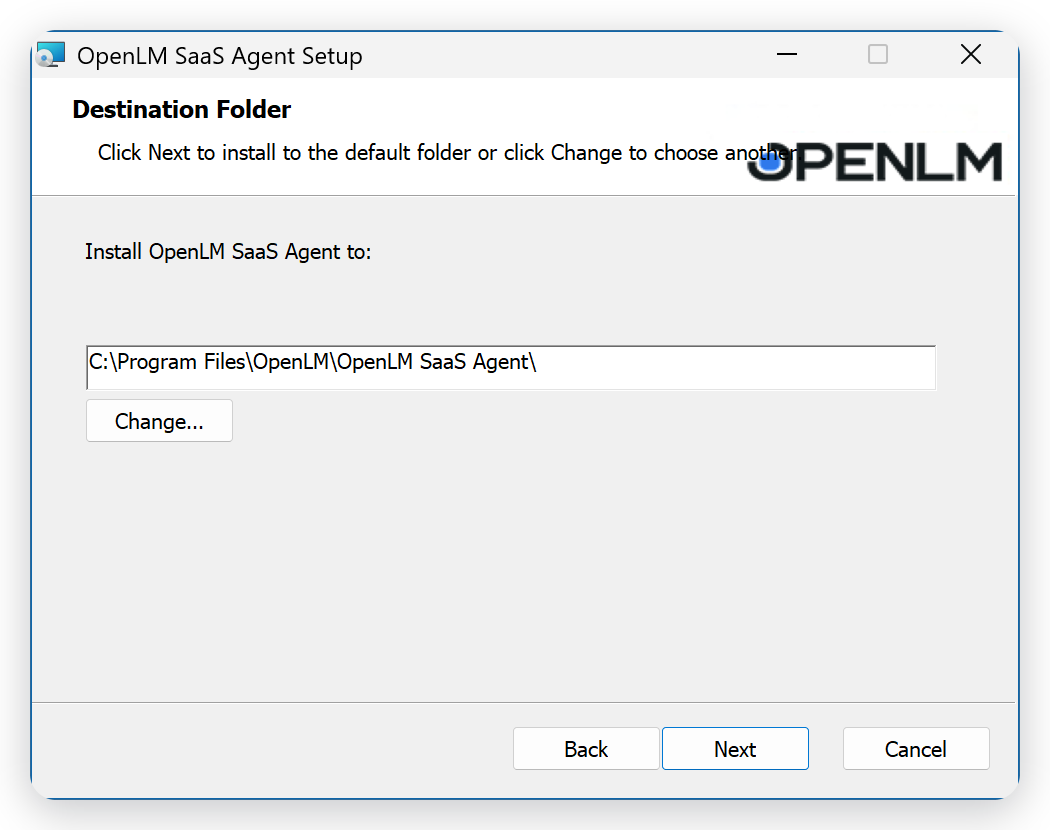 The default installation folder
-
On the Agent Service Logon Configuration page, enter the service account in Username.
Enter a local account as
.\<user>or<computer name>\<user>, and a domain account as<domain>\<user>or<user>@<domain>. The list offers the account you're signed in with and the other local accounts, and you can enter another account in it.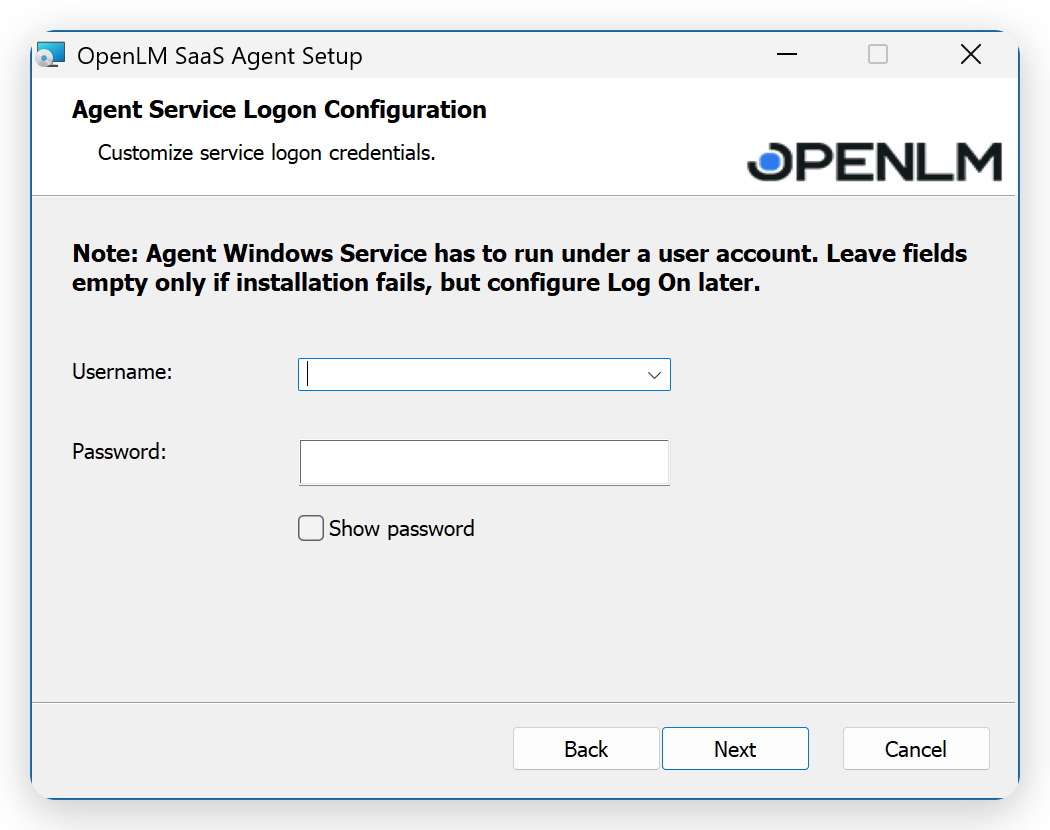 Enter the account the service runs under
-
Enter the account's Password, and then select Next.
The installer checks that the account exists, but not its password. It finds a wrong password only when it starts the service. If it reports a problem in a "Service configuration is not valid" message, see Why does the installer reject the service account?
The installer saves the account in Windows Credential Manager, under the target
OpenLM/SaaSAgent/ServiceAccount, so that an automatic update can reinstall the service under the same account. Leaving both boxes empty installs the service under LocalSystem, which the agent's app reports as a problem. Enter an account instead. -
On the Additional Permissions page, select the options for the installer to configure, and then select Next.
The first two options are selected by default. The following table lists the options:
Option Default What it changes Allow access to Chrome user data (for browser tracking) Selected Grants the account that runs the installer full control over the agent's shared Chrome profile folder, Shared User Data Directory, inside the installation folder.Allow registry changes to skip Chrome profile selection (may limit Chrome sign-in on this machine) Selected Writes a machine-wide Chrome policy that suppresses the profile picker and disables browser sign-in. This affects every Chrome user on the machine. Clear it on a shared workstation. Run Windows Terminal in administrator mode Cleared Marks Windows Terminal to always run elevated. 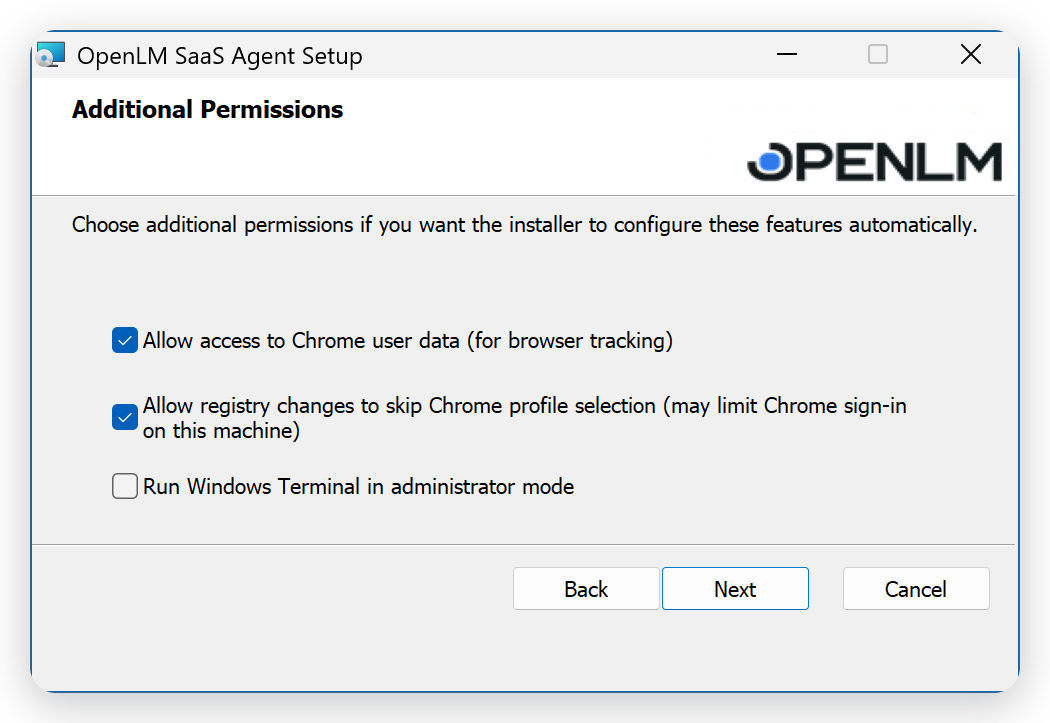 The default permissions
-
On the Ready to install OpenLM SaaS Agent page, select Install.
 Start the installation
-
Wait for the installation to finish.
At the end, the installer starts the agent's service. The installation completes even if the service doesn't start. To check it, see Why doesn't the service start after installation?
-
On the Completed the OpenLM SaaS Agent Setup Wizard page, keep Launch SaaS Agent UI selected, and then select Finish.
The agent's app opens. Connect the agent next, as described in Connect the agent to OpenLM.
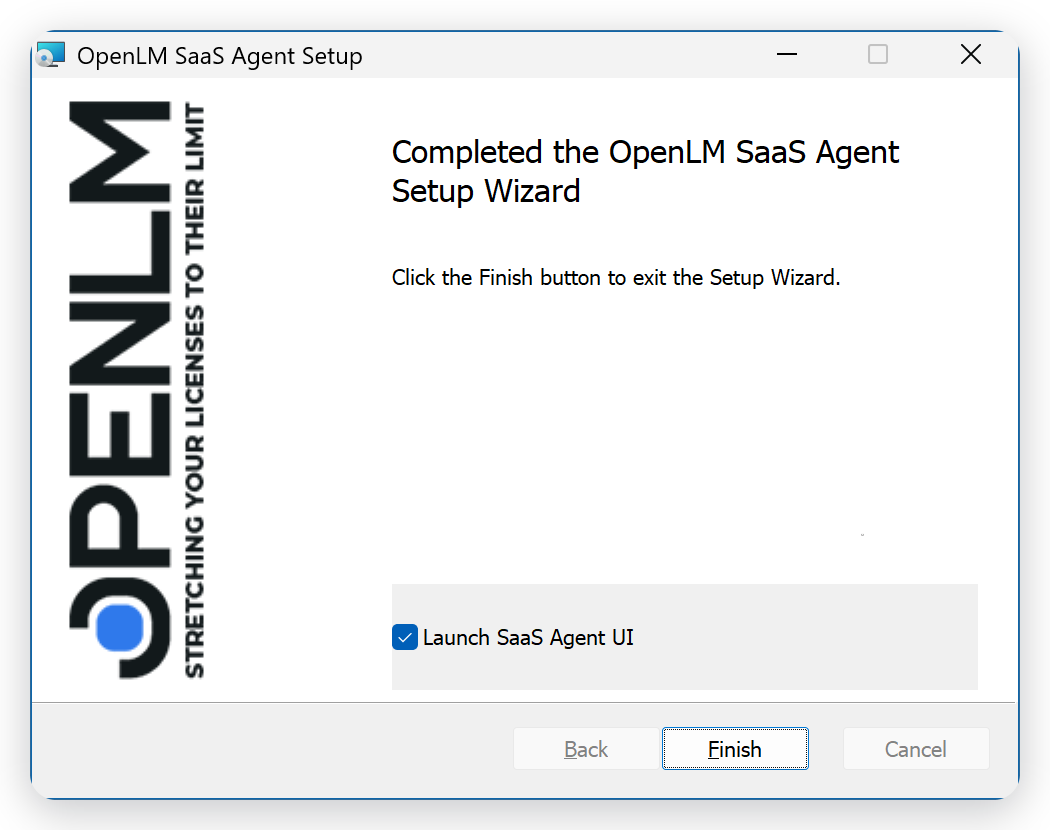 The last page of the installer
The installer creates the Windows service OpenLMSaaSAgentService, displayed in Services as OpenLM SaaS Agent Service and set to start automatically (delayed). To open the agent's app later, use the OpenLM SaaS Agent shortcut on the desktop or in the Start menu, under OpenLM.
Install silently
To deploy the SaaS Agent from a script, install it silently: msiexec installs the agent with the options you pass on the command line, without the installer pages. A silent installation doesn't check the account the way the installer pages do, so check the service afterwards.
To install the SaaS Agent silently:
-
Sign in to Windows with the account the service will run under, and open a command prompt as an administrator.
The installer gives the account that runs it access to the agent's Chrome profile, and saves it for automatic updates.
-
Run
msiexecwith the installation options, in this format:msiexec /i "<full path>\OpenLM_SaaSAgent_<version>.msi" /qn SERVICE_USER="<domain>\<user>" SERVICE_PASSWORD="<password>"Use these parameters:
SERVICE_USER: the service account, in the formats the installer pages accept. Without it, the service runs under LocalSystem, and the agent's app reports it.SERVICE_PASSWORD: the account's password. The installer log hides it.INSTALLFOLDER: the installation folder. The default isC:\Program Files\OpenLM\OpenLM SaaS Agent\.DO_SET_CHROME_PERMS,DO_DISABLE_CHROME_PROFILE_PICKER, andDO_SET_TERMINAL_ADMIN: the three Additional Permissions options. Use1to select an option and0to clear it. The first two default to1, the third to0.
Windows Installer writes a log of each installation to the TEMP folder of the account that runs it, as
MSI<random>.LOG. To choose the log file, add/l*v "<log file path>". -
When the installation finishes, check that OpenLM SaaS Agent Service runs in Windows Services.
msiexecreports success even when the service doesn't start. -
Open the agent's app, and connect the agent, as described in Connect the agent to OpenLM.
A silent installation doesn't open the app.
Connect the agent to OpenLM
To send data to Broker Hub, add a receiver, the agent's connection to Broker Hub. Until one exists, the agent has nowhere to send data, and the Add Service dialog offers only the platforms that can write to a local file instead.
To connect the agent to OpenLM Platform:
-
In Identity, select Add Client.
-
Select the client type SaaSAgent.
-
Enter a Description, and then select Save.
-
In the Secret Key dialog, select Download.
The file is
saasagent-authorization.json. The agent reads it whether you selected Encrypted authorization client or not. -
In the SaaS Agent, select OpenLM Platform, and then select Add Receiver.
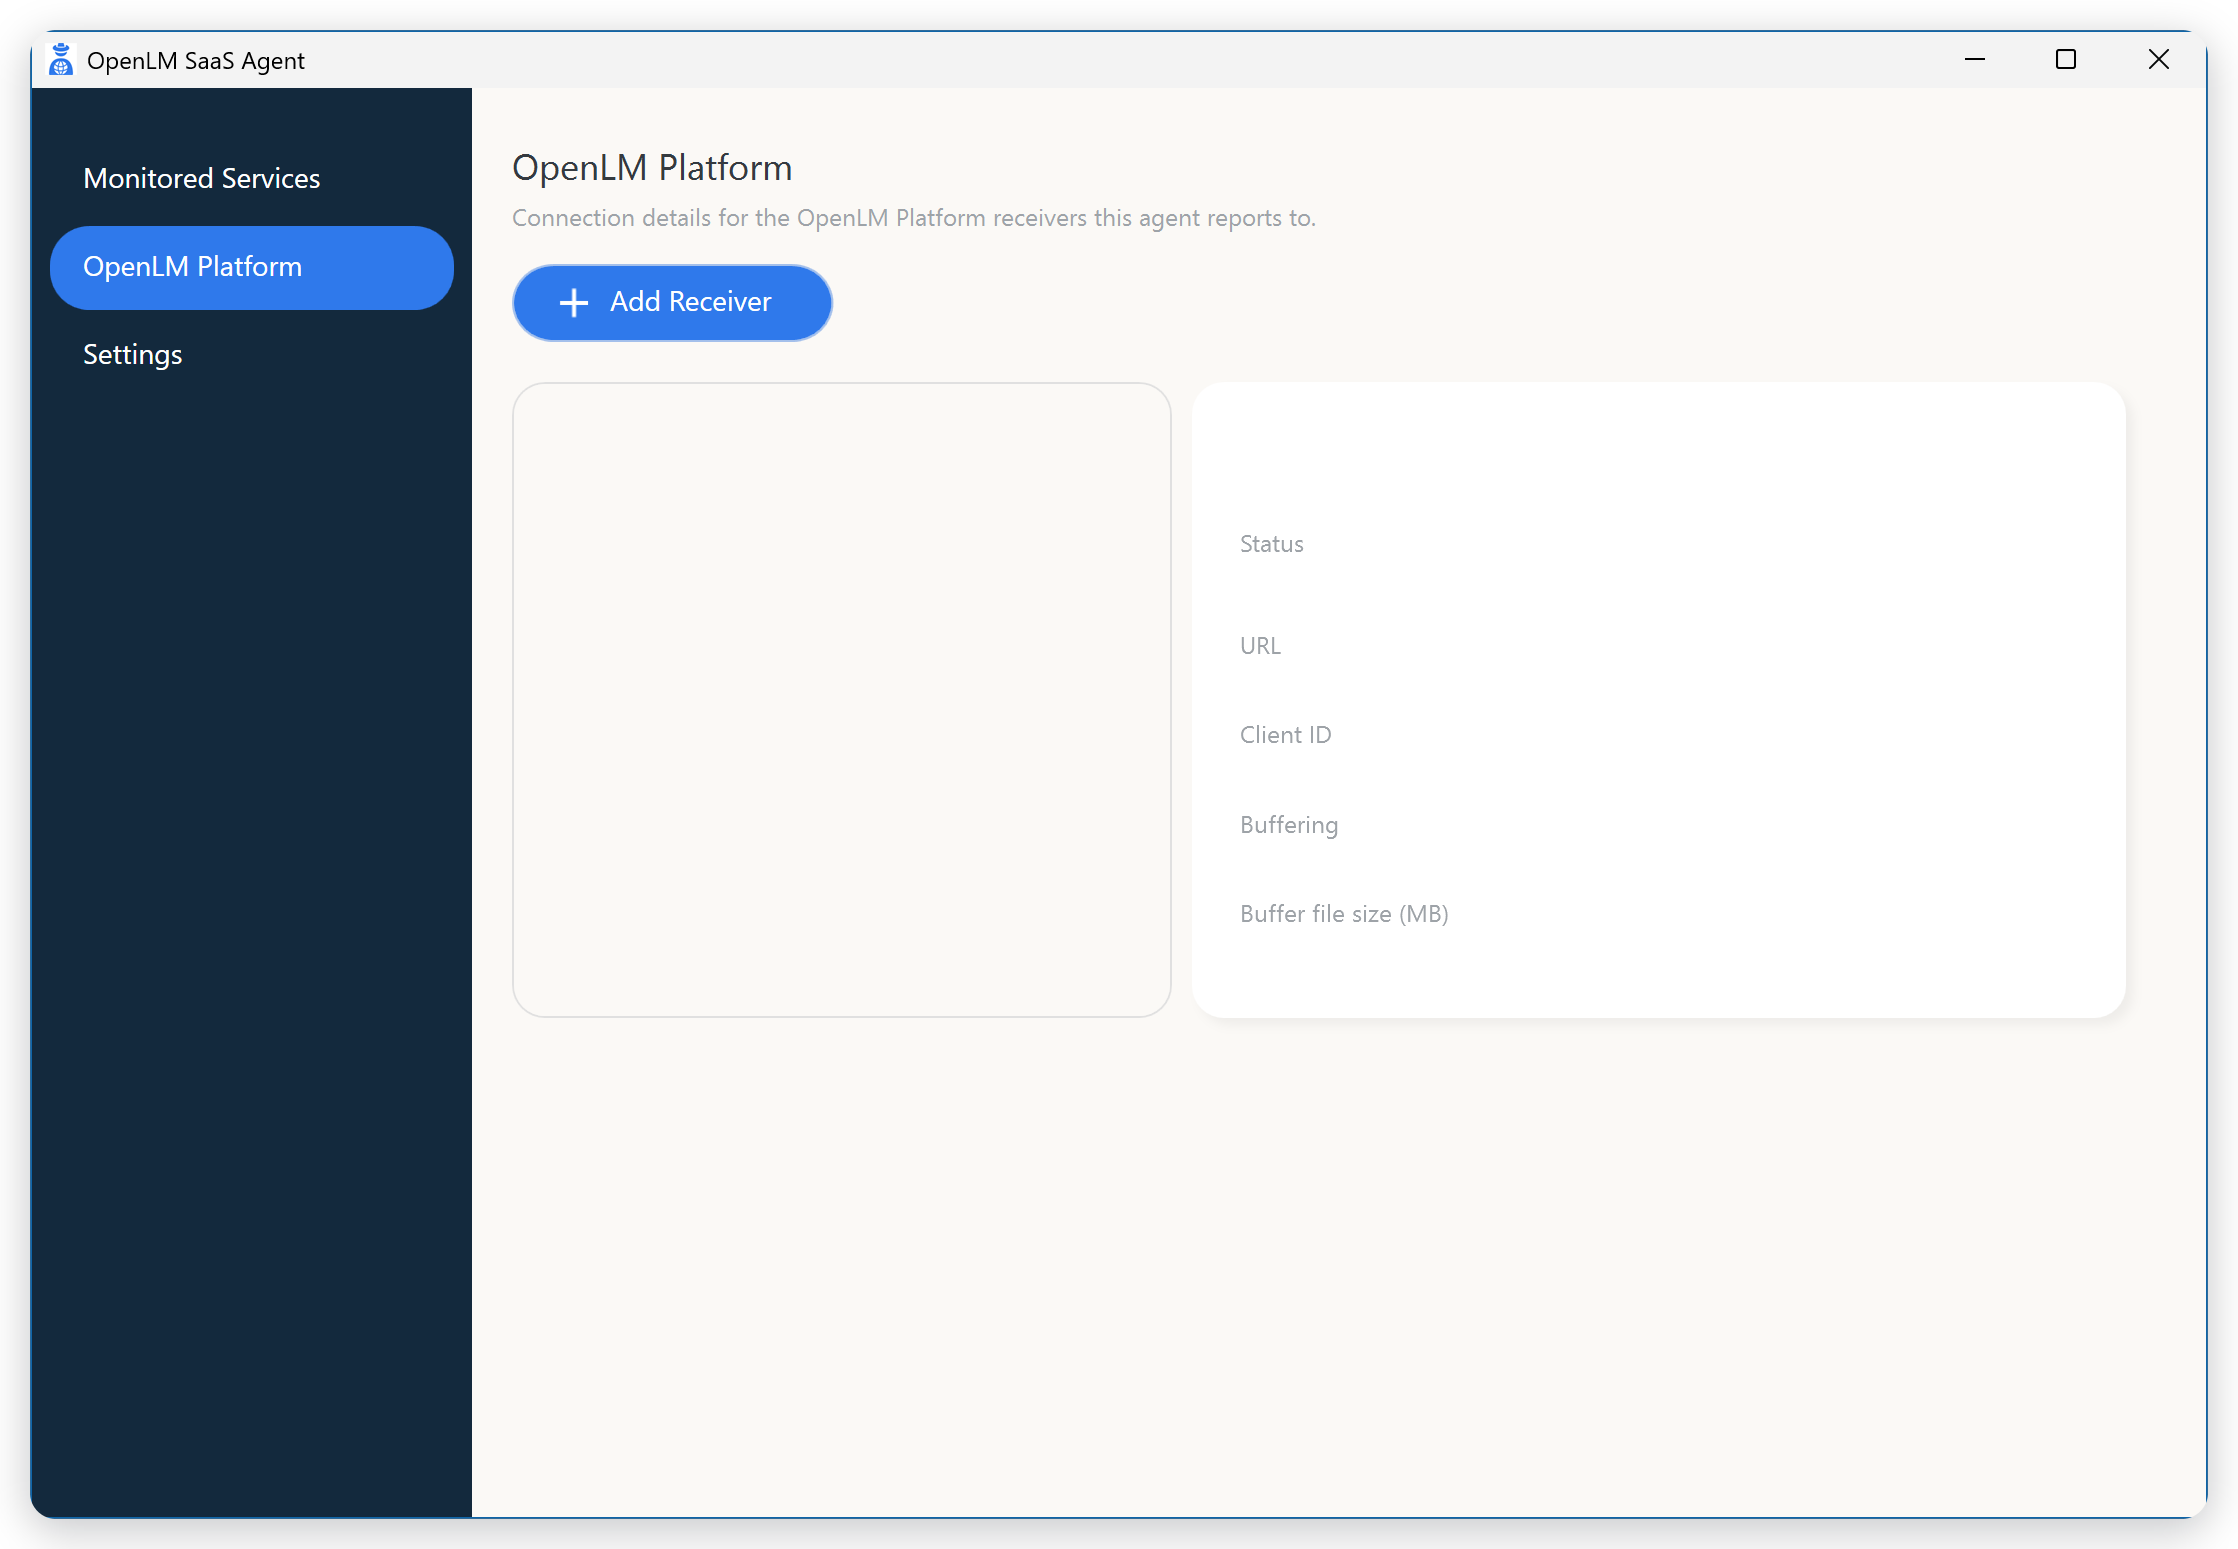 Add the first receiver
-
Select Import Authorization file, and then select the downloaded file.
The URL, Client ID, and Client Secret boxes fill in from the file. The URL is your OpenLM Platform address followed by
/api/broker-hub. You can also enter the three values by hand.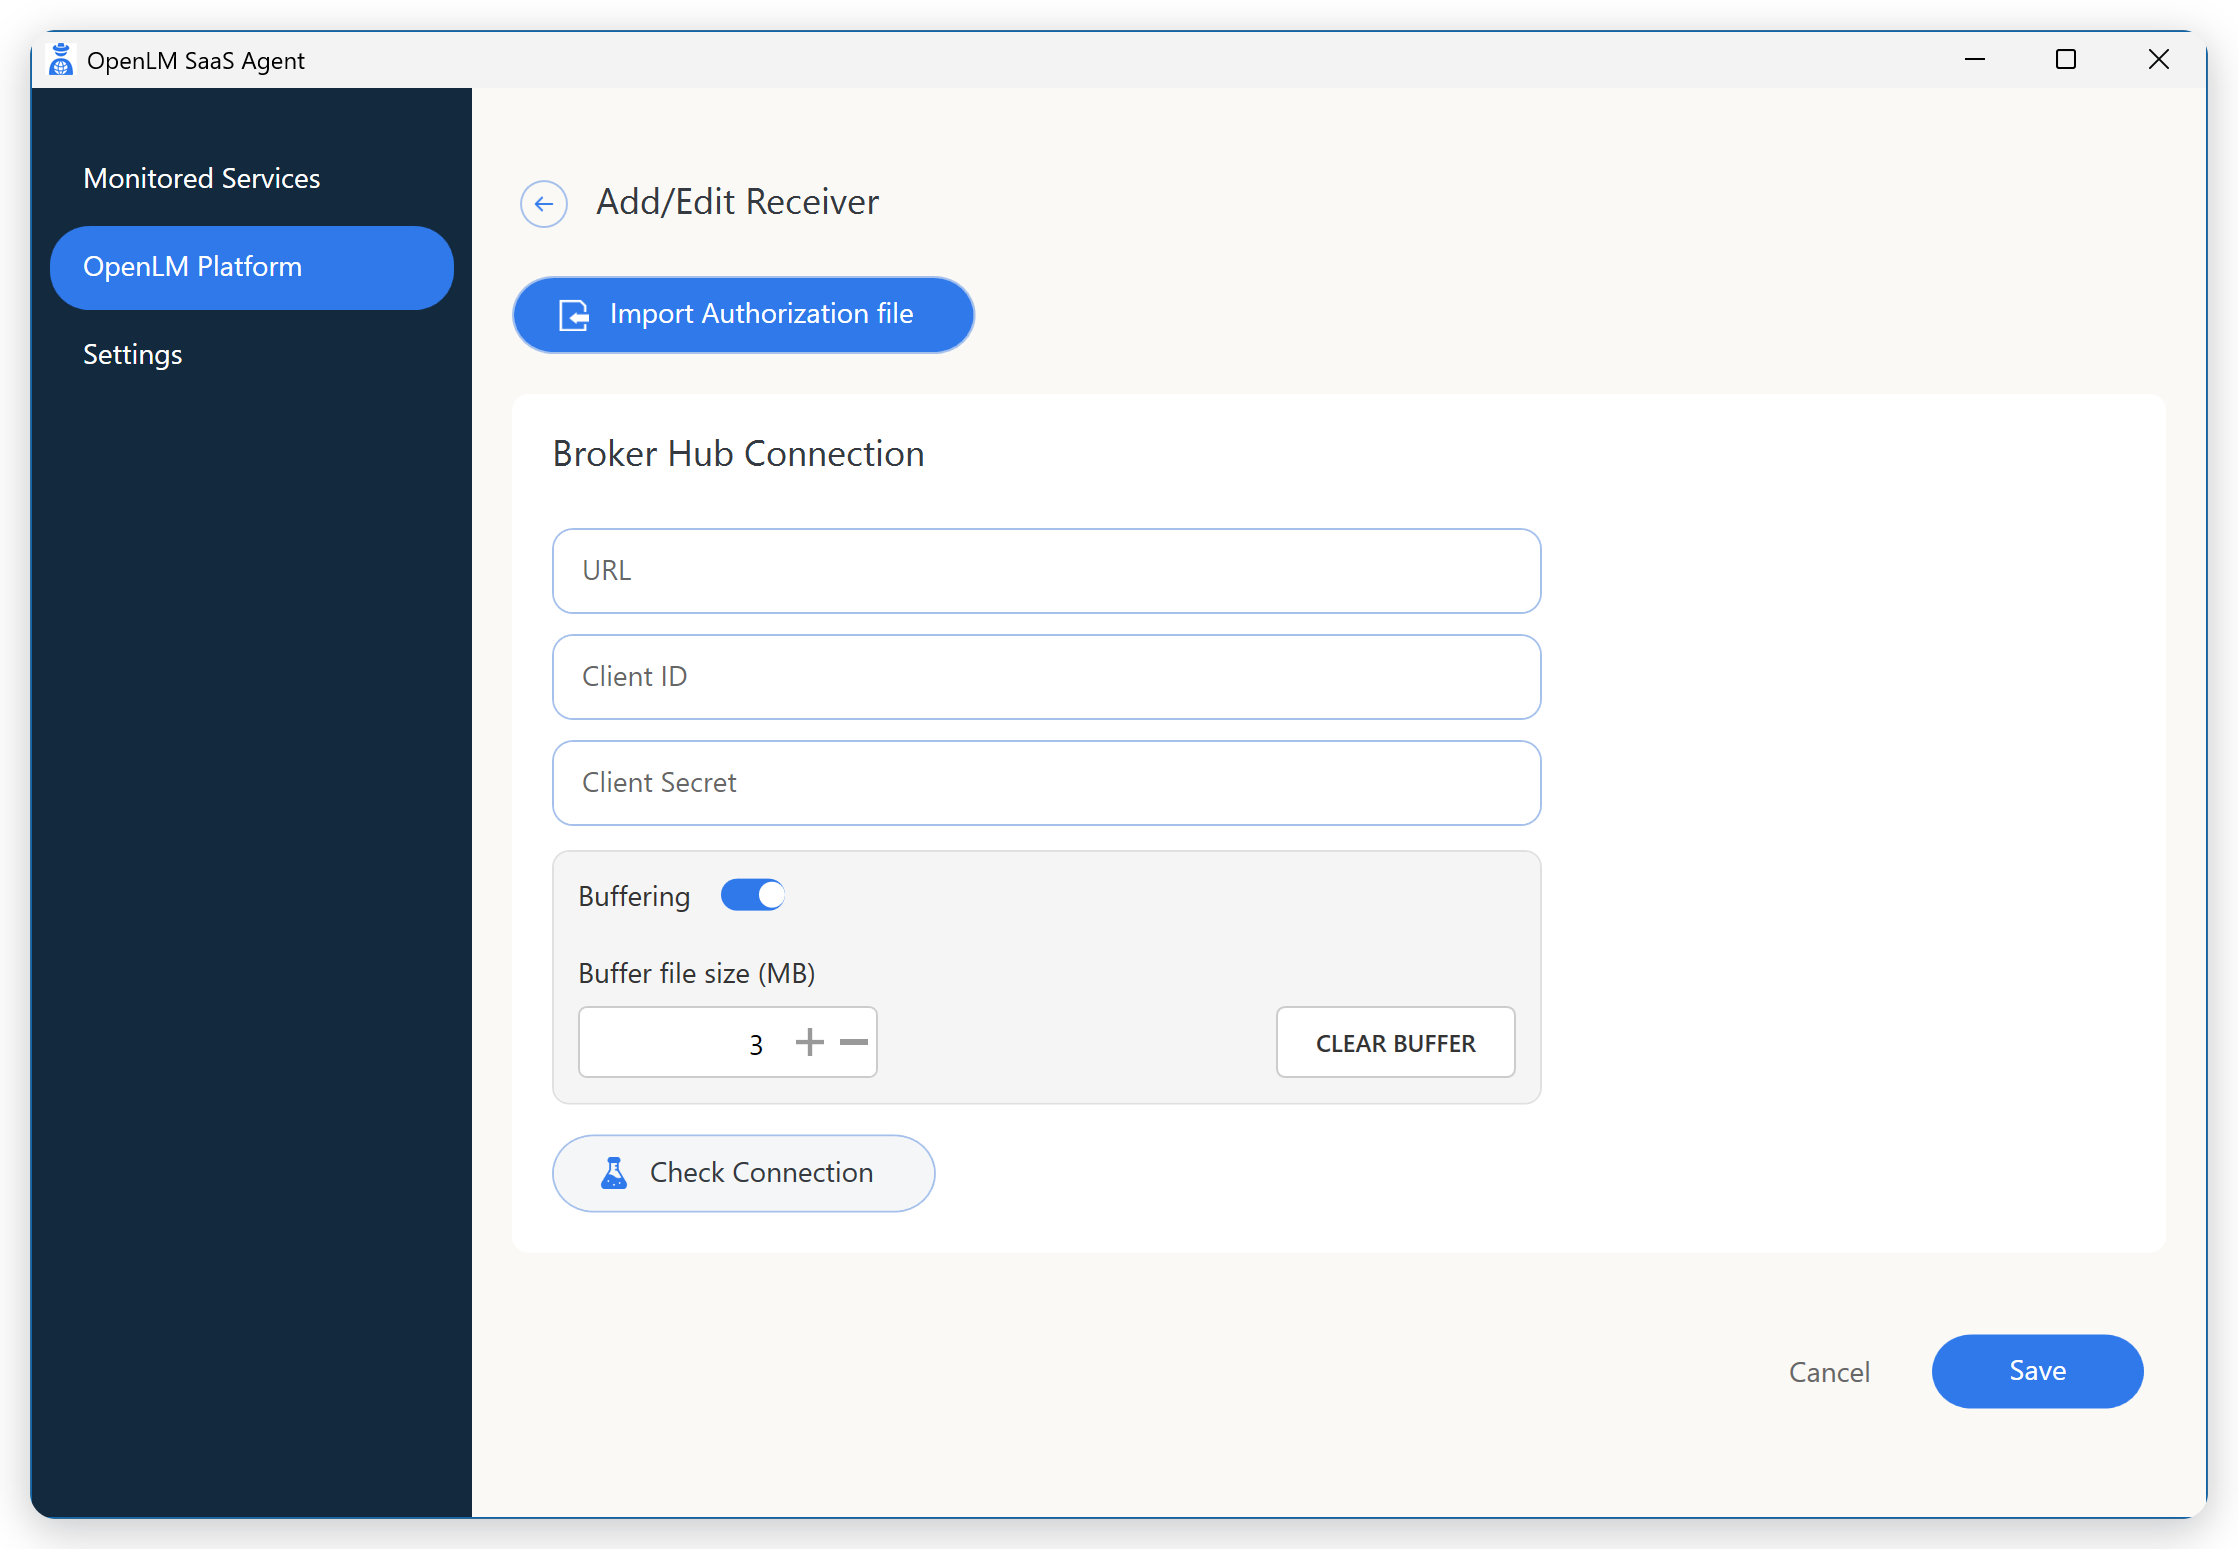 The receiver form, before you import the file
-
Leave Buffering on unless you have a reason not to.
-
If the default, 3 MB, is too small for your outage window, raise Buffer file size (MB).
-
Select Check Connection, and then select OK.
A working connection reports
Broker Hub connection checked successfully. If the check fails, see Why does Check Connection fail? -
Select Save, and then select OK.
The receiver appears in the OpenLM Platform list with the status Ok. When you save the receiver, the agent reports to Broker Hub.
Check the agent in Broker Hub
A SaaS Agent needs no approval: Broker Hub lists it, ready to use, when the agent first reports in. To check that OpenLM Platform receives the agent:
-
In OpenLM Platform, open Navigation (the grid icon in the header), select Brokers, and then select Broker Hub.
-
Select SaaS Agents.
-
Find the agent by the host name of its machine, with the status Up.
The list doesn't refresh by itself. If the agent isn't listed, reload the page.
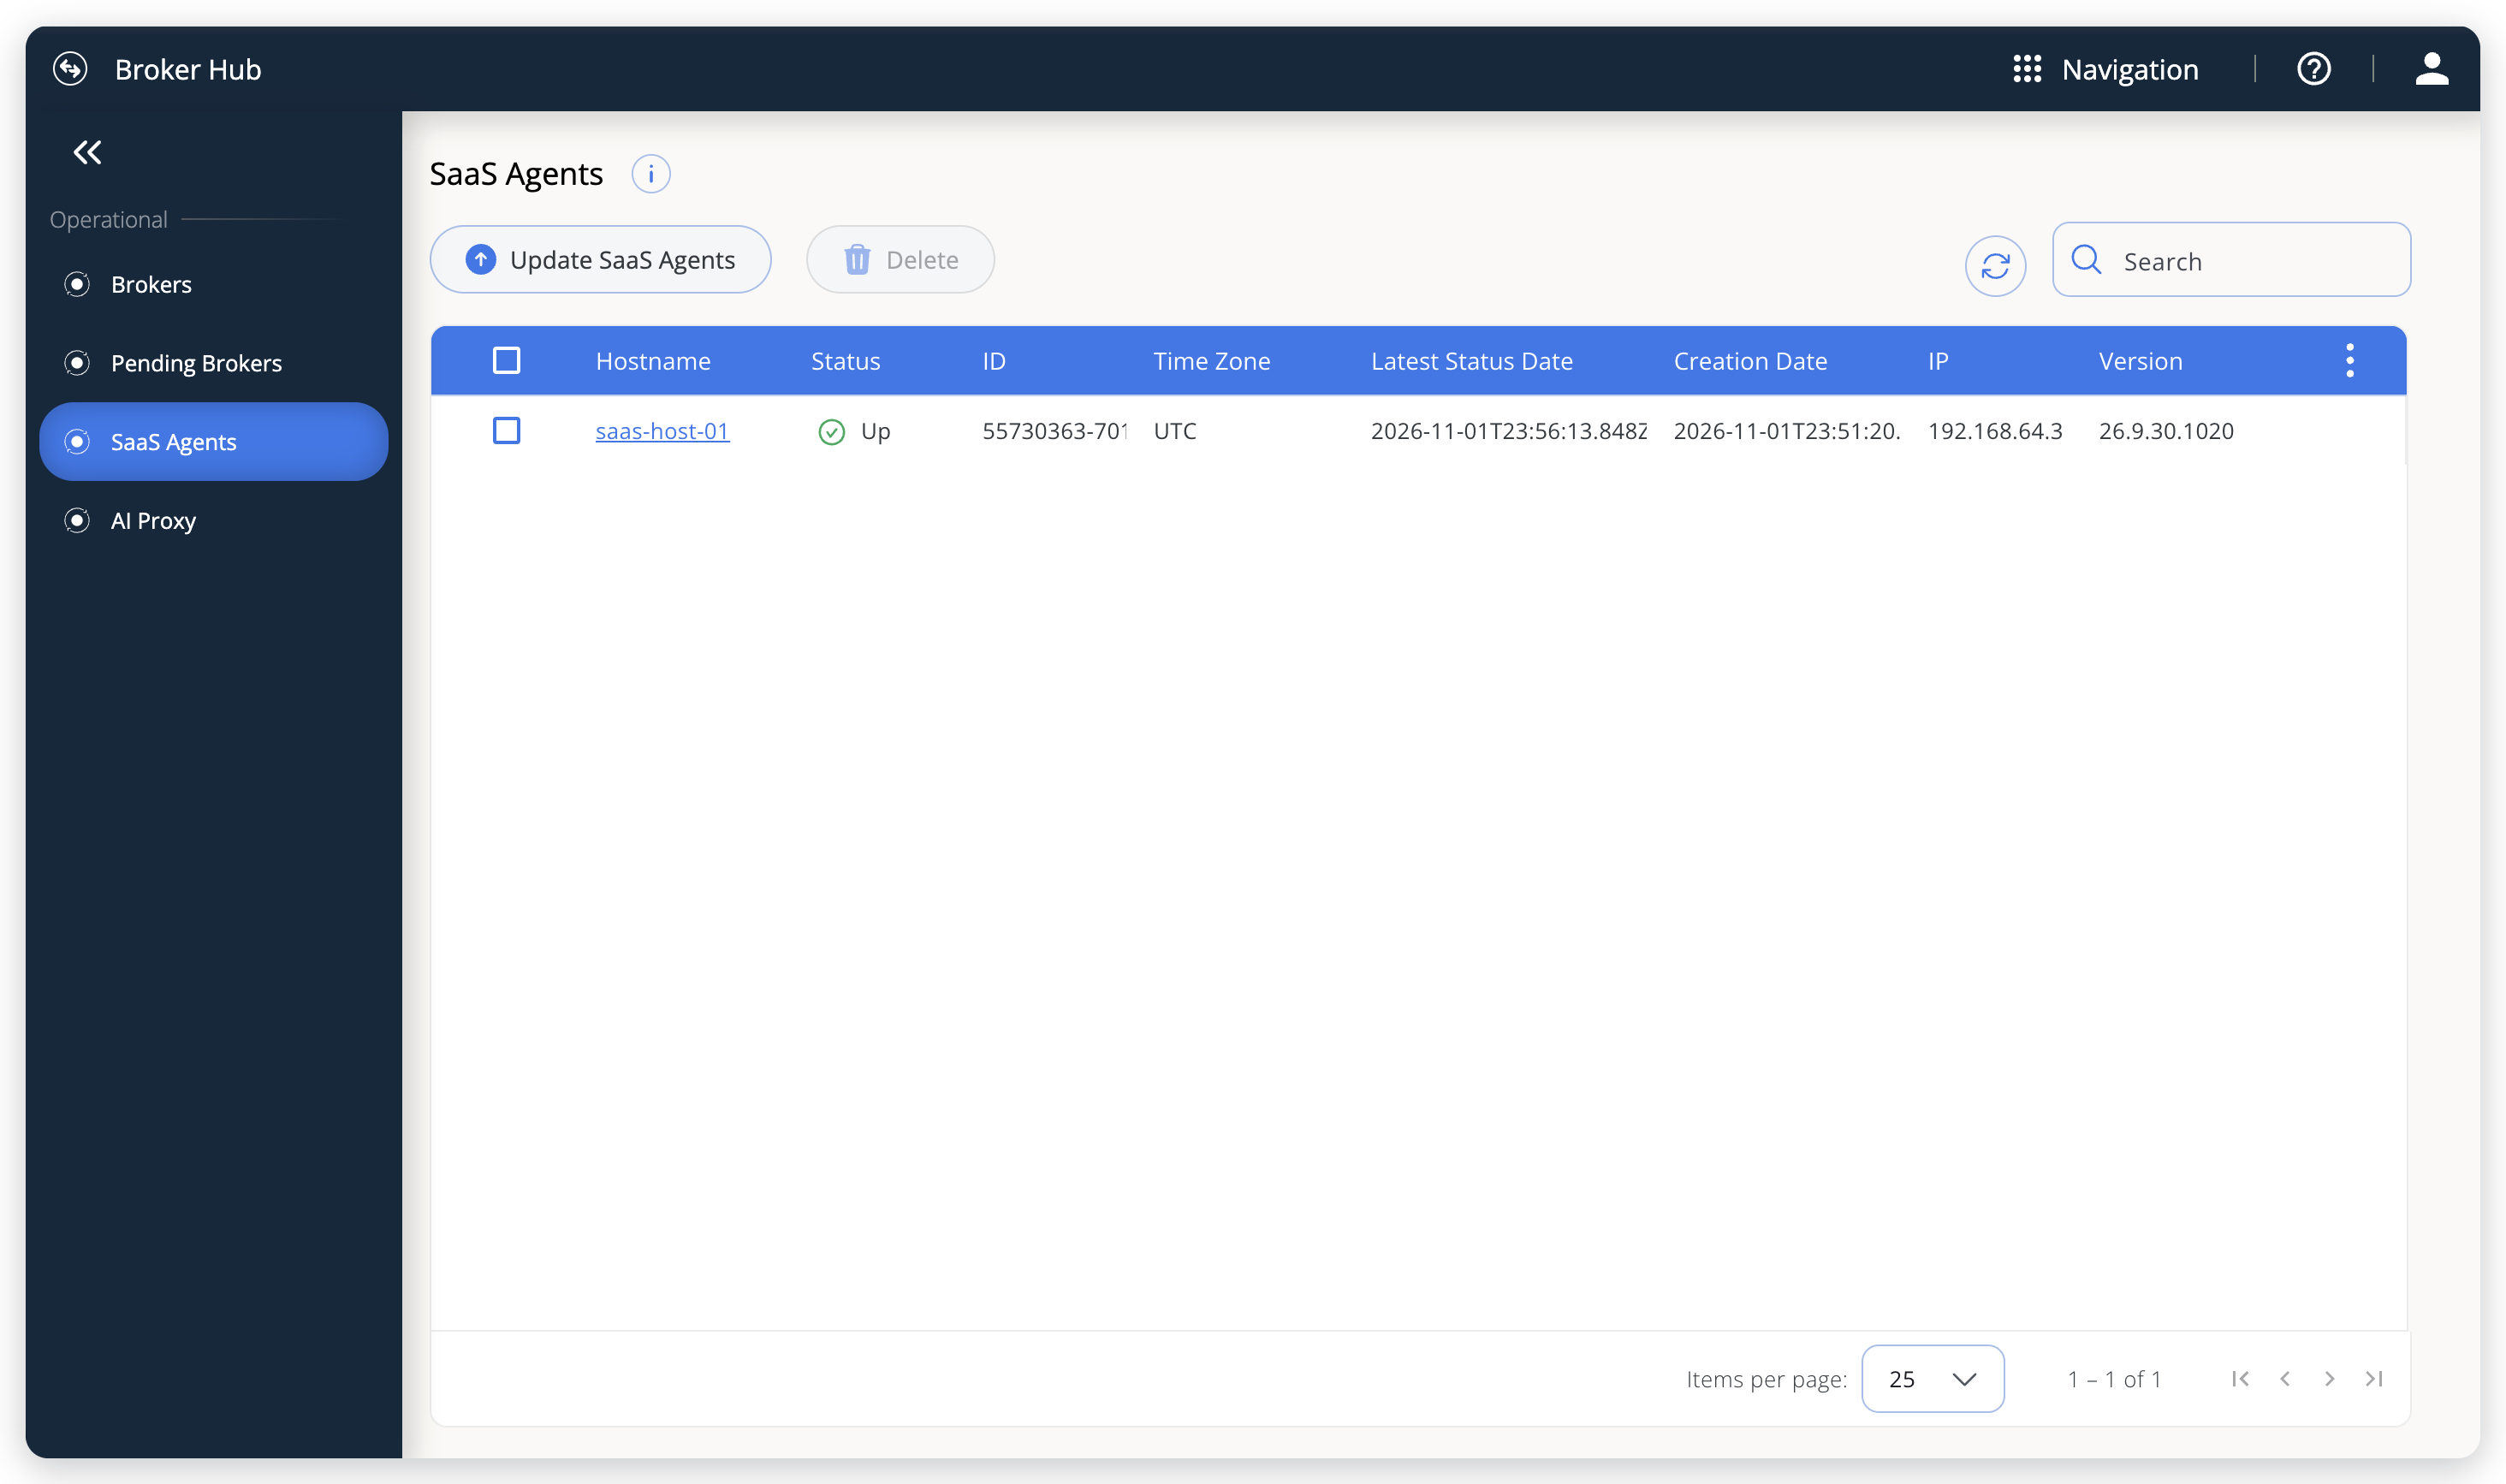 A new agent is listed with the status Up
When Broker Hub is unreachable
With buffering on, the agent writes data that it can't deliver to disk and re-sends it automatically, on the hour, once the connection returns. When the buffer reaches its size limit, the agent drops the oldest messages to make room. Size the buffer for the longest outage you want to survive without gaps. CLEAR BUFFER on the receiver discards everything queued for it.
Failure alerts are not buffered. An alert raised while Broker Hub is unreachable is lost.
You can configure more than one receiver. Every message is sent to all of them.
Add a monitored service
To add a platform for the agent to monitor:
-
Select Monitored Services, and then select Add Service.
-
Select the SaaS platform, and then select Confirm.
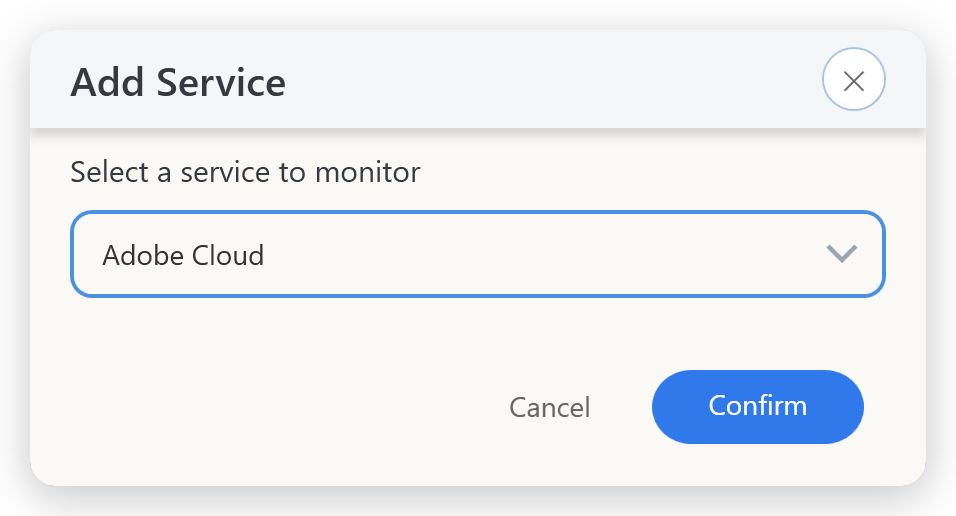 Select the SaaS platform to monitor
-
If the SaaS platform needs credentials of its own, enter them when prompted.
For Autodesk Cloud, use an account with administrator or secondary-administrator rights in the Autodesk portal; for Monday, LinkedIn Company Page, and ArcGIS Enterprise, supply your tenant's account URL as well.
-
In Chrome, which the agent opens on the vendor's sign-in page, sign in as you normally would.
-
When Chrome offers to save the password, accept.
The agent reuses that saved sign-in on later scans.
-
Close Chrome, and then answer the agent's prompt to confirm that you finished signing in.
The service appears in the list and its first scan starts immediately. When the scan succeeds, the status becomes Ok.
Sign in with the Chrome profile that belongs to the account you are monitoring. The agent uses one shared Chrome profile, so a sign-in left behind by a different account is the most common cause of a scan that authenticates as the wrong user.
Use with OpenLM Version 26
To send SaaS data to an on-premises OpenLM Version 26 deployment instead of OpenLM Platform, have the SaaS Agent write a local file. In that arrangement, the agent writes scan output to a local file that an OpenLM Broker from Version 26 picks up, and no Broker Hub receiver is involved.
Two things follow from that:
- With no receiver configured, Add Service offers only the platforms that support file export, and Autodesk Cloud is the only one. The dialog asks you to configure a receiver in Settings to monitor other services. You add receivers on the OpenLM Platform page.
- File export is a per-service switch, Export data into a file for OpenLM Broker, that you have to turn on. Skipping the receiver does not switch it on for you.
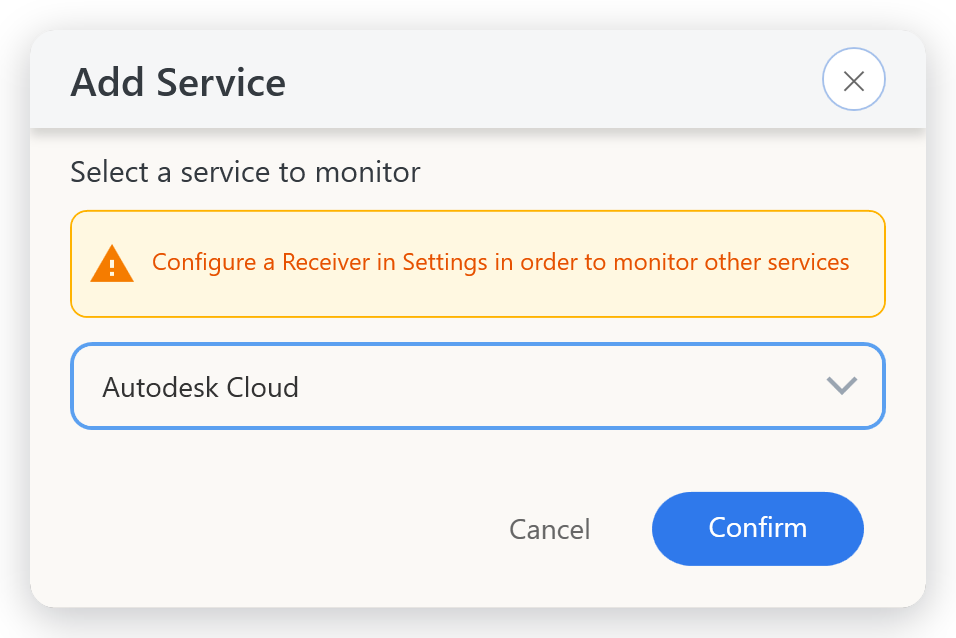 Without a receiver, Add Service offers Autodesk Cloud only
If you use OpenLM Platform, ignore this section and configure a receiver, as described in Connect the agent to OpenLM.
Check the data in OpenLM Platform
After the first scan succeeds and the service shows Ok, check that the data reaches OpenLM Platform.
-
Approve the data source where the platform's guide asks for it.
For Bentley, open License Servers in OpenLM Platform, select Pending Servers, and approve
connect-entitlementmanagement.bentley.com, as described in Approve Bentley in OpenLM Platform. Other platforms list their approval step in their own guide. Data that waits in Pending Servers isn't a fault in the agent. -
See the data.
For Bentley, open Navigation, select Licenses and Features, and then select License Allocations to see the users who have access to each product. The SaaS platform guides say where the data of each platform appears.
-
Check the agent in Broker Hub when a platform's data doesn't arrive.
Next steps
The connected agent collects nothing until you add the platforms to monitor. In the agent's app:
- Select Monitored Services, and then add your first platform with Add Service. Sign in to the vendor's admin portal in the Chrome window the agent opens.
- Wait for the first scan. When it succeeds, the service's status is Ok. Use Sample Rate to set how often data is collected.
- In Broker Hub, on the SaaS Agents page, select the agent's host name to see the services it reports.
For the sign-in details of each platform, see the SaaS platform guides. To change, upgrade, or remove the agent, see Change, upgrade, or uninstall SaaS Agent.
The documentation team might draft this page using a large language model. A technical writer reviews every page and verifies it against the product before publishing it. A human makes the final decision.