Install Broker on Windows
To collect license usage from a Windows license server, install the Broker on the license server, or next to it, and connect it to OpenLM Platform with its authorization file. Download the OpenLM Broker installer, OpenLM_Broker_<version>.msi, (see Download the installer). Then install the Broker with the installer, or silently from the command line. The installer includes a Java runtime.
Before you begin
Confirm these prerequisites:
- Verify that the license server machine meets the system requirements.
- Plan one Broker per license server. One Broker can monitor several license managers on its own machine, but each additional license server needs its own Broker.
- Confirm that you have the authorization file for this Broker.
- Confirm network access from the Broker machine to your license manager server and to the internet (port 443). If the Broker can't reach the internet directly, connect it through an HTTP or HTTPS proxy, with optional credentials. See Proxy Configuration.
Install with the installer
To install the Broker with the installer:
-
Open the installer file,
OpenLM_Broker_<version>.msi.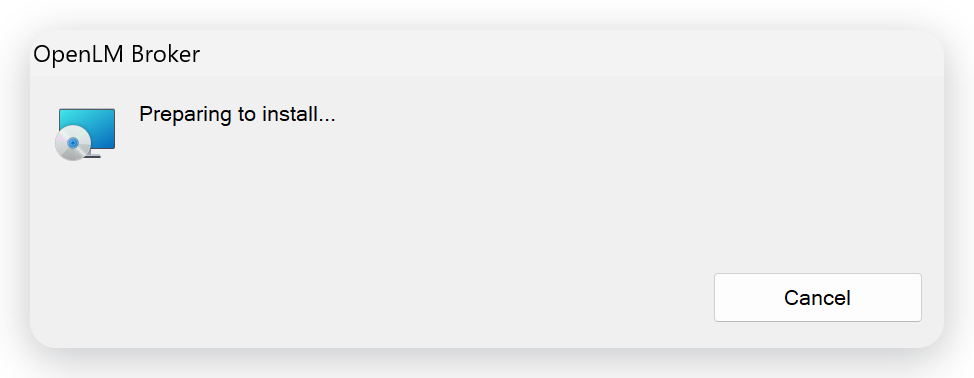 Windows Installer prepares the installation
-
On the Welcome page, select Next.
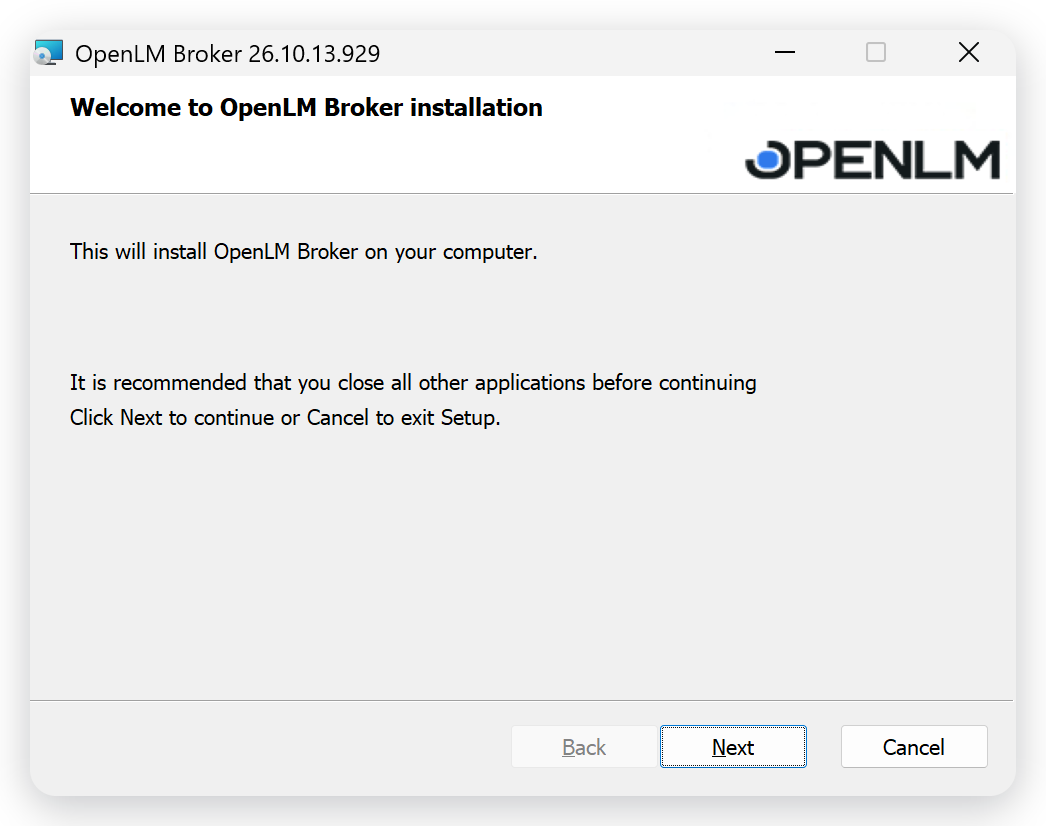 The Welcome page
-
On the License Agreement page, select I Agree, and then select Next.
Next becomes available after you select I Agree. To leave the installer without changes, select Cancel.
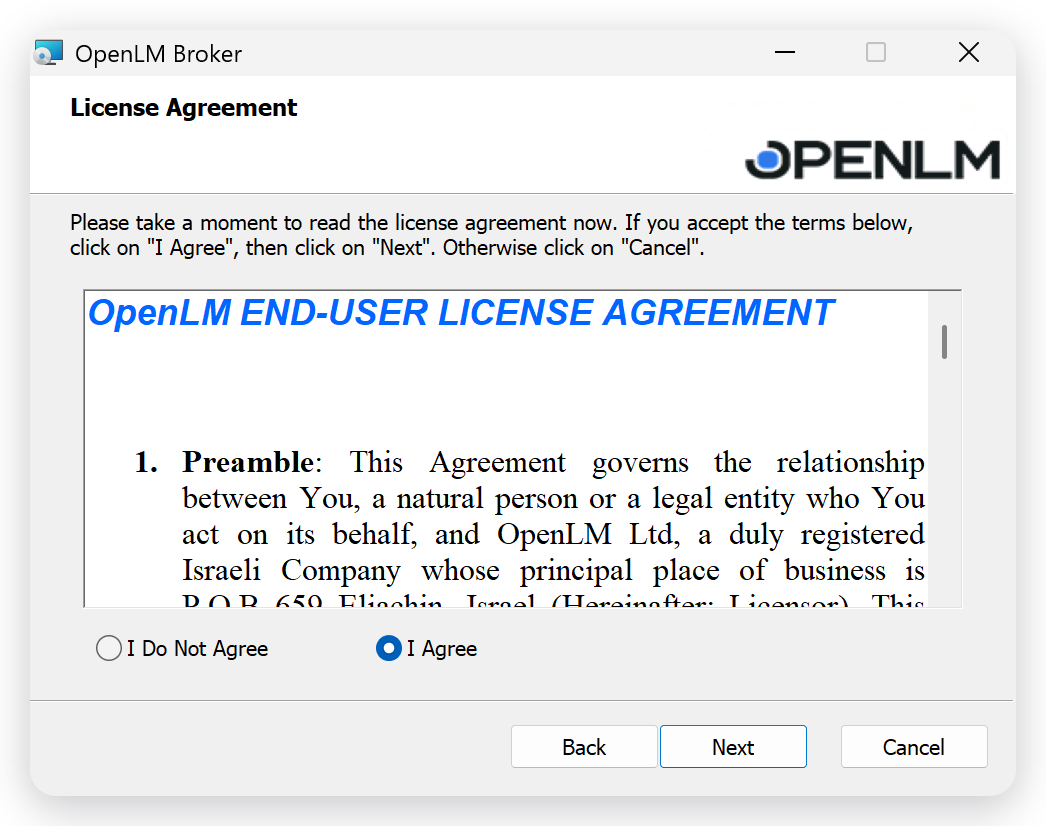 The License Agreement page, with I Agree selected
-
On the Java Selection page, select Next to use the Java runtime that comes with the installer, Install Broker with Java 11 OpenJDK.
To use a Java runtime that is already installed, select Already have Java 11 installed?, browse to its folder, and then select Next. The installer accepts Java 8, Java 11, and any version higher than 11. On a machine without Java, the installer selects the bundled runtime for you.
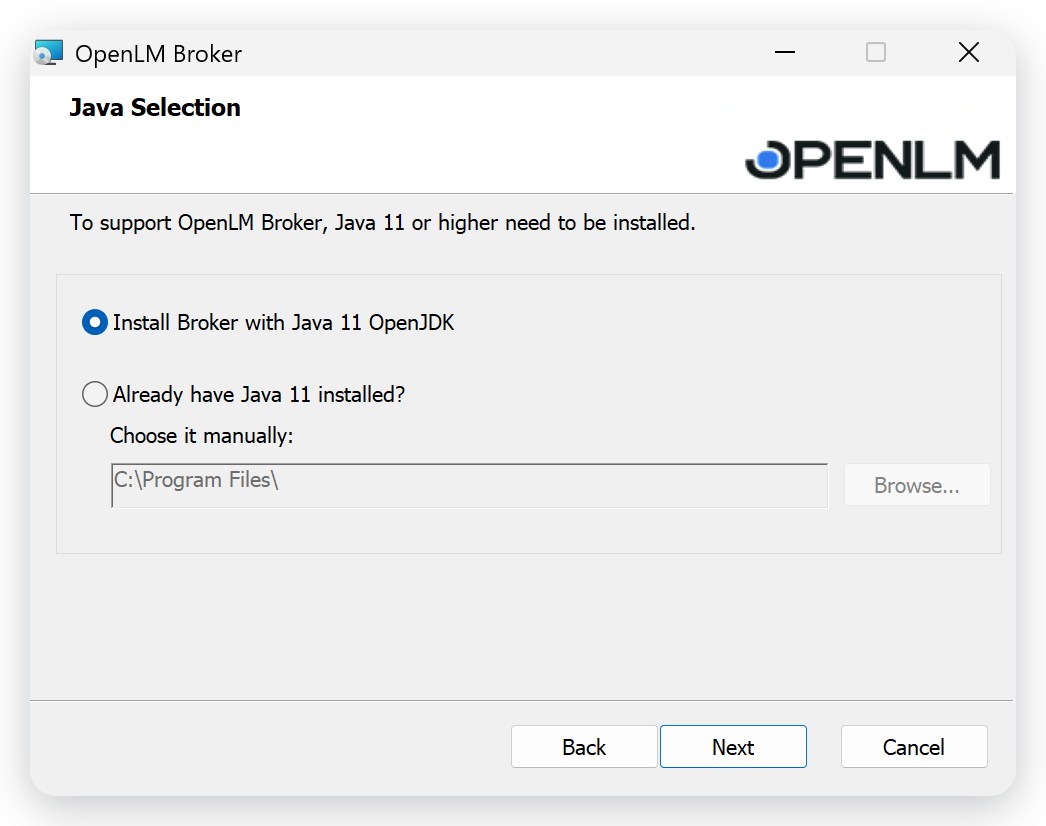 The Java Selection page
-
On the Select Installation Folder page, keep the default folder,
C:\Program Files\OpenLM\OpenLM Broker\, and select Next.To install in another folder, select Browse first.
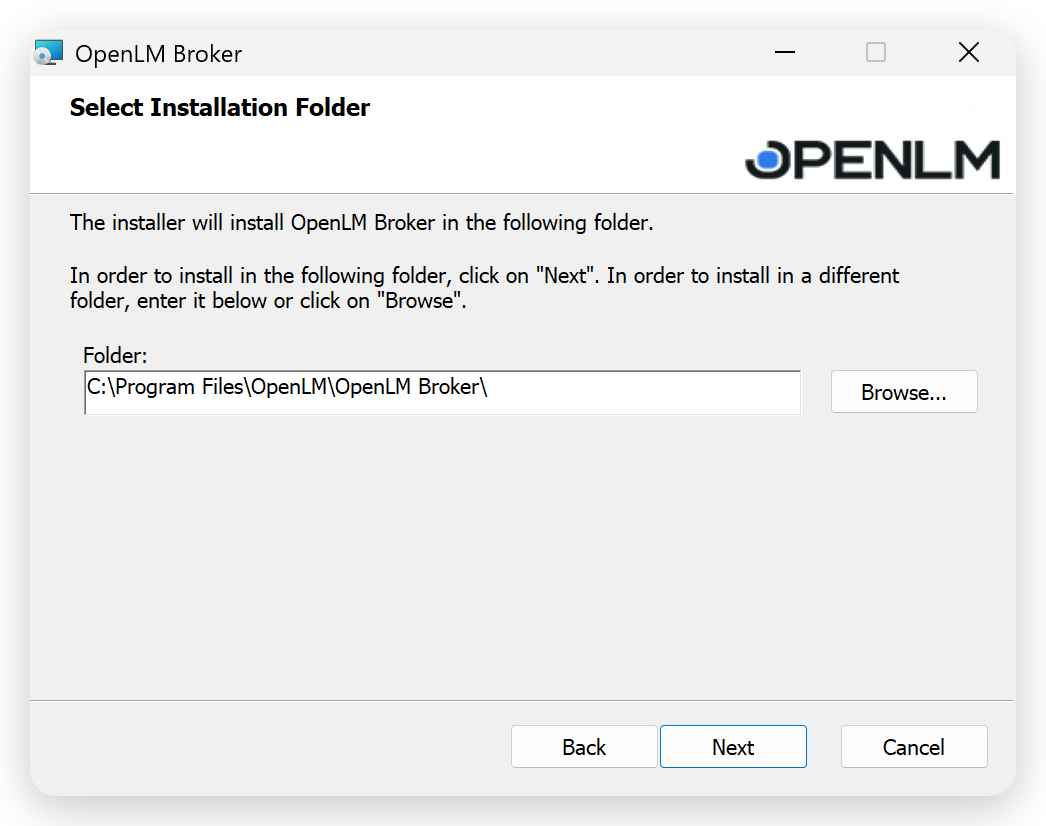 The Select Installation Folder page
-
On the Confirm Installation page, select Next to start the installation.
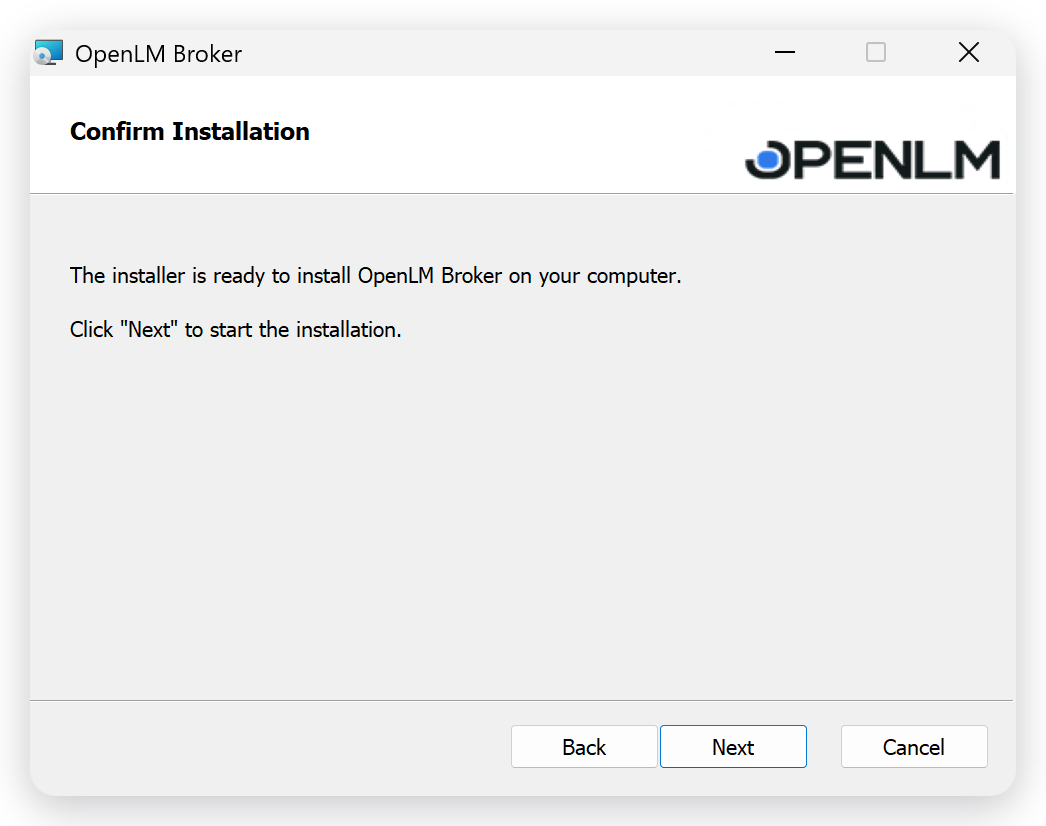 The Confirm Installation page
-
Wait for the installation to finish.
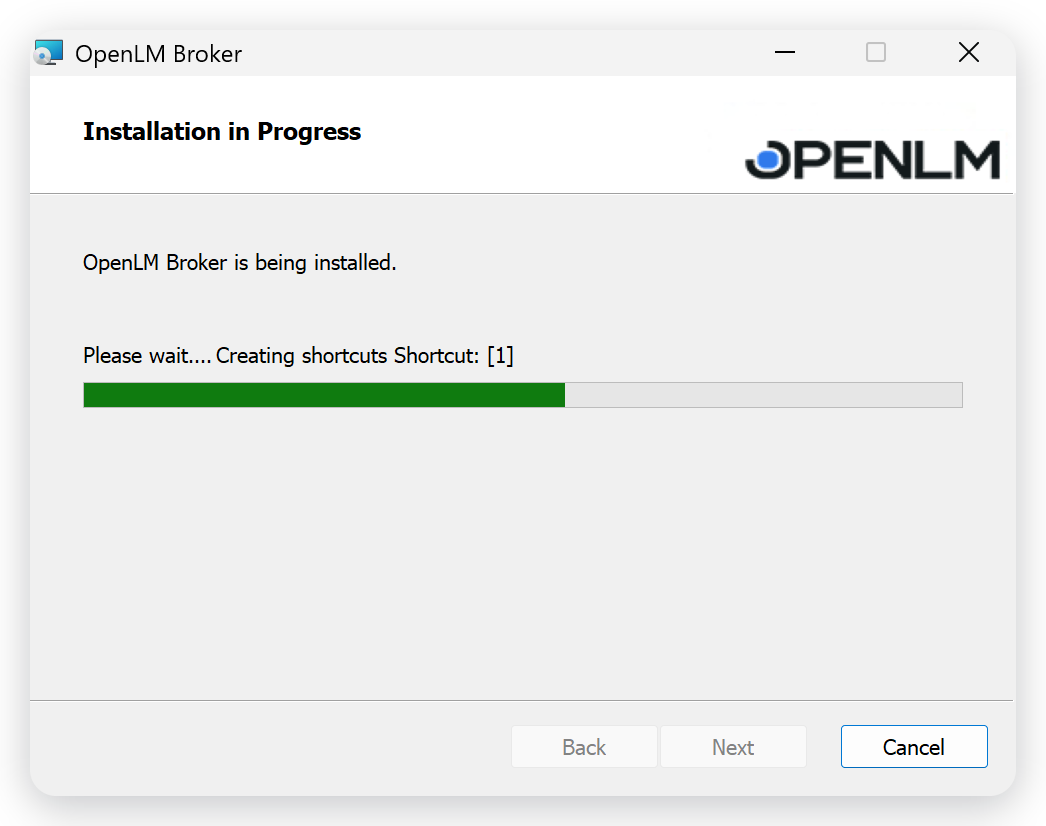 The installation in progress
-
Select Close.
Then continue in your browser. When the installation finishes, the installer opens the Broker UI in your default browser on the Broker Initial Setup page. The Broker service serves the Broker UI, at
http://localhost:5090for the first Broker on a machine.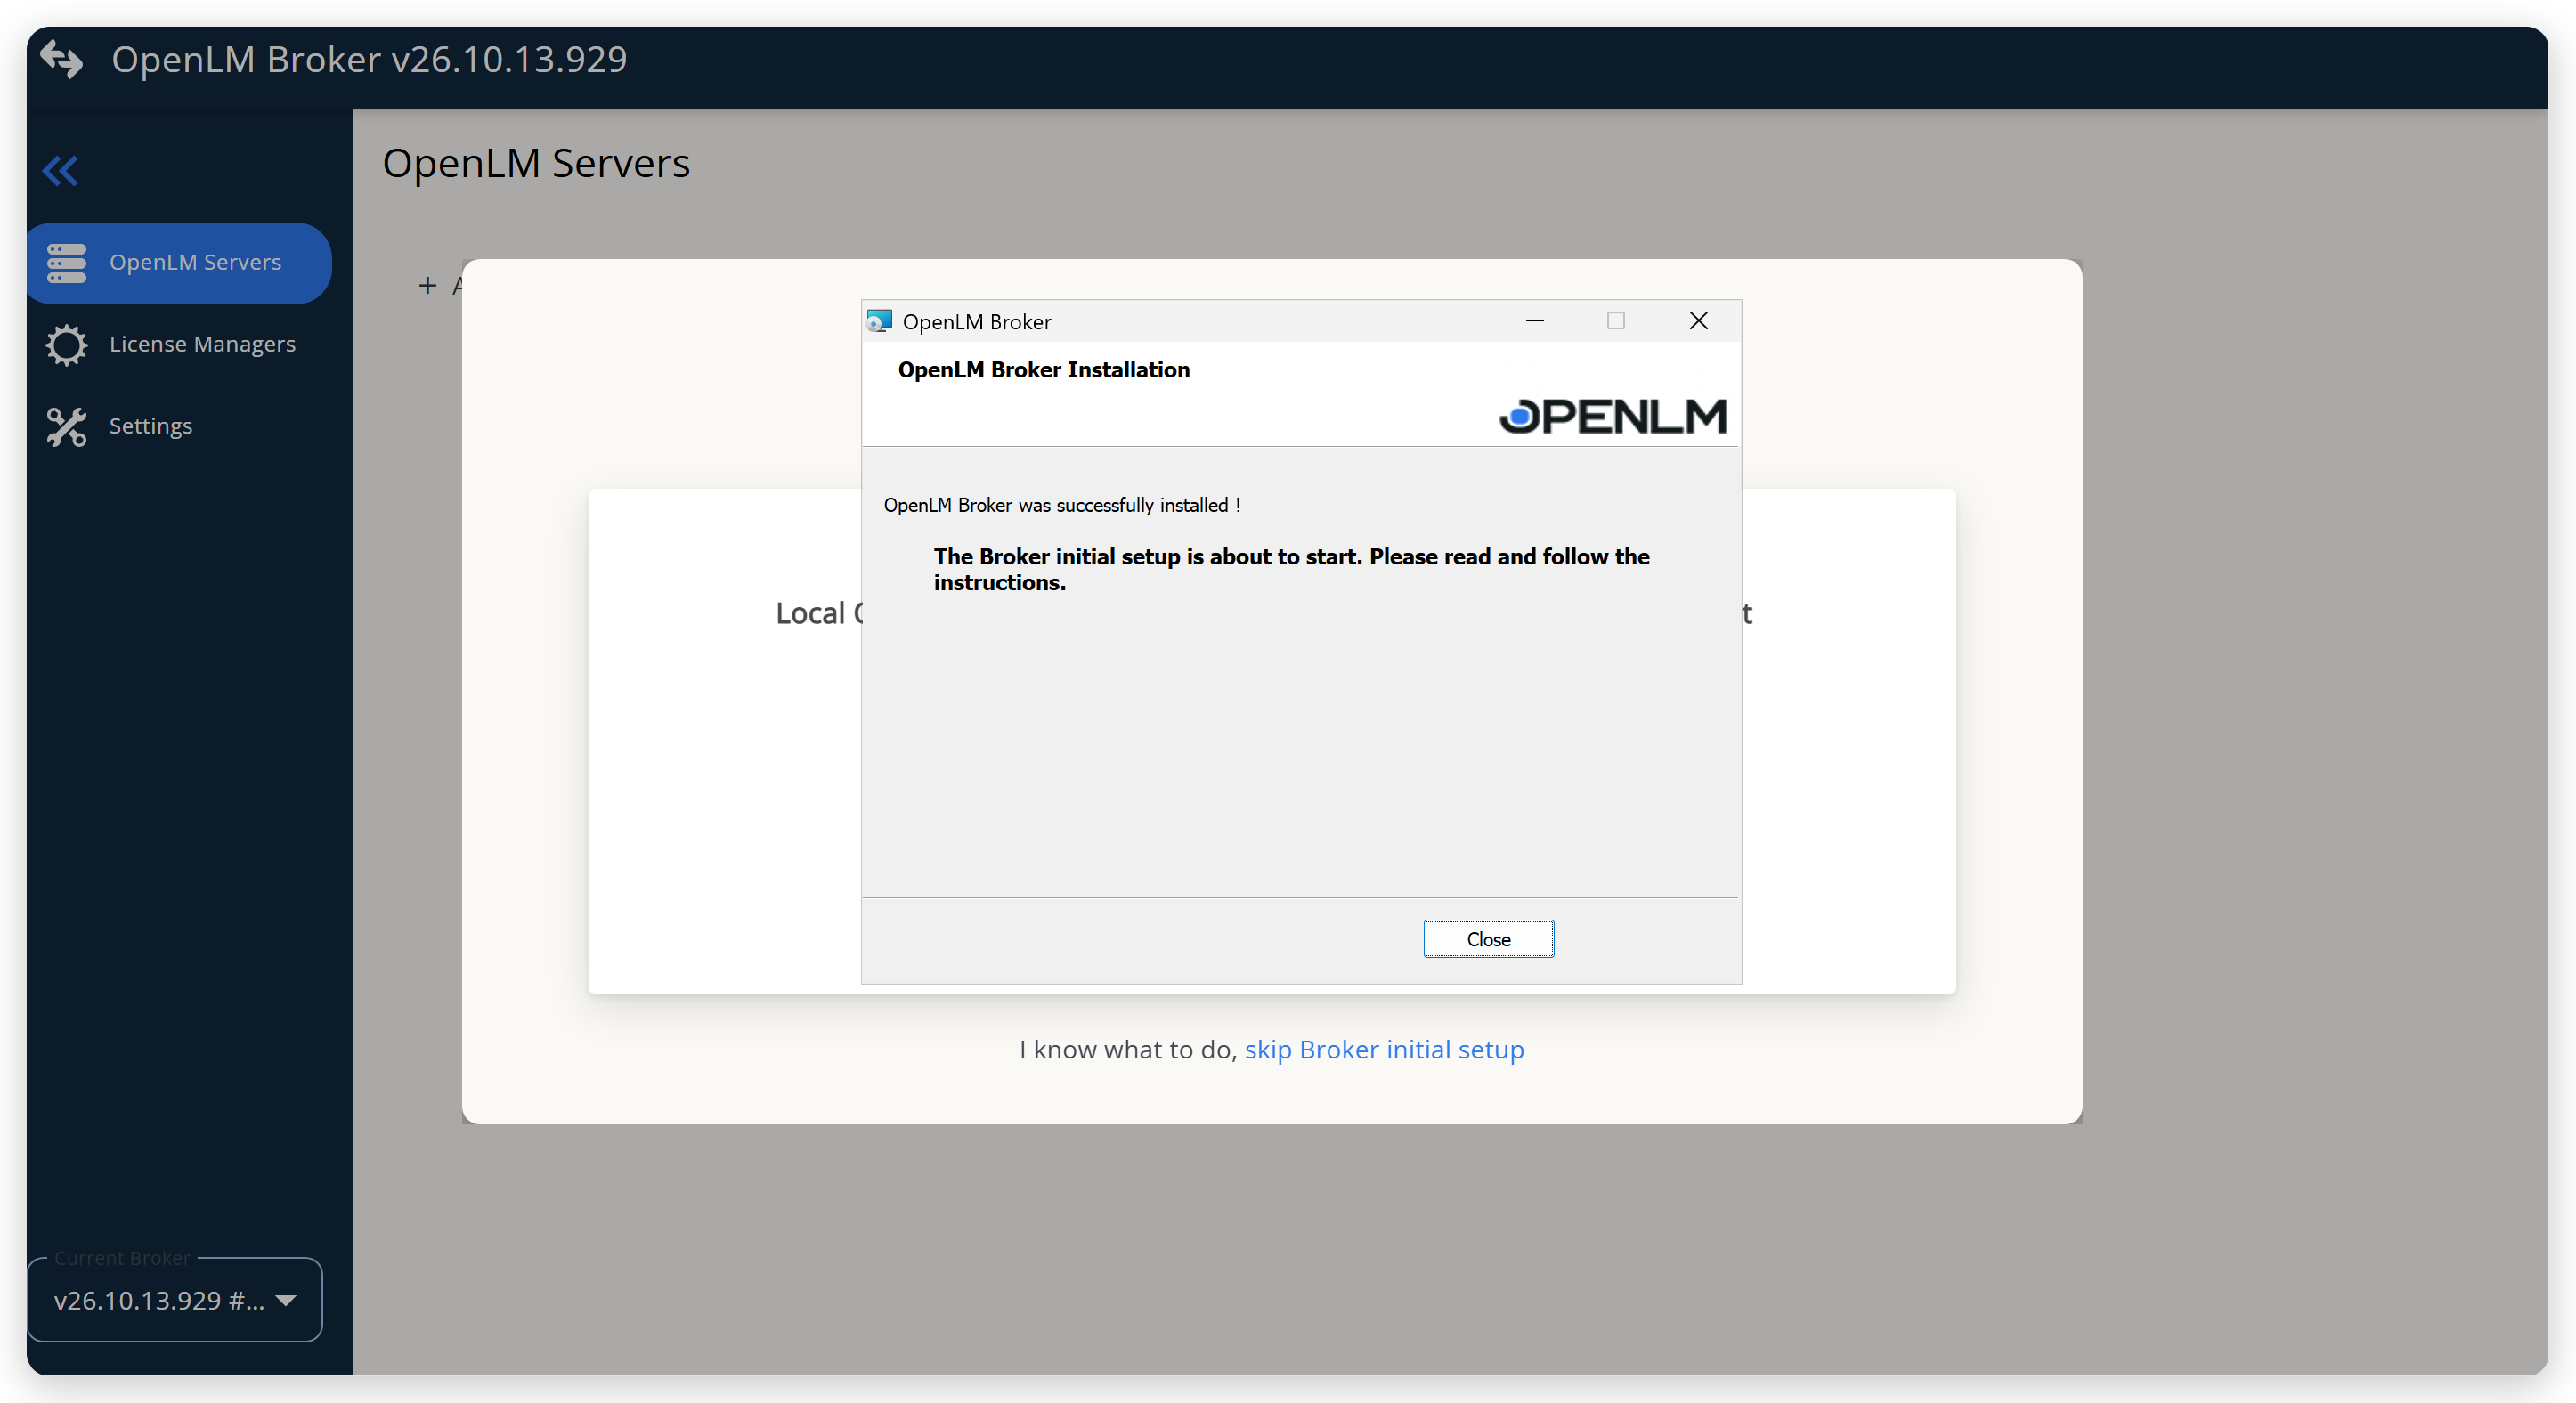 The installer's last page, in front of the Broker UI
-
On the Broker Initial Setup page, select Continue under OpenLM Cloud Account.
To configure the Broker later instead, select skip Broker initial setup.
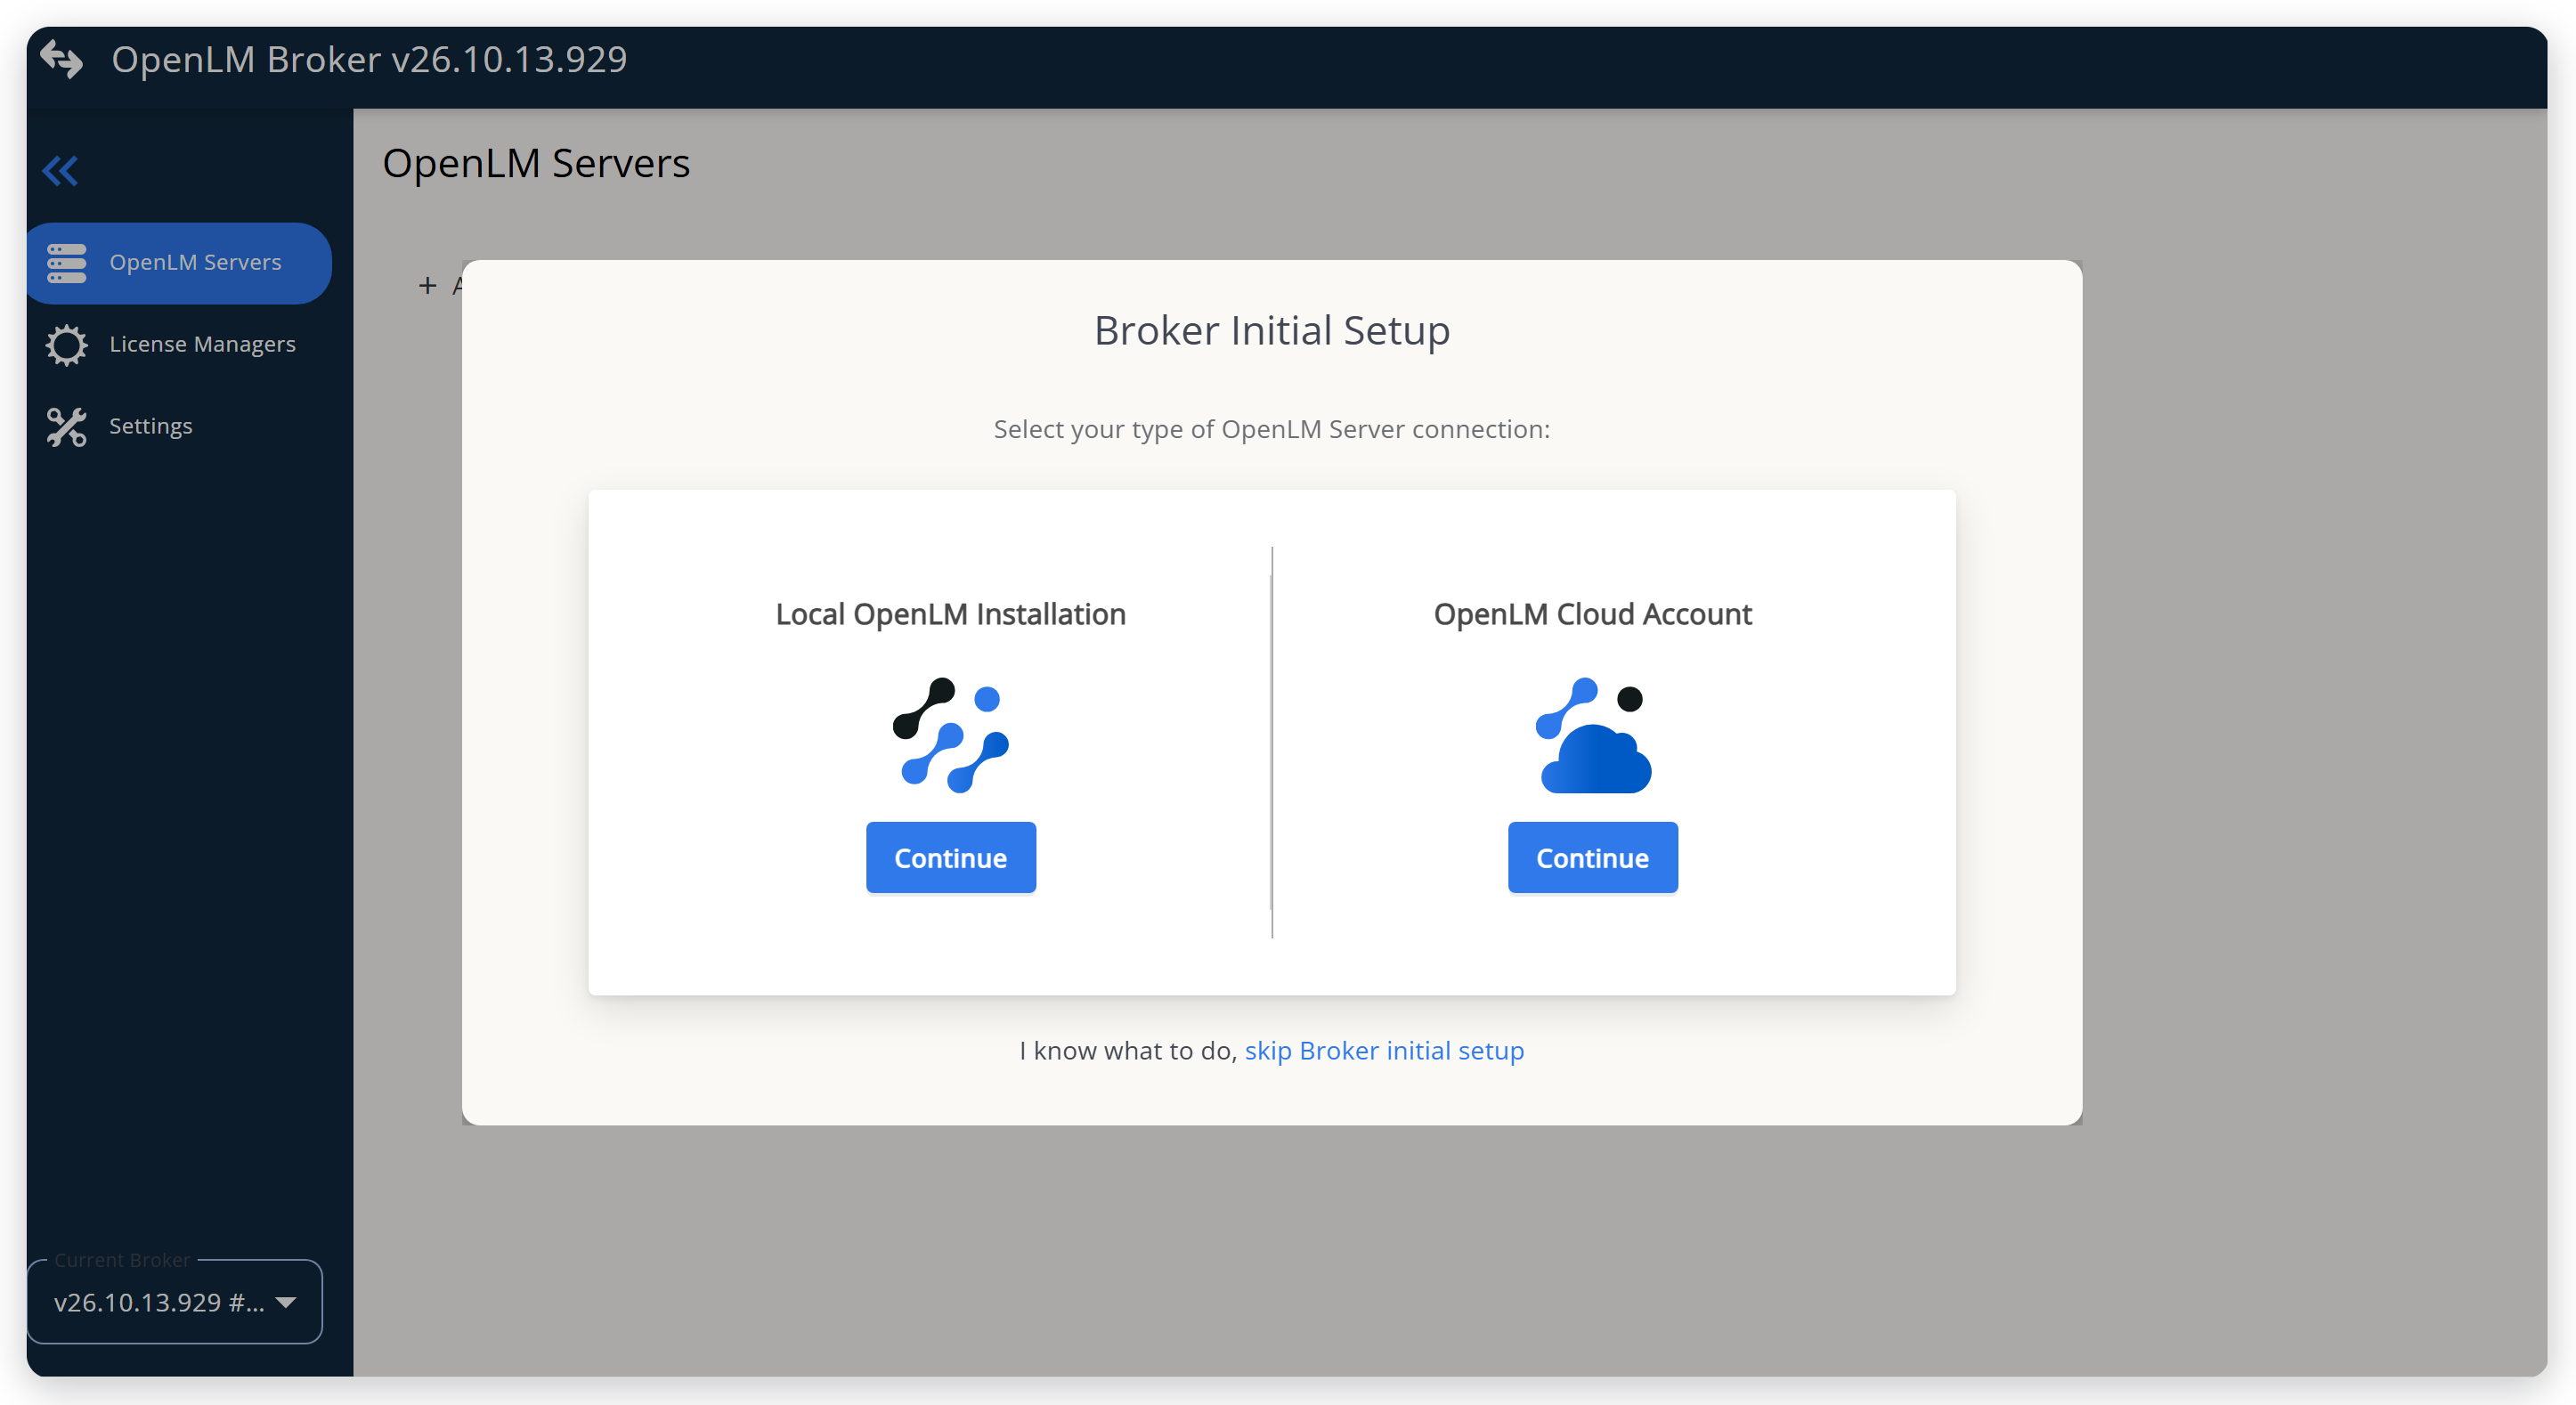 Select OpenLM Cloud Account to connect the Broker to OpenLM Platform
-
Select Import Broker Authorization File, and then select the authorization file you generated for this Broker.
The file fills in Url, Client ID, and Client Secret, including the address of your OpenLM Platform region. You can also enter the values by hand.
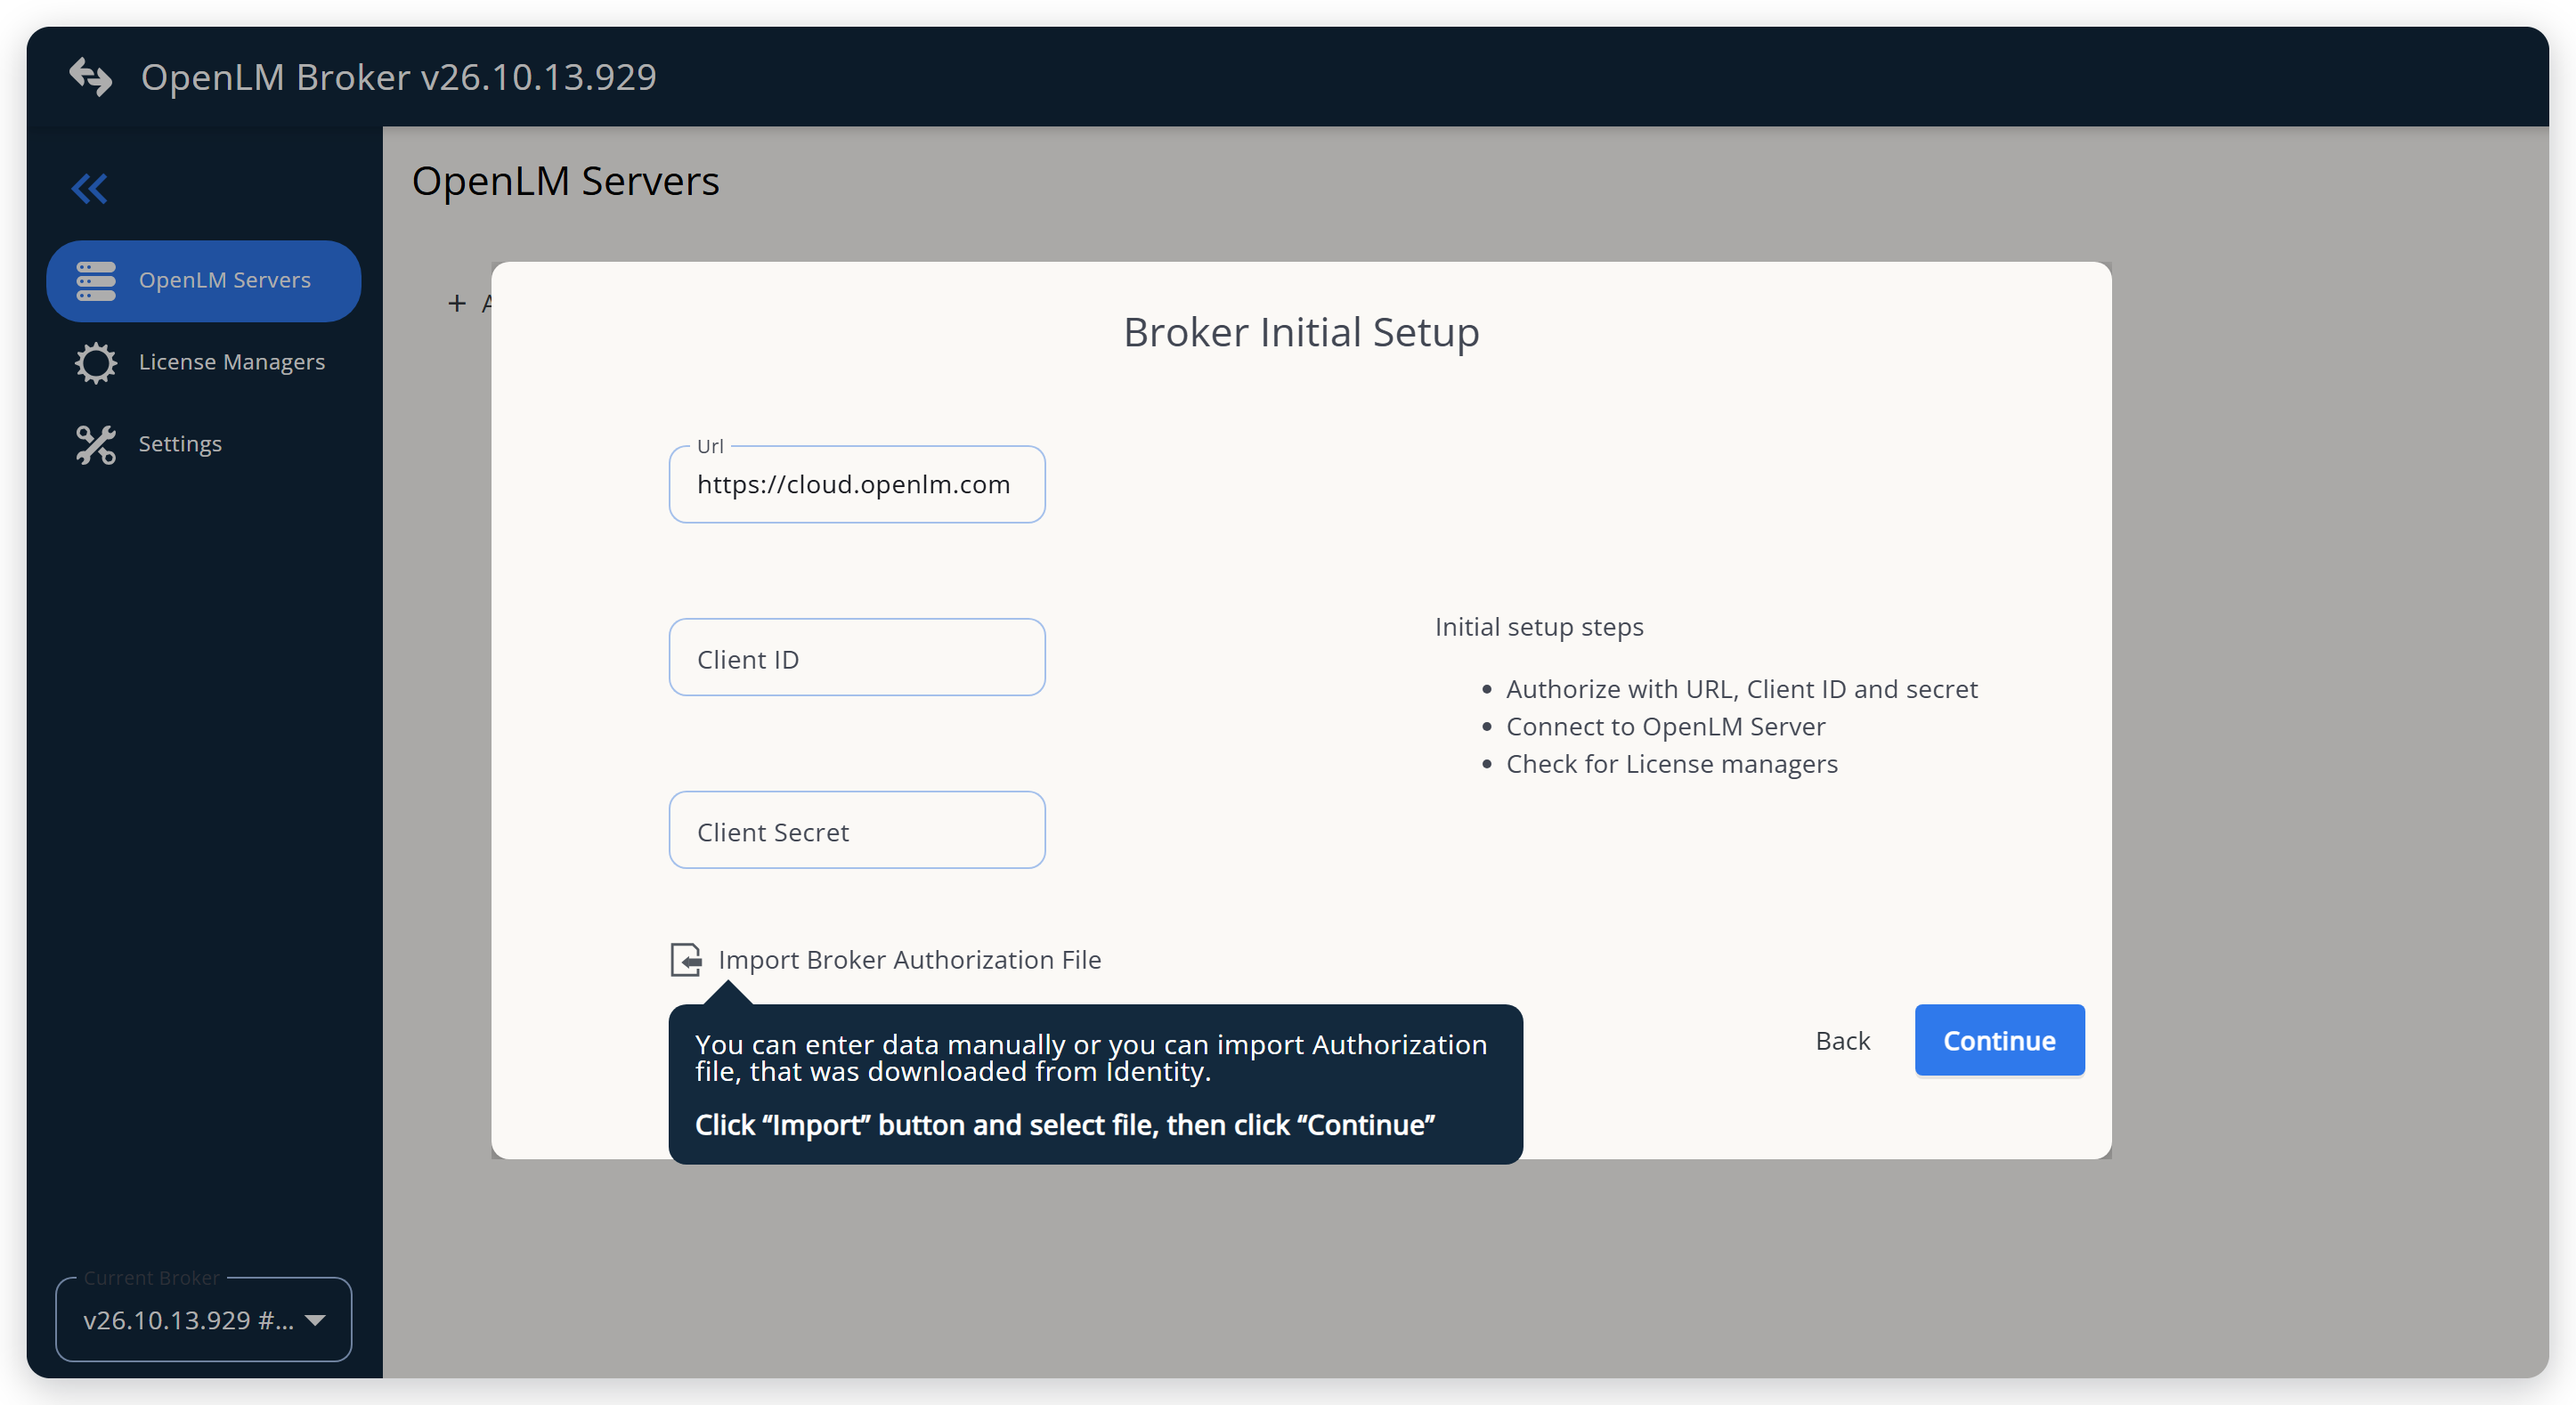 Import the authorization file to fill in the connection
-
Select Continue.
The Broker tests the connection to OpenLM Platform, then scans the machine for license managers and sets up the ones it finds.
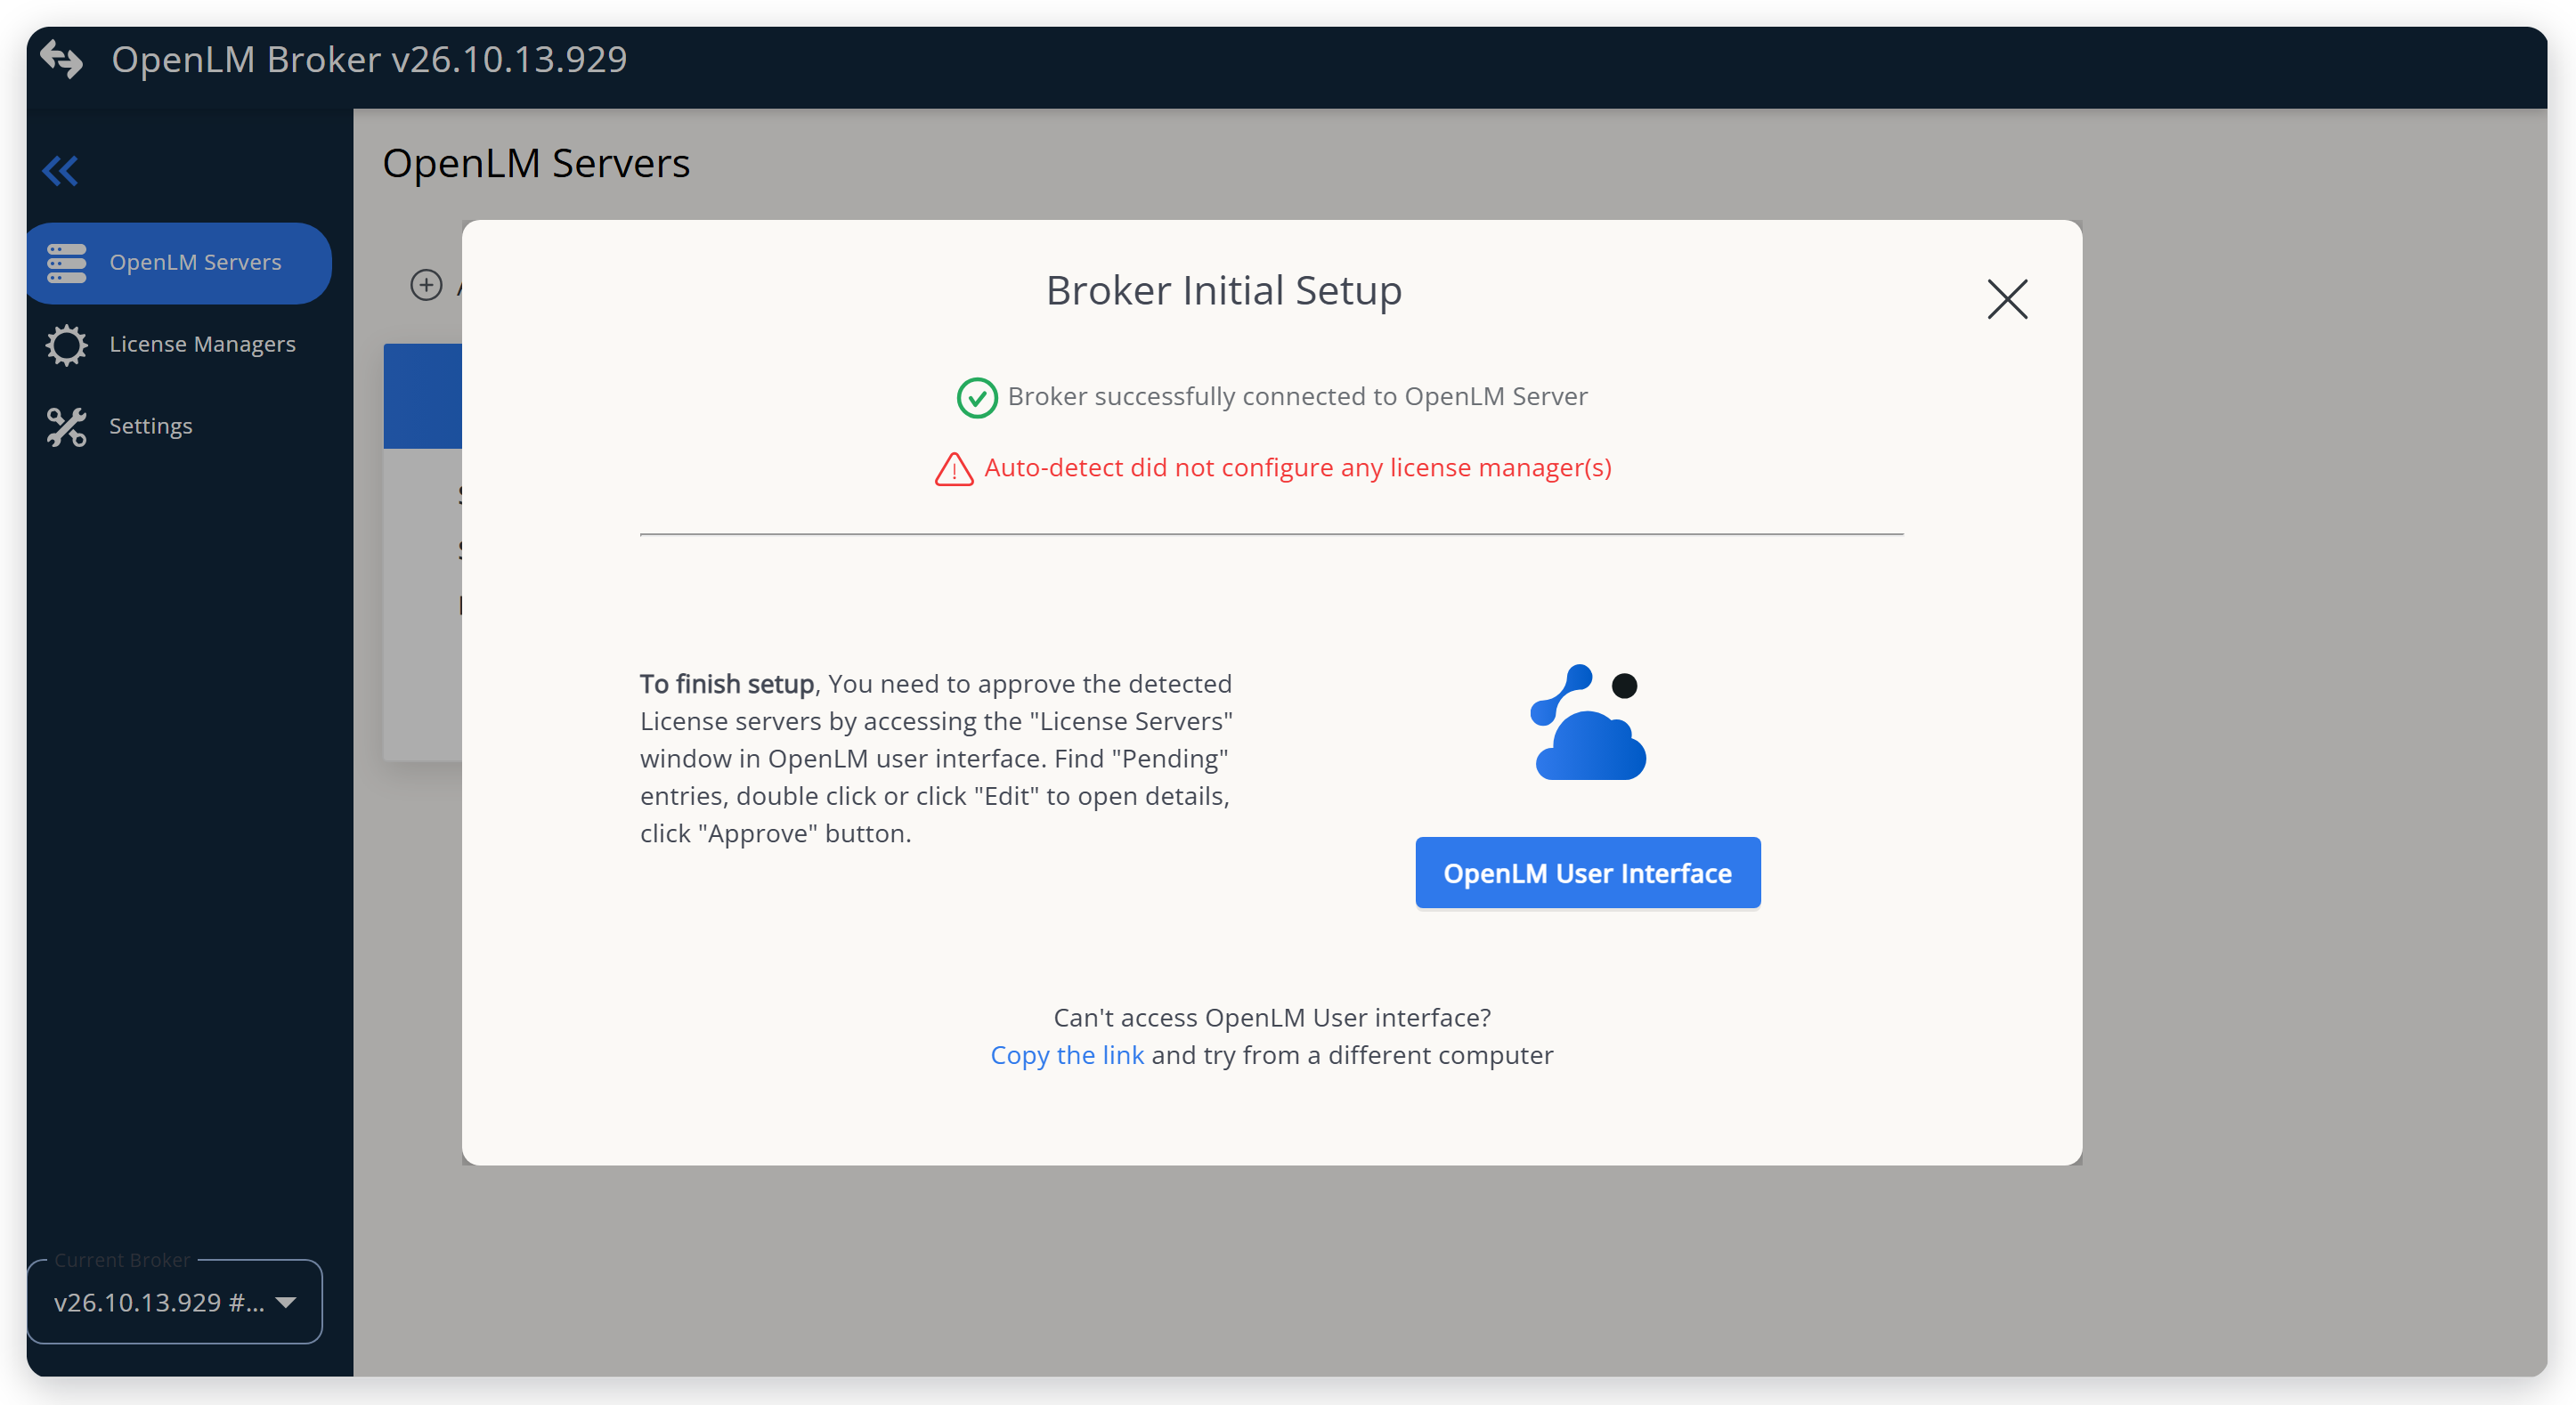 The last Broker Initial Setup page
-
Select OpenLM User Interface to open the Broker Hub in OpenLM Platform.
-
Select Pending Brokers.
-
Select the Broker.
-
Select Approve Brokers.
Then connect your license managers and approve them, as described in Verify the connection.
Silent installation
To deploy the Broker to many license servers, or from a script, install it silently: msiexec installs the Broker with the options you pass on the command line, without the installer pages.
A silent installation also scans the machine for license managers. When it starts the Broker service, the installer runs detect.bat, the Windows counterpart of detect.sh, from the installation folder. To start from a prepared configuration file, pass it in BROKERXML.
To install the Broker silently:
-
Open a command prompt as an administrator, in one of these ways:
- In the taskbar search field, enter
cmd. In the results, open the context menu of Command Prompt, and select Run as administrator. - Open the context menu of
C:\Windows\System32\cmd.exe, and select Run as administrator. - Open the context menu of Start, and select Windows PowerShell (Admin).
- In the taskbar search field, enter
-
Run
msiexecwith the installation options, in this format:msiexec /i "<broker-msi-path>" /qn TRANSFORMS=":I01" MSINEWINSTANCE="1" <parameters>Replace
<broker-msi-path>with the full path of the Broker MSI file, and<parameters>with the parameters you need.TRANSFORMSsets the instance ID. For each additional Broker on the same machine, use the next ID, for example:I02for the second one, and keepMSINEWINSTANCE="1". A machine can run up to 10 instances, with instance IDs from:I01to:I10.Add any of these parameters:
INSTALLLOCATION: the installation folder. The installer creates the folder if it doesn't exist. Without this parameter, the installer uses the default folder,C:\Program Files\OpenLM\OpenLM Broker\.BROKERXML: abroker.xmlfile to copy into the installation folder and use as the starting configuration.AUTH_FILE_PATH: the full path of the authorization file for this Broker. The installer imports the file, so the Broker connects to OpenLM Platform without Broker Initial Setup. Use a full path, because the installer resolves a relative path against the installation folder. Plain and encrypted authorization files both work.USE_OPENLM_JAVA:"true", the default, runs the Broker with the Java runtime that comes with the installer. Set it to"false"to use a Java runtime that is already installed, and give its folder inJAVA_PATH.JAVA_PATH: the folder of the installed Java runtime to use whenUSE_OPENLM_JAVAis"false". If it's missing, or points at an incompatible Java version, the installation fails.
NoteThe installation reports success even when the authorization file import fails, for example because of a mistyped path or an unreadable file. Check the import after the installation, as described in step 4. A successful import needs no restart.
For example, to install the first instance with the bundled Java runtime, import an authorization file, and write a log file:
msiexec /i "C:\Users\admin\Desktop\OpenLM_Broker_<version>.msi" /qn TRANSFORMS=":I01" MSINEWINSTANCE="1" USE_OPENLM_JAVA="true" AUTH_FILE_PATH="C:\Users\admin\Desktop\broker-auth.json" /l*v "C:\Users\admin\Desktop\log.txt"
- Press Enter to run the command.
The installation runs in the background, and the command prompt returns immediately.
 A silent installation command in an administrator command prompt
-
When the installation finishes, confirm the result:
- The log file contains
MainEngineThread is returning 0. - The OpenLM Broker service runs in Windows Services.
- If you used
AUTH_FILE_PATH,logs\auth_import.login the installation folder ends withauth_import SUCCESS (exit=0).
- The log file contains
-
If
auth_import.logends withauth_import FAILED, import the authorization file again, and then restart the service:"C:\Program Files\OpenLM\OpenLM Broker\auth_import.bat" "C:\Users\admin\Desktop\broker-auth.json"net stop "OpenLM Broker"net start "OpenLM Broker"
Upgrade a Broker silently
To upgrade a Broker silently, run the installation command with the installer for the version you upgrade to and the instance ID of the Broker you upgrade.
The installer finds an earlier version among the Broker instances registered on the machine, by the instance ID in TRANSFORMS, not by the contents of the installation folder, and upgrades that instance in place.
If the instance already has the same version or a higher one, the installation stops with an error instead, so check the installed version first in scripts that redeploy. With the same version, msiexec exits with code 1639 and logs MSINEWINSTANCE requires a new instance that is not installed.
Connect to a self-hosted OpenLM Platform
To connect the Broker to a self-hosted OpenLM Platform, generate the authorization file in your own OpenLM Platform. The file carries the address of your OpenLM Platform. Then connect the Broker in one of these ways:
- In the installation wizard: on Broker Initial Setup, select Continue under OpenLM Cloud Account, because that option is the one for OpenLM Platform. Local OpenLM Installation is for OpenLM SLM. Then select Import Broker Authorization File.
- In a silent installation: pass the file in
AUTH_FILE_PATH.
If the Broker machine doesn't trust the certificate of your OpenLM Platform, import the certificate first. See Import a TLS certificate for the Broker. To check the connection, select Check Connectivity on the OpenLM Servers screen of the Broker UI.
Check the Broker
After the installation, approve the Broker in OpenLM Platform, and then connect and approve its license managers, as described in Verify the connection. If the Broker doesn't appear under Pending Brokers, see Why doesn't the new Broker appear in Pending Brokers?.
Continue to Connect your first license manager. Then continue to Install Workstation Agent to collect activity data from end-user machines.
The documentation team might draft this page using a large language model. A technical writer reviews every page and verifies it against the product before publishing it. A human makes the final decision.