Install Workstation Agent on Windows
To collect application usage from Windows machines, install the Workstation Agent on each machine and connect it to OpenLM Platform with its authorization file. Install it with the installer, silently from the command line, or with a deployment tool on many machines at once.
The installer installs the agent for all users of the machine. The agent starts when a user signs in to Windows, and runs as that user.
The installer also adds the OpenLM Agent Updater Service Windows service, which installs the agent upgrades you start from OpenLM Platform, and the Start OpenLM Agent shortcut in the OpenLM\Agent folder of the Start menu.
The agent bundles the runtime it needs, so the machine needs no separate .NET installation.
Before you begin
Confirm these prerequisites:
- Use a 64-bit (x64) Windows machine that meets the system requirements.
- Generate an authorization file for a client of type Agent in Identity, as described in Authorize components. The installer accepts the plain file and the file of an Encrypted authorization client. Identity names the file
agent-authorization.json. - Allow outbound HTTPS (port 443) from the machine to your OpenLM Platform.
- Sign in to Windows with an administrator account.
- Download the Windows installer,
OpenLM.NewAgent.Setup.master_<version>.msi, from the Downloads page.
Install with the installer
To install the Workstation Agent with the installer:
-
Open the installer file,
OpenLM.NewAgent.Setup.master_<version>.msi. -
On the first page, select Next.
-
On the End-User License Agreement page, select I accept the terms in the License Agreement, and then select Next.
Next becomes available after you select the check box.
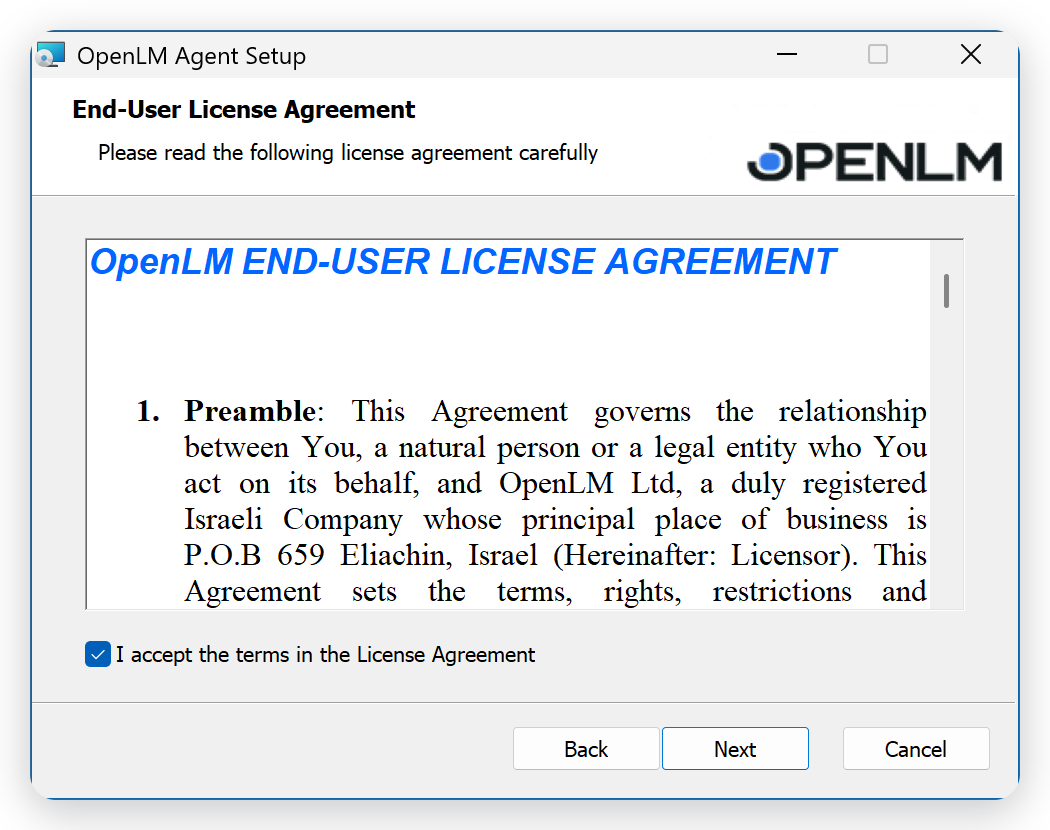 Accept the license terms
-
On the Agent Extensions page, select the extensions for the applications on the machine, and then select Next.
The extensions let the agent act inside ArcGIS, AutoCAD, Matlab, SolidWorks, and ArcGIS Pro, for example to save the user's work before it closes an idle application. Each check box is available only when the installer finds that application on the machine, and AutoCAD is unavailable when the OpenLM AutoCAD Extension is installed. If none of these applications is installed, select Next.
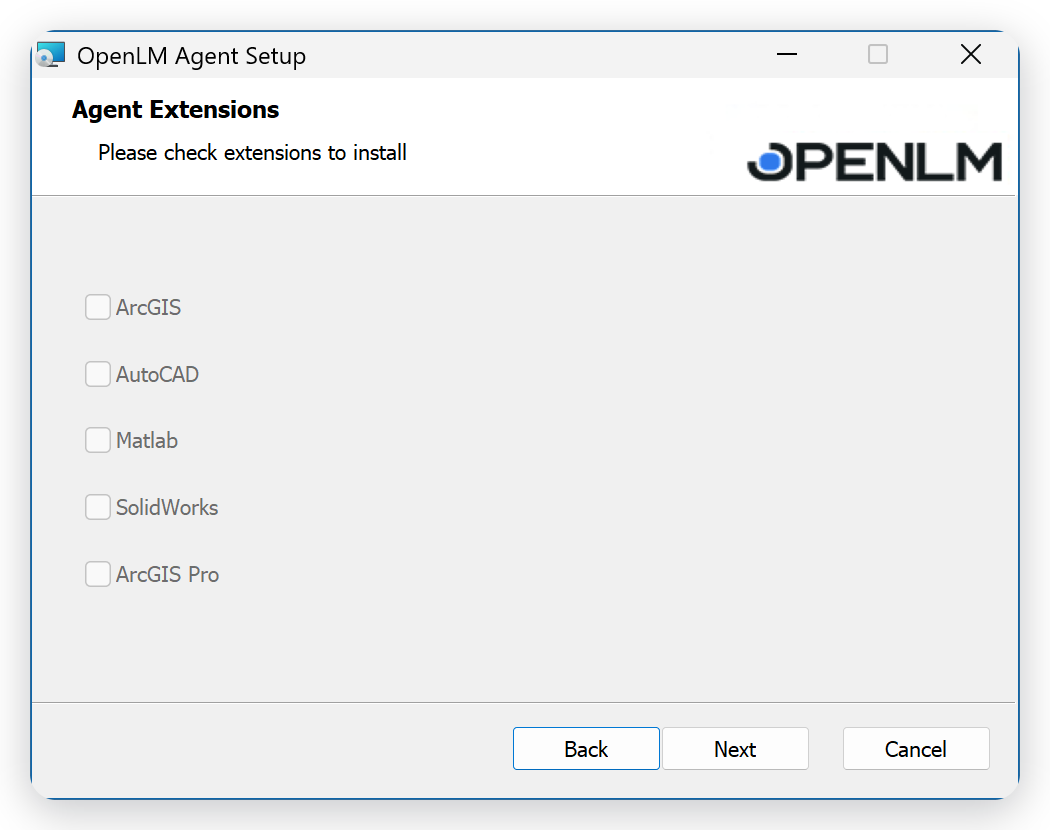 Extensions are available only for the applications installed on the machine
-
On the Destination Folder page, keep the default folder,
C:\Program Files\OpenLM\Agent\, and then select Next.To install in another folder, select Change... first.
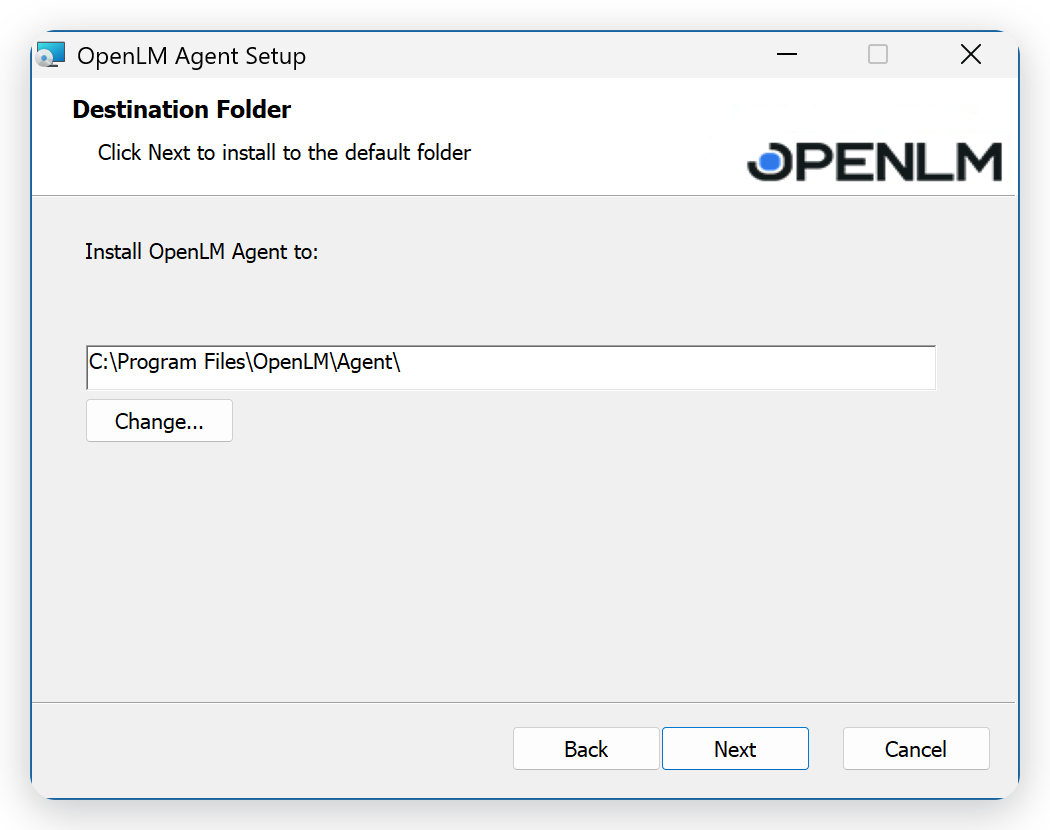 The default destination folder
-
On the Operation Mode page, select OpenLM Cloud, and then select Next.
The installer selects OpenLM On-Premise by default. Keep it only for an OpenLM Platform that runs on your own servers, as described in Connect to a self-hosted OpenLM Platform.
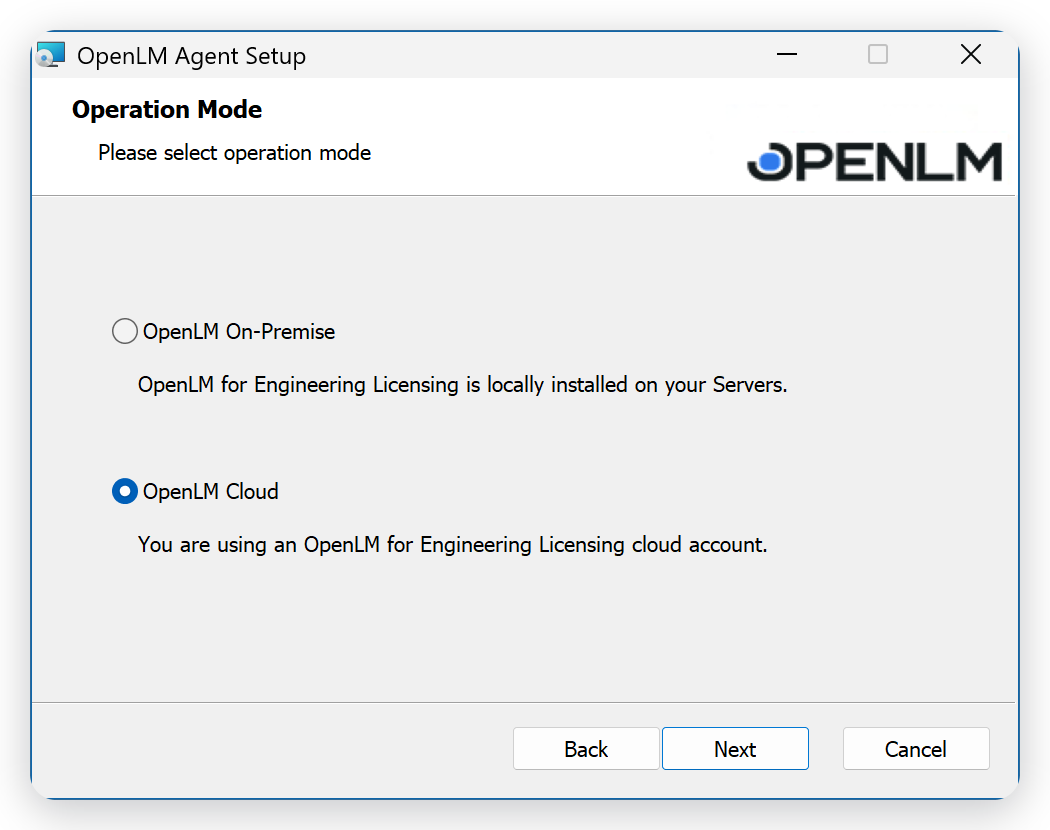 Select OpenLM Cloud
-
On the Workstation Agent permissions page, keep Allow elevated permissions for OpenLM Workstation Agent selected, and then select Next.
With this option, the agent can request administrator privileges when it starts under an administrator account. Clear it to keep the agent at the rights of the signed-in user.
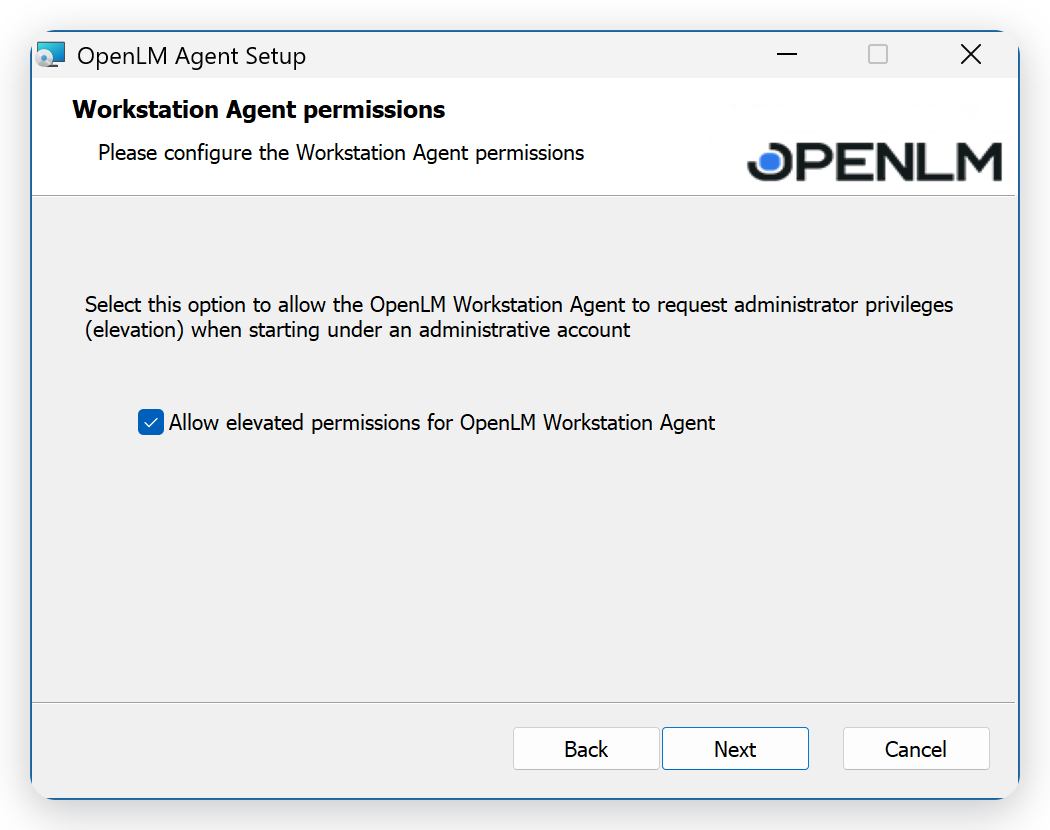 Elevated permissions are allowed by default
-
On the EUS Configuration page, if users open their Personal Dashboard from the agent, select Use End-User Services, and then select Next.
The check box is clear by default. For more information, see Personal Dashboard. When you select it, the installer also adds the OpenLM Personal Dashboard shortcut in the
OpenLM\Agentfolder of the Start menu, and opens the Personal Dashboard when the installation finishes.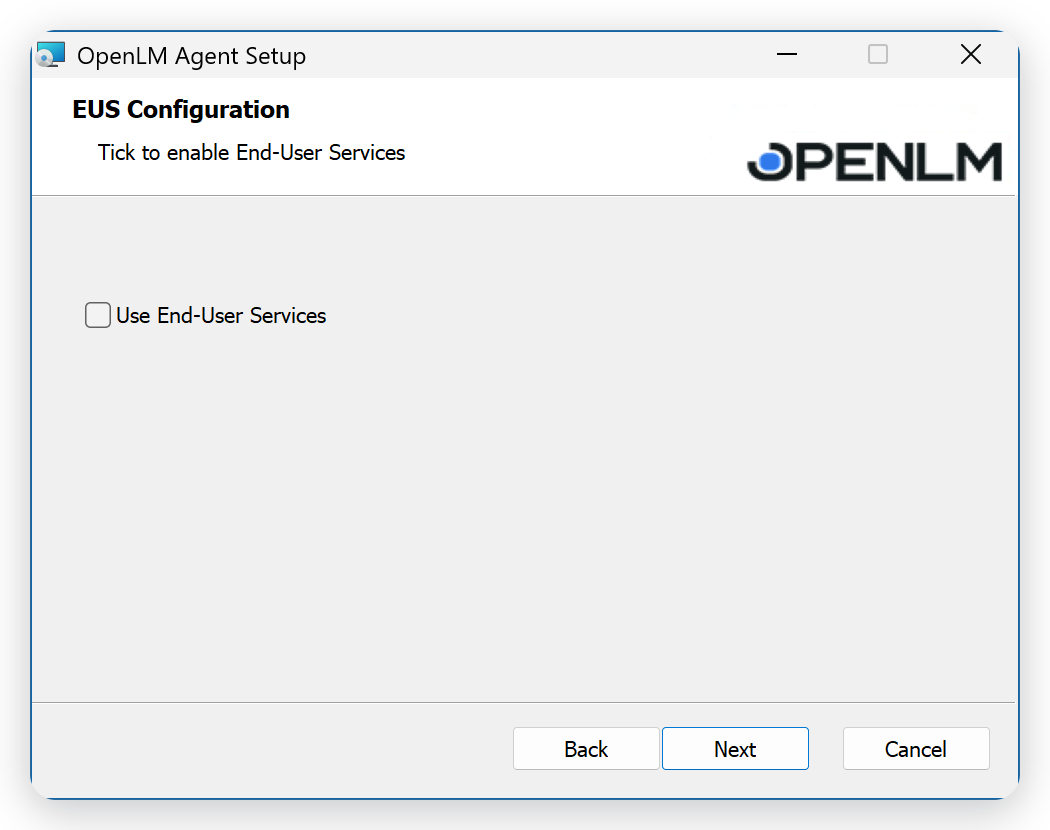 Select Use End-User Services for the Personal Dashboard
-
On the Dongle Monitoring Configuration page, if the agent reports the USB license dongles of the machine, select Use Dongle Monitoring, and then select Next.
The check box is clear by default. For more information, see Dongle Monitoring.
-
On the Agent Authorization page, select Browse. Select the
agent-authorization.jsonfile you generated for the agent, and then select Open.Next becomes available after you select a file.
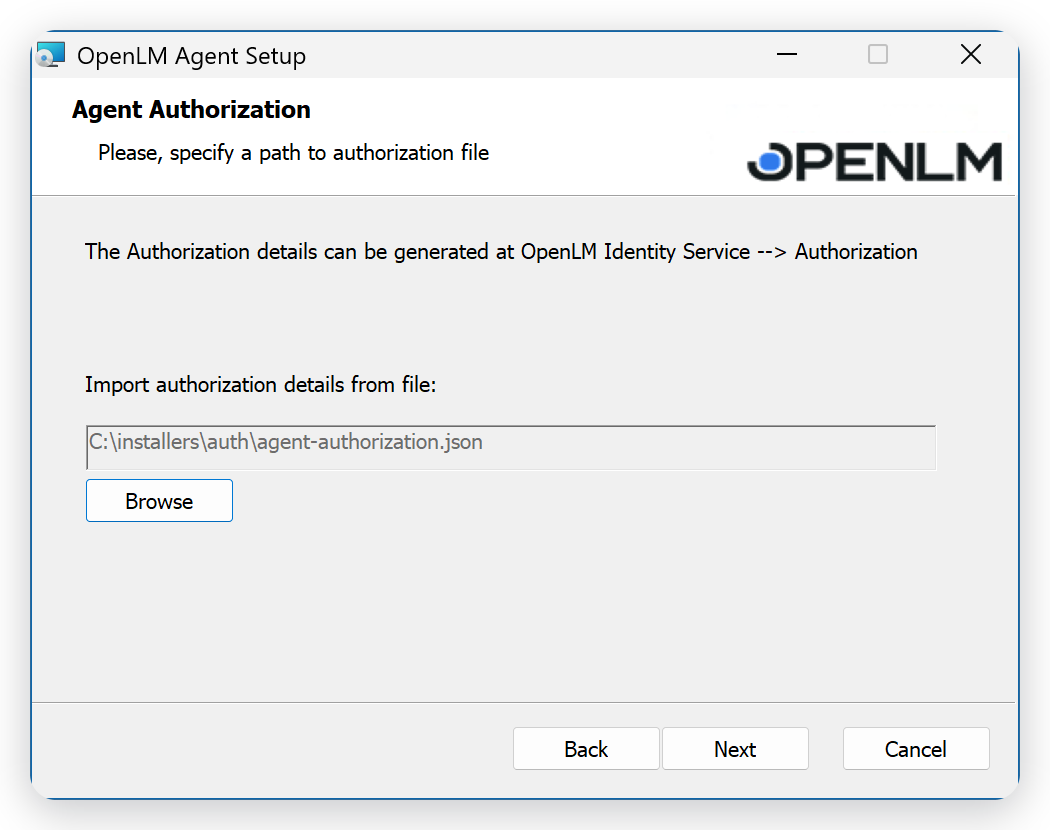 Select the authorization file
-
Select Next.
The installer checks the file. If it reports a problem, see Why does the installer reject the authorization file?
-
On the Ready to install OpenLM Agent page, select Install.
-
When the installation finishes, select Finish.
The installer starts the agent for the signed-in user. If you selected Use End-User Services, it also opens the Personal Dashboard in the default browser. Then check the agent, as described in Check the agent.
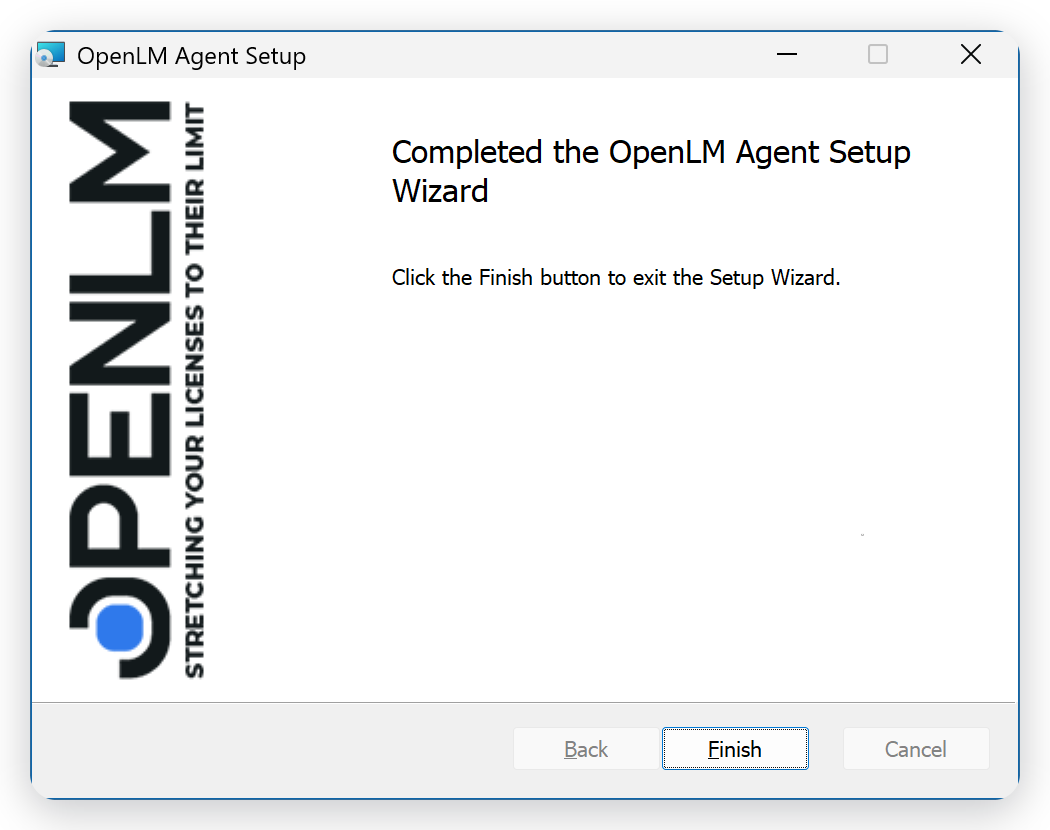 The last page of the installer
The installer saves a log of the installation in your temporary folder, as %TEMP%\OpenLM_Agent_Setup_<date>_<time>.msi.log. The log contains the client ID and secret that the installer read from the authorization file, so delete it after the installation.
Connect to a self-hosted OpenLM Platform
If your OpenLM Platform runs on your own servers, keep OpenLM On-Premise on the Operation Mode page of the installer. The installer then asks for the address of the Agents Hub of your OpenLM Platform, before it asks for the authorization file. The other pages are the same as in Install with the installer, with End-User Services Configuration in place of EUS Configuration.
After the Dongle Monitoring Configuration page:
-
On the Agents Hub Configuration page, enter the host name of your OpenLM Platform in Host name, for example
openlm.example.com.Enter the host name only, without
https://or a path such as/agents-hub. Keep Use SSL selected and Port443, unless your OpenLM Platform uses other settings.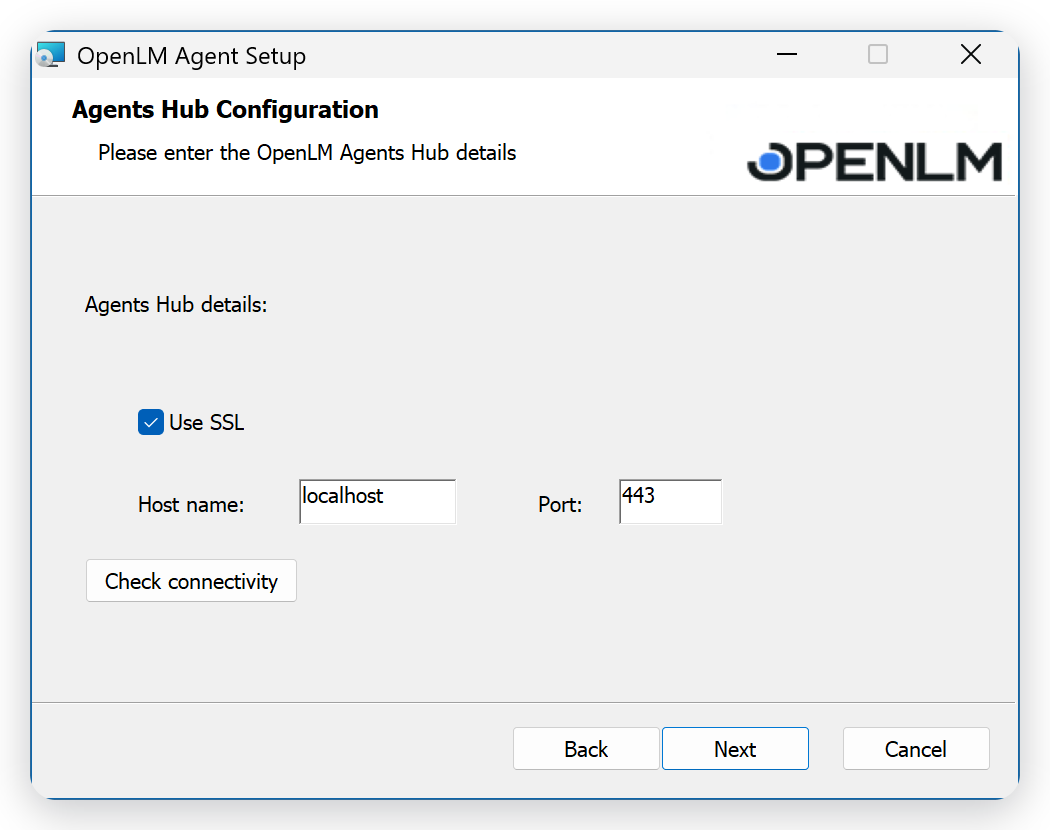 The Agents Hub settings, with their default values
-
Select Check connectivity.
The installer connects to the Agents Hub of the host you entered, and reports
Successfully connected!. If it reportsUnable to connect. Please check your OpenLM Agents Hub instance and the address you provided., see Why does Check connectivity fail? -
Select Next.
The installer checks the connection again, and continues only when the check succeeds.
-
On the Agent Authorization page, keep Import authorization details from file, and then select Next.
Select I am not using Security only if the agents of your OpenLM Platform connect without authorization. The installer then asks for no file.
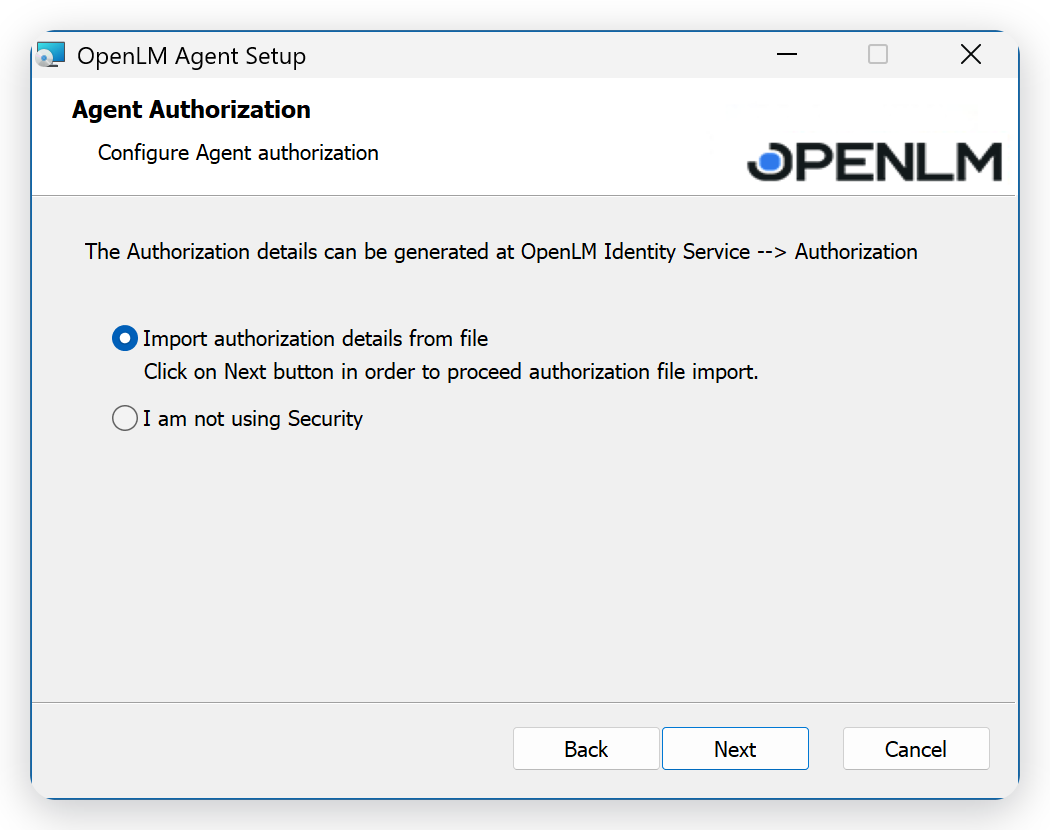 Import the authorization file, unless your OpenLM Platform doesn't use security
-
On the next Agent Authorization page, select Browse.
-
Select the
agent-authorization.jsonfile you generated for the agent, and then select Open. -
Select Next.
For OpenLM On-Premise, the installer rejects an authorization file whose address contains
cloud.openlm.com. -
On the Ready to install OpenLM Agent page, select Install.
-
When the installation finishes, select Finish.
Silent installation
To deploy the agent from a script or a deployment tool, install it silently: msiexec installs the agent with the options you pass on the command line, without the installer pages. A silent installation doesn't check the authorization file the way the installer does, so check the agent in Agent Activity afterwards.
To install the Workstation Agent silently:
-
Open a command prompt as an administrator.
-
Run
msiexecwith the installation options, in this format:msiexec /i "<msi-path>" /qn OPERATION_MODE="Cloud" AUTHORIZATION_TYPE="1" AUTHORIZATION_FILE_PATH="<authorization-file-path>"Replace
<msi-path>with the full path of the MSI file, and<authorization-file-path>with the full path ofagent-authorization.json.Use these parameters:
OPERATION_MODE:"Cloud"for OpenLM Platform in the cloud. Without it, the installer sets up an agent for a self-hosted OpenLM Platform, which looks for the Agents Hub on the machine itself.AUTHORIZATION_TYPE:"1"to import the authorization file inAUTHORIZATION_FILE_PATH. This is the default.AUTHORIZATION_FILE_PATH: the full path of the authorization file. The installer copies it into the installation folder asagent-authorization.json.AGENTS_HUB_ADDRESS,AGENTS_HUB_PORT, andAGENTS_HUB_USE_SSL: the Agents Hub of a self-hosted OpenLM Platform, together withOPERATION_MODE="On-Premise". The defaults arelocalhost,443, andtrue.USE_ENDUSERS_SERVICES:"true"to select Use End-User Services. The default is"false".USE_DONGLE_MONITORING:"true"to select Use Dongle Monitoring. The default is"false".RUN_AS_ELEVATED:"false"to clear Allow elevated permissions for OpenLM Workstation Agent. The default is"true".START_AGENT:"false"to leave the agent stopped at the end of the installation. It then starts at the next sign-in. The default is"true".INSTALLFOLDER: the installation folder. The default isC:\Program Files\OpenLM\Agent\.INSTALL_ARCGIS,INSTALL_AUTOCAD,INSTALL_MATLAB,INSTALL_SOLIDWORKS, andINSTALL_ARCGISPRO:"1"to install that extension. A silent installation doesn't check whether the application is on the machine.
To write a log file, add
/l*v "<log-file-path>", where<log-file-path>is the path of the log file.You can run the installation as the Local System account, for example from a deployment tool. The agent then starts for the user who is signed in to Windows. With
USE_ENDUSERS_SERVICES="true", the installer also adds the OpenLM Personal Dashboard shortcut next to Start OpenLM Agent in the Start menu. -
When the installation finishes, check the agent, as described in Check the agent.
Deploy to many machines
To install the Workstation Agent on many Windows machines, run the silent installation from a deployment tool, such as Microsoft Intune, Microsoft Configuration Manager (SCCM), Group Policy, or PDQ Deploy. The steps that follow apply to any of these tools. For how your tool packages, targets, and schedules an installation, see the documentation of the tool.
To deploy the agent:
-
Make the installer and the authorization file available to the machines. Put both files on a network share that the machines can read, or include them in the package that your tool copies to each machine.
A deployment tool usually runs the installation as the Local System account, which reads a network share with the computer account of the machine. Give the computer accounts read access to the share.
-
Run the silent installation command, with the full path of the authorization file as the machine sees it:
msiexec /i "<msi-path>" /qn OPERATION_MODE="Cloud" AUTHORIZATION_TYPE="1" AUTHORIZATION_FILE_PATH="<authorization-file-path>"Replace
<msi-path>and<authorization-file-path>as described in Silent installation, which also lists the other parameters. The agent starts for the user who is signed in, or at the next sign-in of each user. -
If your tool checks whether an application is installed, detect the agent with one of these rules:
- The registry key
HKEY_LOCAL_MACHINE\SOFTWARE\OpenLM\OpenLM Agent, with the valueInstallDir. - The installed program OpenLM Agent, with its version in
DisplayVersion. - The file version of
C:\Program Files\OpenLM\Agent\OpenLM.Agent.Windows.Core.exe.
The product code of the MSI changes with every version. Don't use it to detect the agent across versions.
- The registry key
-
In Agent Activity, filter the list by Agent Version to check that the machines report the version you deployed.
These notes apply to common deployment tools:
- Microsoft Intune: add the agent as a Windows app (Win32), packaged with the authorization file. Use the silent installation command as the install command, and one of the detection rules.
- Microsoft Configuration Manager (SCCM): create an application with a Windows Installer deployment type. Use the silent installation command as the installation program, and one of the detection rules as the detection method.
- Group Policy: software installation in Group Policy can't pass the installation parameters to
msiexec. Run the silent installation command from a computer startup script instead. Startup scripts run as the Local System account.
To upgrade the agents, deploy the MSI of the version you upgrade to with the same command. To remove them, run msiexec /x with the MSI of the installed version. For both, see Change, upgrade, or uninstall Workstation Agent.
Check the agent
After the installation, check that the Workstation Agent runs and reports to OpenLM Platform:
-
On the machine, check that
OpenLM.Agent.Windows.Core.exeruns for the signed-in user, for example in Task Manager.Its log,
%APPDATA%\OpenLM\Agent\logs\Agent.ALL.<yyyymmdd>.log, has a line with"Connected"and the address of your OpenLM Platform. -
In OpenLM Platform, open Navigation, select Agents, then Agent Activity, and then select the Refresh icon.
-
Find the row with the host name of the machine. Online shows a check mark while the agent is connected.
For more about this list, see Check the agent in Agent Activity. If the agent doesn't appear, see Why doesn't the agent appear in Agent Activity?
Open the Personal Dashboard
When you install the Workstation Agent with Use End-User Services, each user of the machine opens their Personal Dashboard from the agent. To open it, select Start, then OpenLM Personal Dashboard. The shortcut is in the OpenLM\Agent folder of the Start menu, for every user of the machine.
The dashboard opens in the default browser. Users sign in with their account in Identity, as described in the prerequisites of the Personal Dashboard.
The installer opens the Personal Dashboard when the installation finishes. A silent installation doesn't open it. To add the shortcut in a silent installation, set USE_ENDUSERS_SERVICES="true", as described in Silent installation. Without Use End-User Services, the installer adds no shortcut.
If the dashboard doesn't open, see Why doesn't the Personal Dashboard open?
The agent reports the applications that the OpenLM Platform asks it to monitor. To select them, open Navigation, select Agents, then Process Manager, and add the processes of your licensed applications, as described in Process Manager.
After that, continue the setup with Install the Directory Synchronization Agent (DSA) to synchronize user and group data from your directories.
The documentation team might draft this page using a large language model. A technical writer reviews every page and verifies it against the product before publishing it. A human makes the final decision.