Personal Dashboardのユーザー認証
ユーザー認証の有効化
- Personal Dashboard にアクセスします。
- Settings タブ → SSL タブでパスワードと SSL 証明書のパスを入力し、End User Services Service を再起動します。
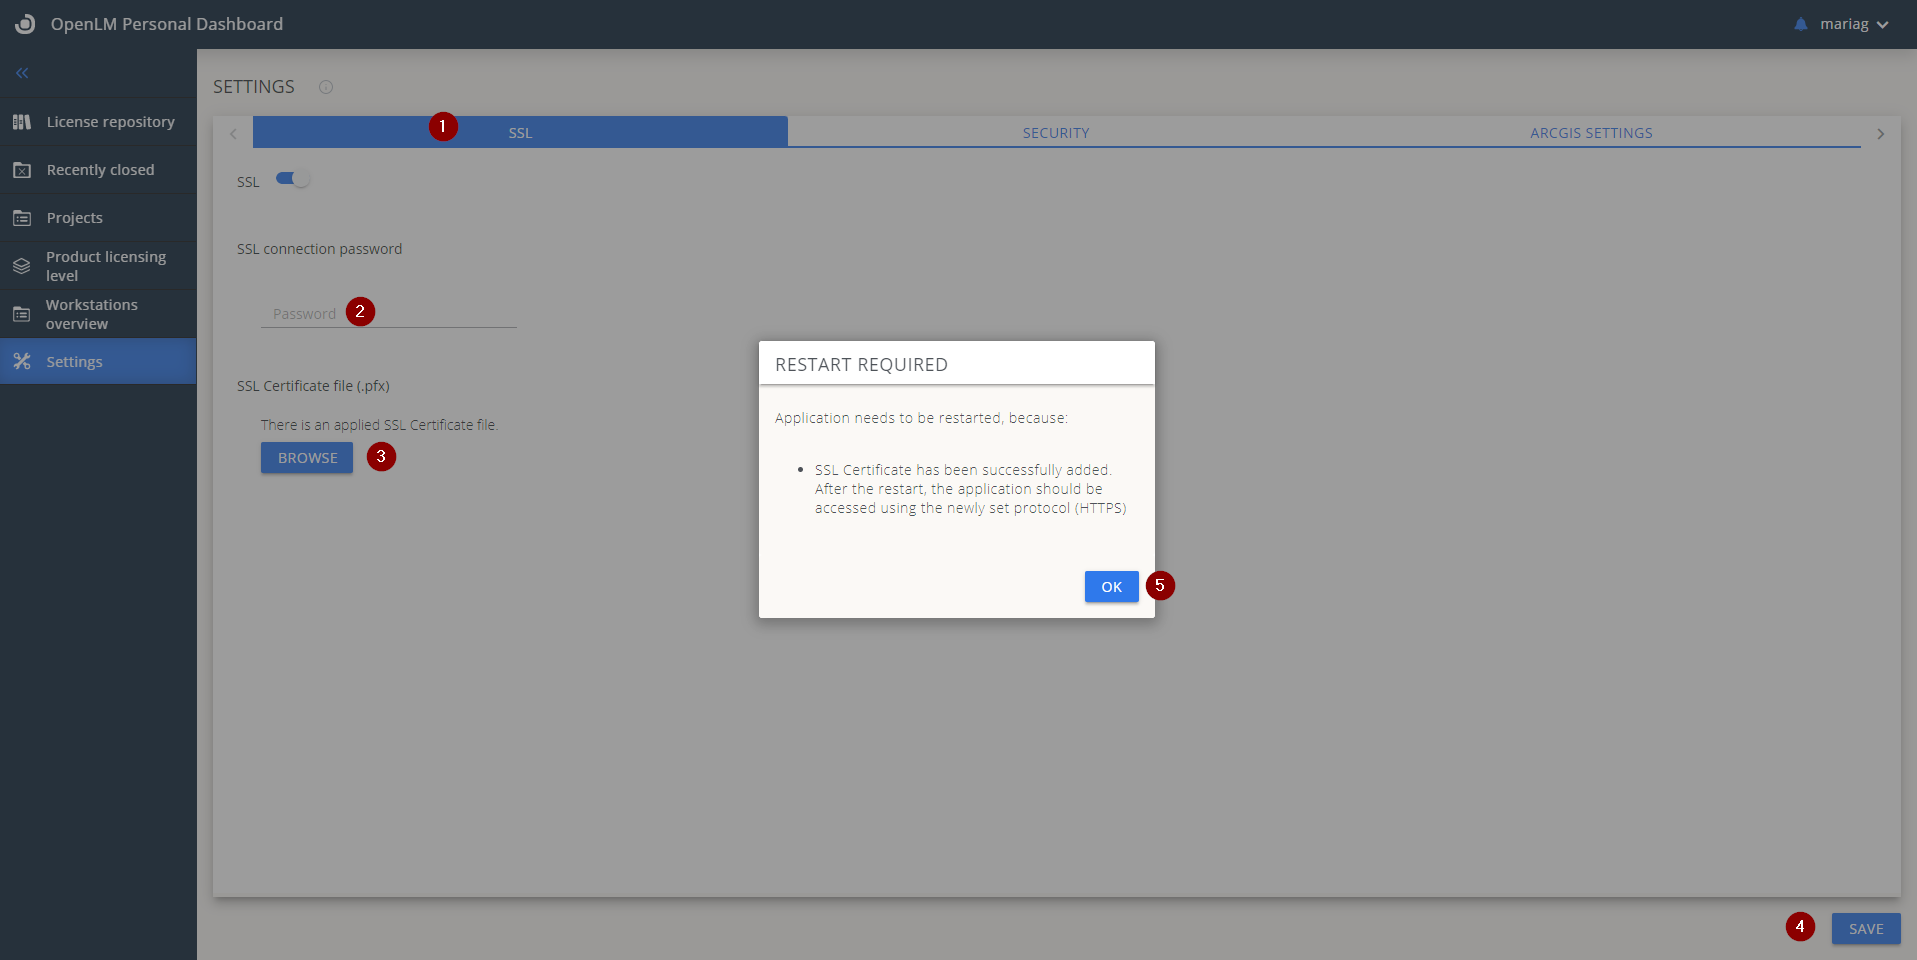
注: 以前 Personal Dashboard を SSL 設定で保護していなかった場合は、EasyAdmin User interface → Start → Administration → System&Security → Security → Authorization → ADD で新しい認可ファイルを発行してください。
その後 C:\Program Files\OpenLM\End-User Services に移動し、既存の認可ファイルを新しいものに置き換えて、End User Services Service を再起動します。
- 更新後のアドレスで Personal Dashboard を開き直します: https://fqdn:53555.
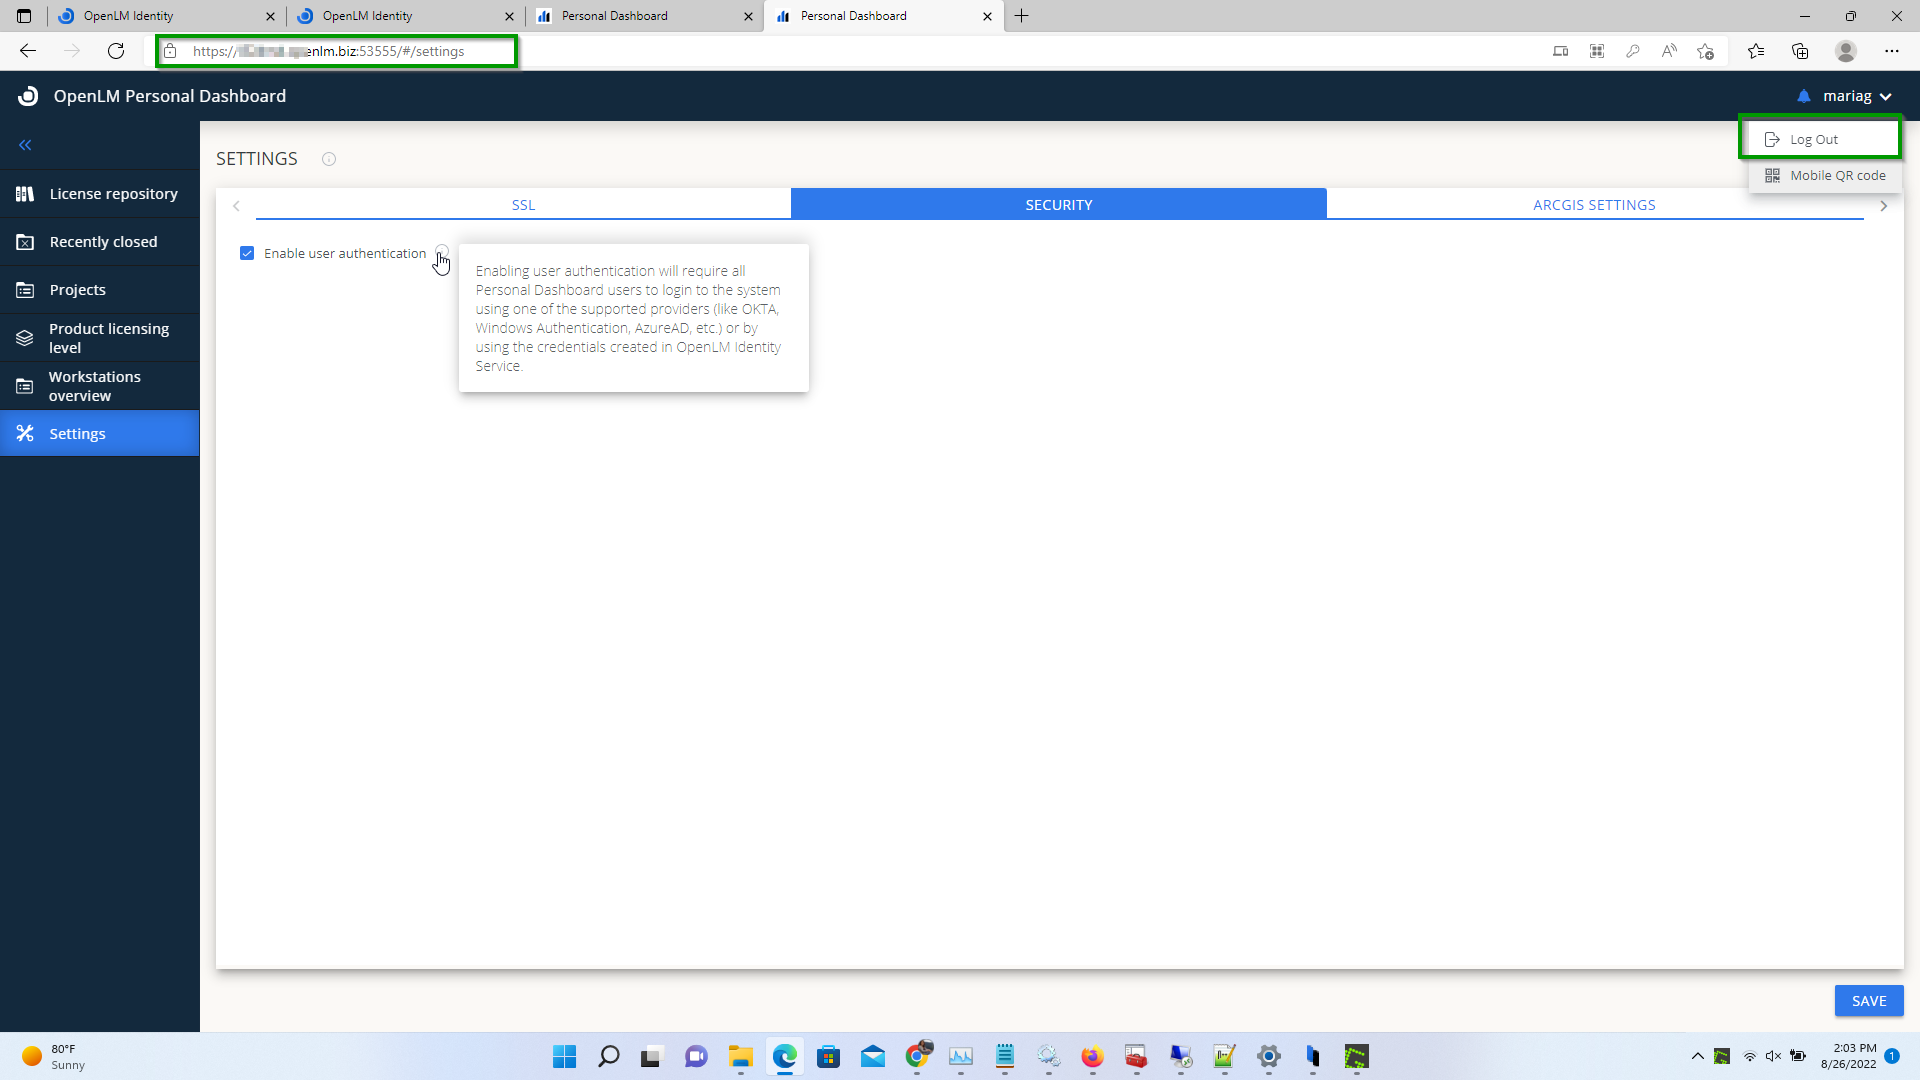
- SECURITY タブで Enable user authentication にチェックを入れます。
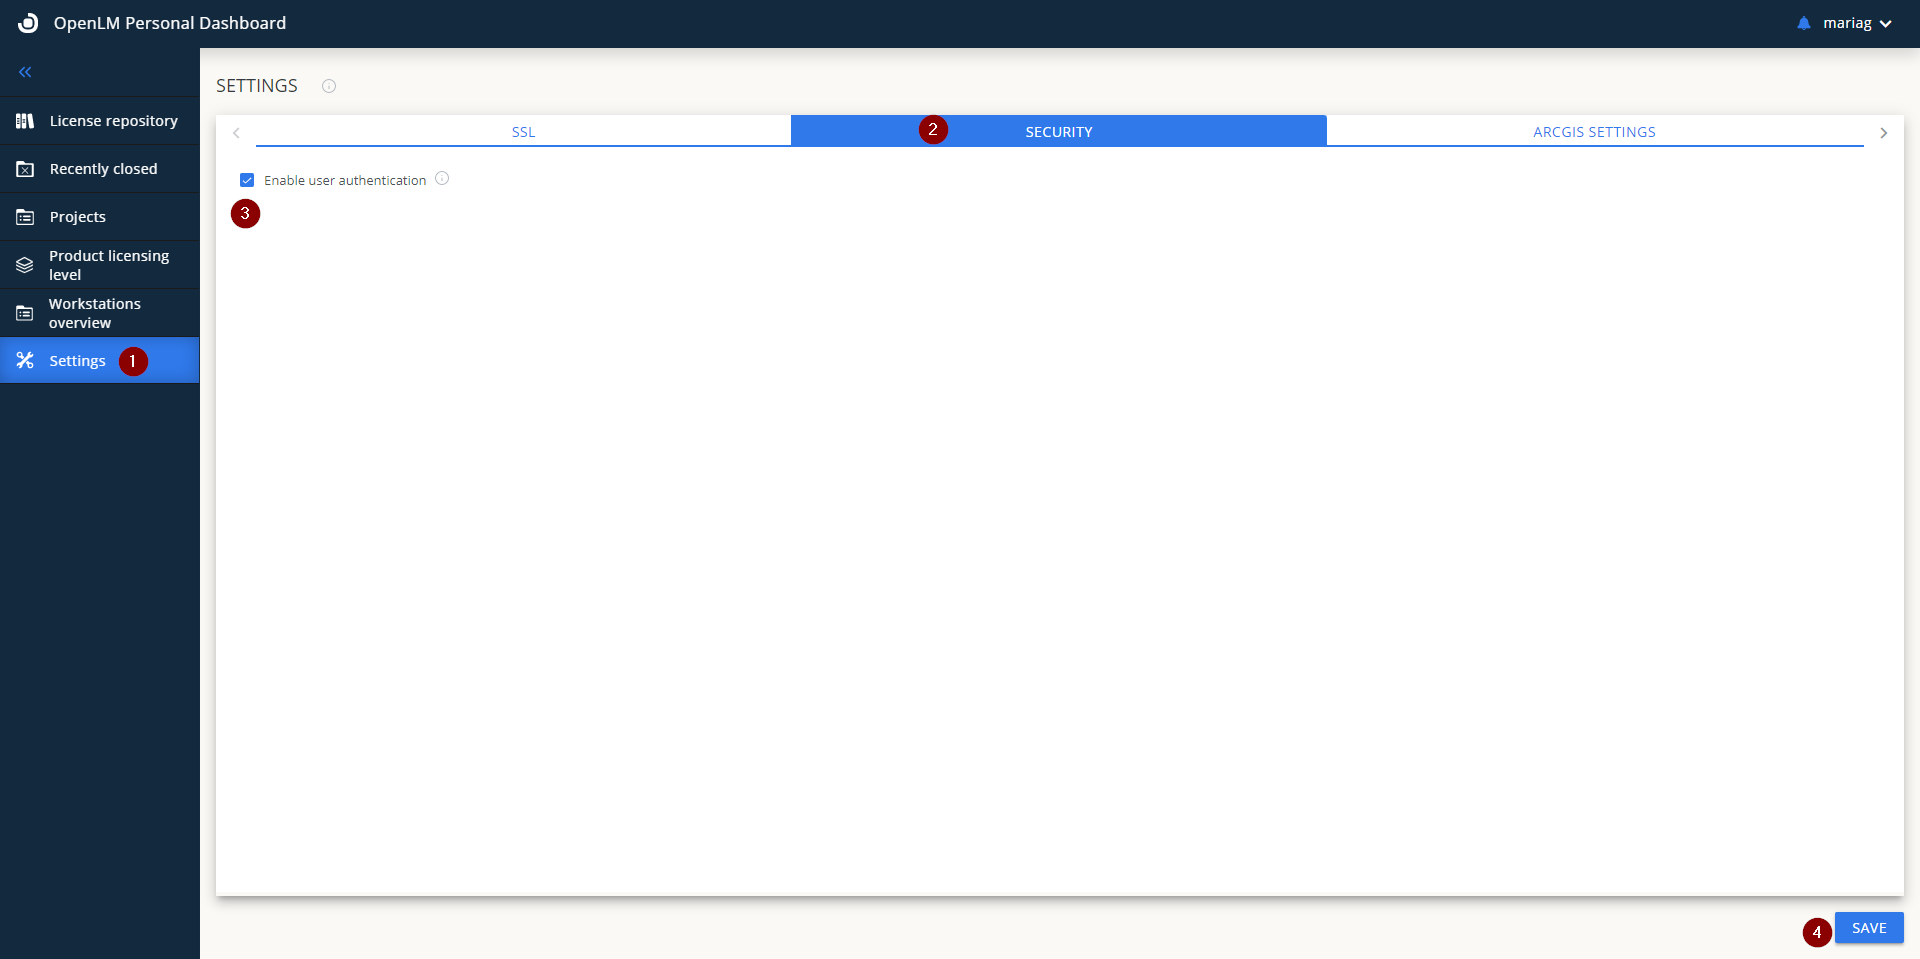
- End User Services Service を再起動し、必要に応じてページを更新します。これで Personal Dashboard からログアウト可能になります。
Personal Dashboard で表示するライセンスマネージャーを絞り込む方法
既定では、OpenLM Personal Dashboard ユーザーはすべてのサーバー/ライセンスを閲覧できます。特定のサーバー/ライセンスのみを表示したい場合は、Personal Dashboard に ACL を適用します。
- EasyAdmin User Interface → Administration → Roles に移動します。Roles ウィンドウが開きます。
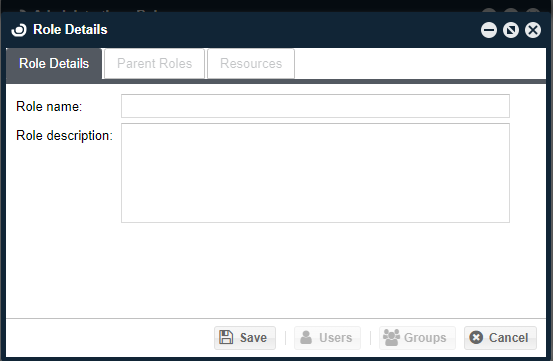
- Add をクリックし、ロール名と説明を入力して Save をクリックします。
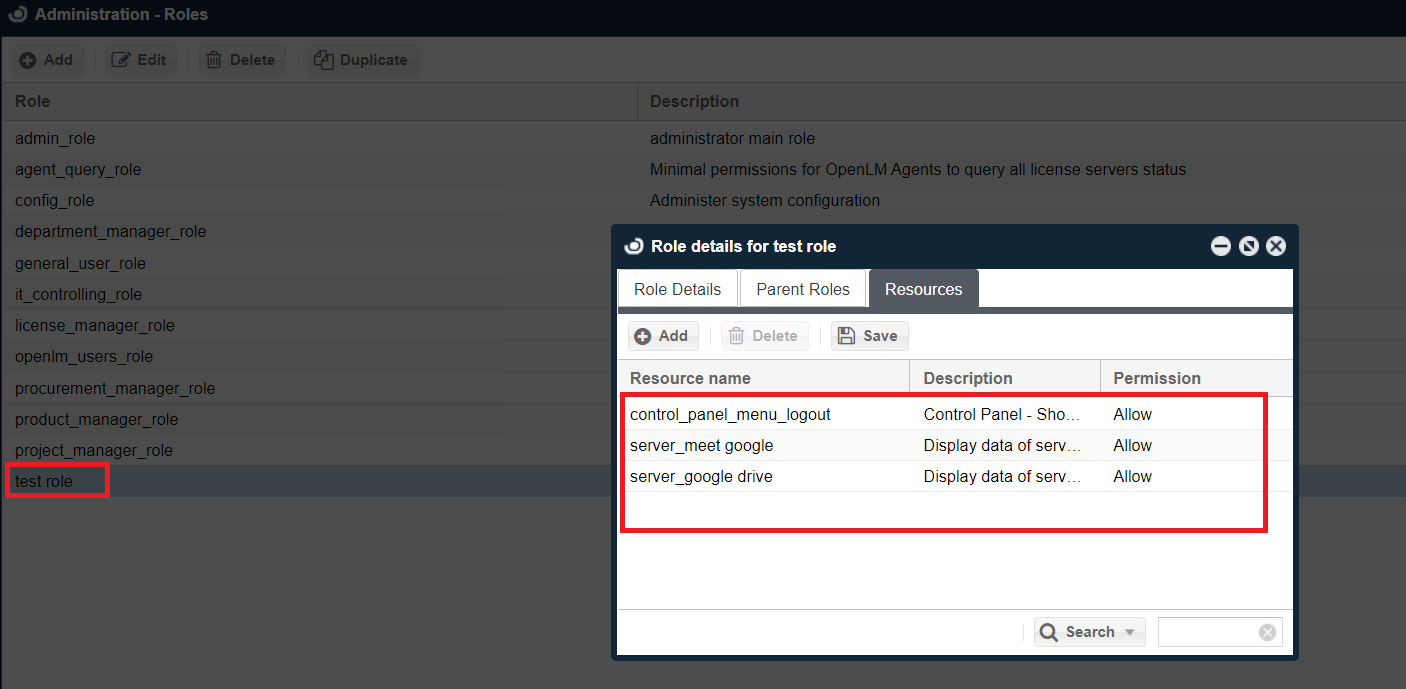
- Save 後に Resources タブが有効になります。Resources → Add をクリックします。
- 対象のリソースを選択します。
- Role Details タブに切り替え、Users → ADD をクリックします。
- このロールを割り当てるユーザーを選択します。
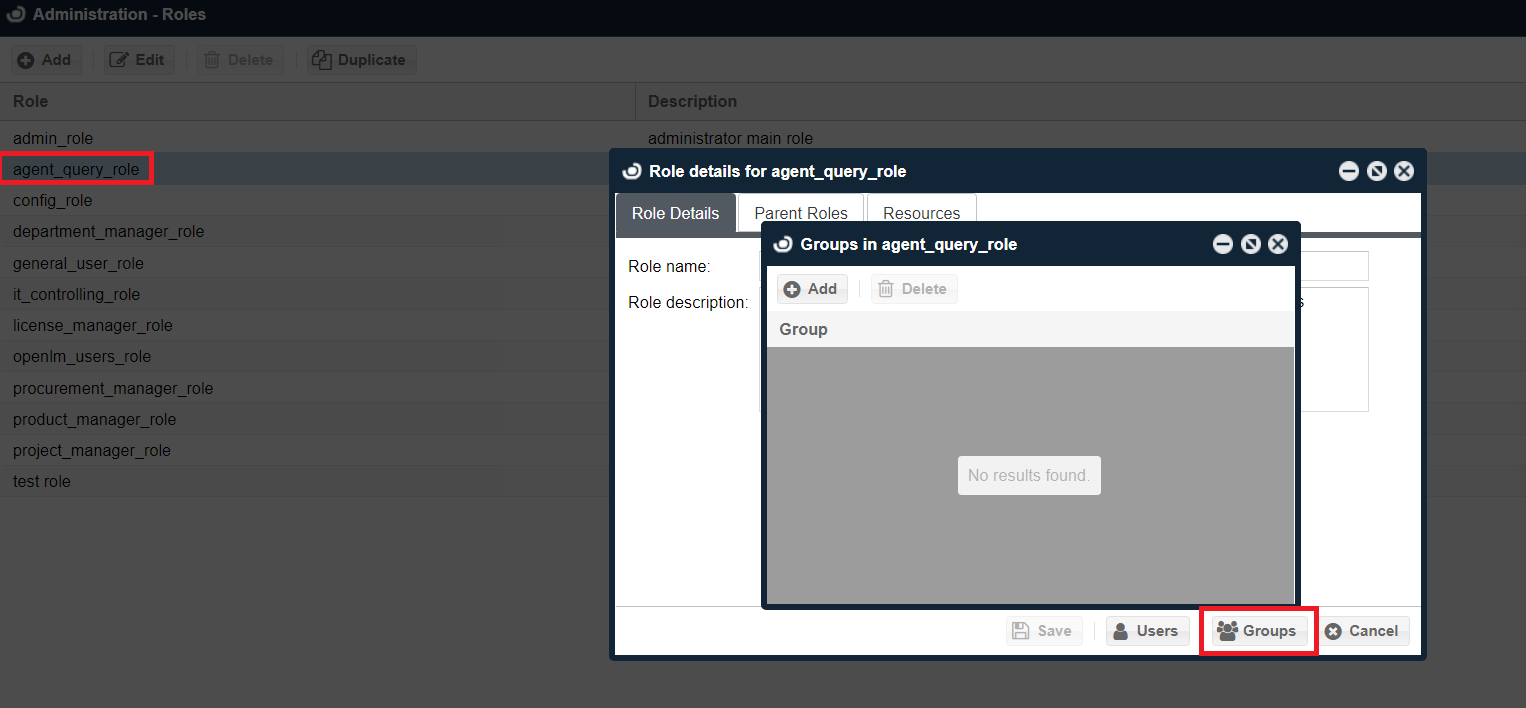
- Administration → Roles に戻り、agent_query_role をダブルクリックして Groups を開き、OpenLM_Everyone グループを削除します。
- OpenLM SLM と End-User Service のサービスを再起動します。
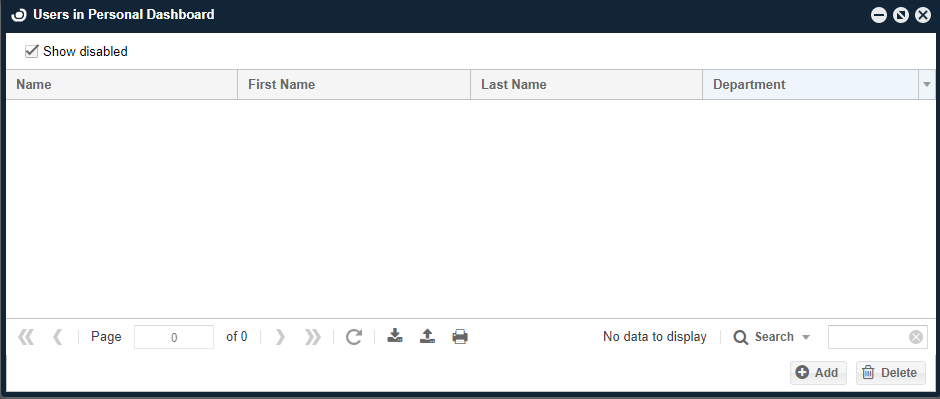
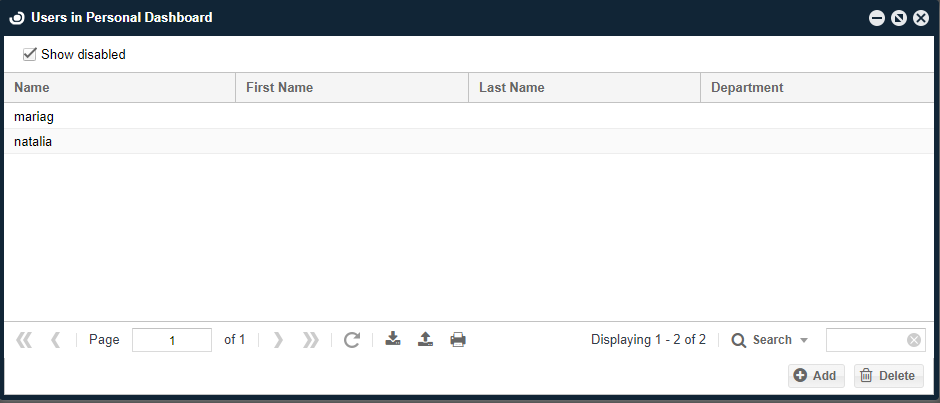
- Personal Dashboard ユーザーには、割り当てられたサーバーのみが表示されます。