

Administration – Denials
License denial information is presented in the OpenLM User Interface in the Denials report screen (Start > Reports> Denials). Individual organizations have reason to exclude certain denials from reports to handle data more efficiently. The OpenLM Denials Collection Filter allows organizations to create rules that avoid the collection of specific denial records so that those records will not be included in the database or reports.
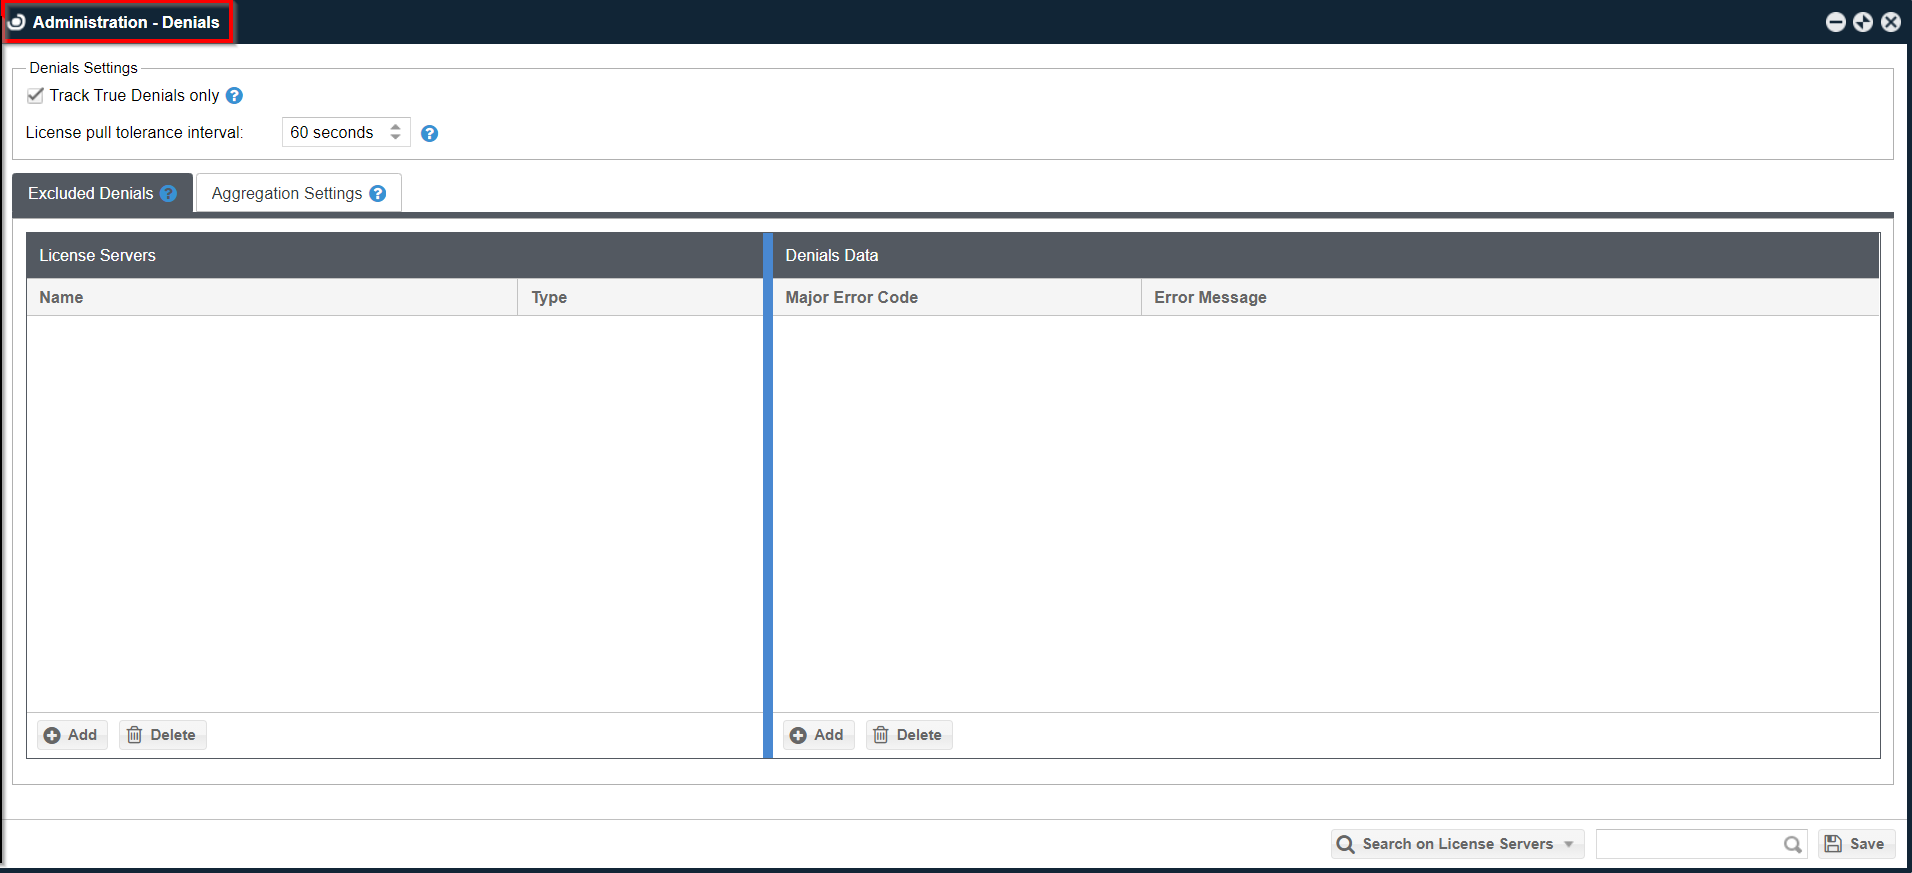
This setup is achieved in the Administration – Denials screen in EasyAdmin (Start> Administration > Denials). Denials Settings and Excluded Denials panels affect the denial data that is collected.
This document covers the following:
- Denials Settings
- Excluded Denials
- Reviewing the Excluded Denials Setup
- Aggregation Settings
Please also see the Monitoring License Denials document for additional information on the setup of denials.
Denials Settings
The two settings on the Denials Settings panel of the Administration – Denials screen affect what denial records are stored.
Track True Denials Only:
If Track True Denials Only is checked:
-
- Denial will not be recorded when the initial request for a license was denied, but the license was granted by a different pool or license server.
- All false denials (refer to License Pull Tolerance Interval below) from different license pools will not be recorded. This setting acts as a global option, impacting the Denials report.
- Only the new recorded data will be affected. Historical data will not be affected and may contain false denials.
License Pull Tolerance Interval:
License Pull Tolerance Interval (“License consumption on different server tolerance interval”) is a span of time in seconds where denial is considered as false if any successful license pull occurs on a different server than the initial request.
Excluded Denials
A denial record will not be stored and included in reports when the record matches the License Server and either the Major Error Code or Error Message value entered. If no Major Error Code or Error Message value is entered, all records will be recorded (records are not excluded based on License Server alone).
1. Determine the Error Message Code(s) and/or Error Message(s) which should be excluded from denials collections. These can be found in completed reports, database queries or license manager documentation.
2.Open EasyAdmin Denials administration screen (Start > Administration > Denials).
3. Click the Add button at the bottom of the License Servers panel. This will create a new row in the panel and indicate the required fields.
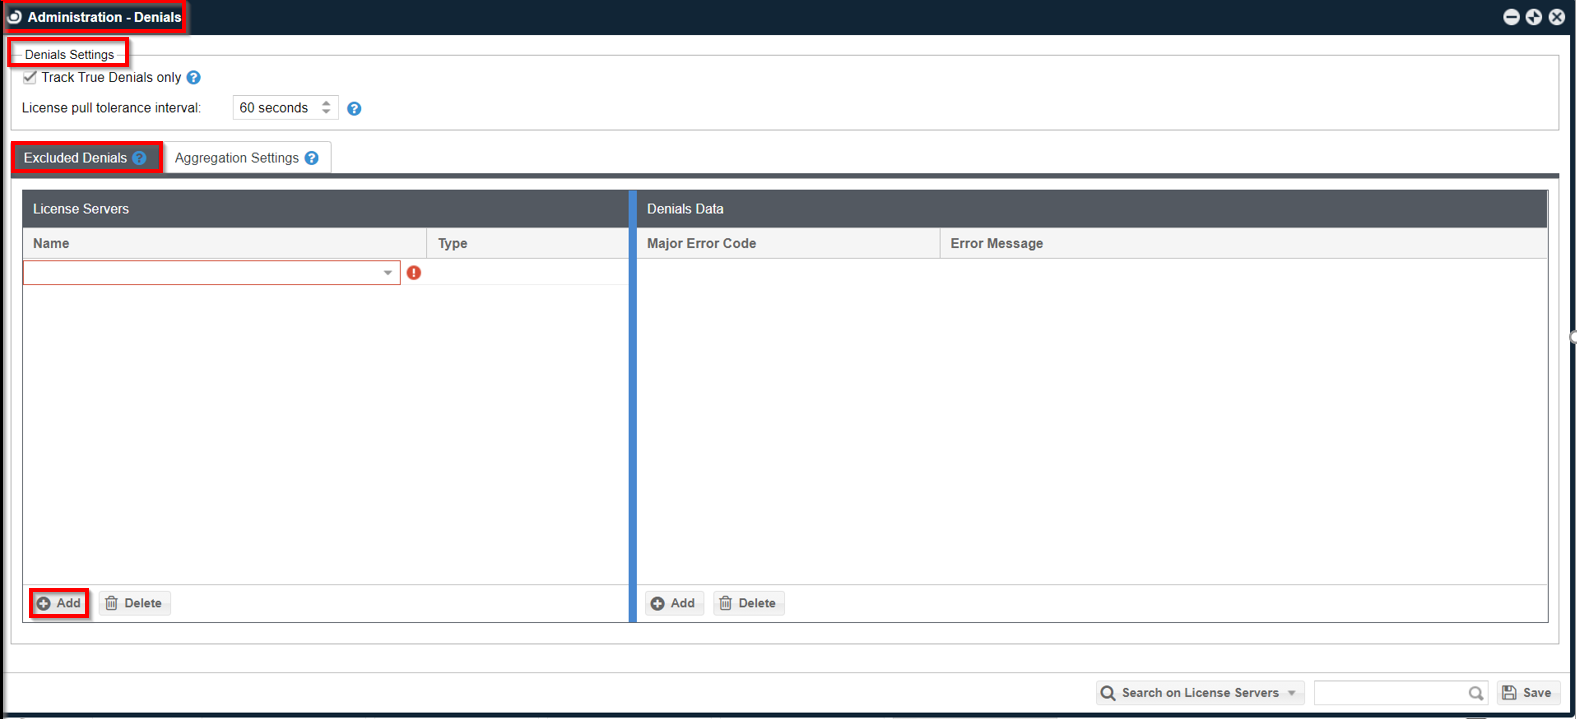
4. Click the down arrow to the right of the Name field. This will reveal a list of choices for configured servers. Choose an option from drop the list by clicking on it.
5. Press Return/Enter or tab-off the Name field. The Type field will automatically populate based on the configuration of the license server. The Add button in the Denials Data panel will become available.
6. Click the Add button in the Denials Data panel. This will create a new row in the panel.
7. Enter a Major Error Code and/or Error Message in the new row.
NOTE: These should be ‘Major Error Codes’ only. ‘Minor Error Codes’ were not meant to be used for filtering and will not yield correct results.
8. Press Return/Enter to commit the change for the field.
9. Repeat Step #6 to Step #8 to add additional codes for that server.
10. Repeat Step #3 to Step #9 to add additional servers and their error codes.
11. Click the Save button to commit the changes.
![Click [Save] to commit the changes.](https://www.openlm.com/wp-content/uploads/2021/02/click-save-to-commit-the-changes-1-3.png)
This completes the setup for Excluded Denials. The next section allows users to test the setup to be sure it is working as planned.
Reviewing the Excluded Denials Setup
It is possible to check that the denials are working by running reports with restricted parameters that reflect the newly enacted rules.
1. Open EasyAdmin from the Windows Start menu.
2.Navigate to Denials: Start > Reports> Denials.
3. Input the Server Name and a Denial Error Message added to the Excluded Denials panel as in the previous section of the document.
4. Change the Start Time (e.g., current DD/MM/YYYY and HH:MM) to limit the report query to a period after the Exclude Denials settings were saved.
5. Click Apply to see the report result.

If the Denials chart displays results, please contact OpenLM support (support@openlm.com).
6. [Optional] Run the report for a broader period where you will expect that the same denial records will have been recorded. So long as the records appear in the report for the term before the rule was put in place, the setup is functioning as expected.
Aggregation Settings
Denials Aggregation is used to aggregate repeated denials within a configured time period. All denials collected will be aggregated for the configured time period and displayed in the aggregated denials report.
The OpenLM SLM aggregates the denials for the configurable time period and displays them in a convenient way:
1.Open EasyAdmin Denials administration screen (Start > Administration > Denials).
2. Click the Aggregation Settings tab. Click the Add button at the bottom of the Aggregation Interval panel. This will create a new row in the panel and indicate the required fields.

3. Click the down arrow to the right of the License Server field. This will reveal a list of choices for configured servers. Choose a License Server from the drop-down list by clicking on it.The Type field will automatically populate based on the configuration of the license server.
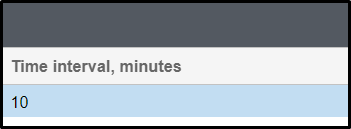
4. Set the Time Interval in minutes.
5. Select Enabled from the drop-down option to enable the denials aggregation for that license server. Select Disabled to disable the denials aggregation for that license server.
6. Click the Save button at the bottom of the Aggregation Interval panel to save the aggregation settings.
Checking the Aggregated Denials
To check the Aggregated Denials:
1. Open EasyAdmin Denials administration screen (Start > Reports > Denials).
2. Check Show Aggregated Denials.
3. Select the Server Name and provide other information as applicable on Denials – Filter for which you want to view the aggregated denials report.
4. Click the Apply button at the bottom of the Denials screen.

The aggregated denials will be displayed for the selected server, as shown in the image below:
