CodeMeter
OpenLM supports monitoring a wide and growing variety of license managers. This guide explains how to configure OpenLM Server to interface with the CodeMeter license manager, monitor license usage, and collect CodeMeter statistics.
Installation
Download the latest OpenLM system components from the OpenLM site.
- Install OpenLM Server (required).
- Optionally install OpenLM Broker on the license server machine. The Broker allows advanced monitoring (such as denials) and remote control over the CodeMeter server.
Monitoring capabilities
When using OpenLM Broker with CodeMeter, you can:
- Collect license totals, license usage data, and denials.
- Buffer communication with OpenLM Server to handle temporary network failures.
- Remotely start and stop the license manager service.
- Get license usage reports with 1-minute resolution.
- Generate denial reports. OpenLM supports only the LIMIT REACHED type. Specifically, event WB0212 (NO MORE LICENSES) in the CodeMeter log file is reported as a denial.
Monitor CodeMeter with OpenLM Server only
To configure OpenLM Server without Broker:
- Open EasyAdmin UI.
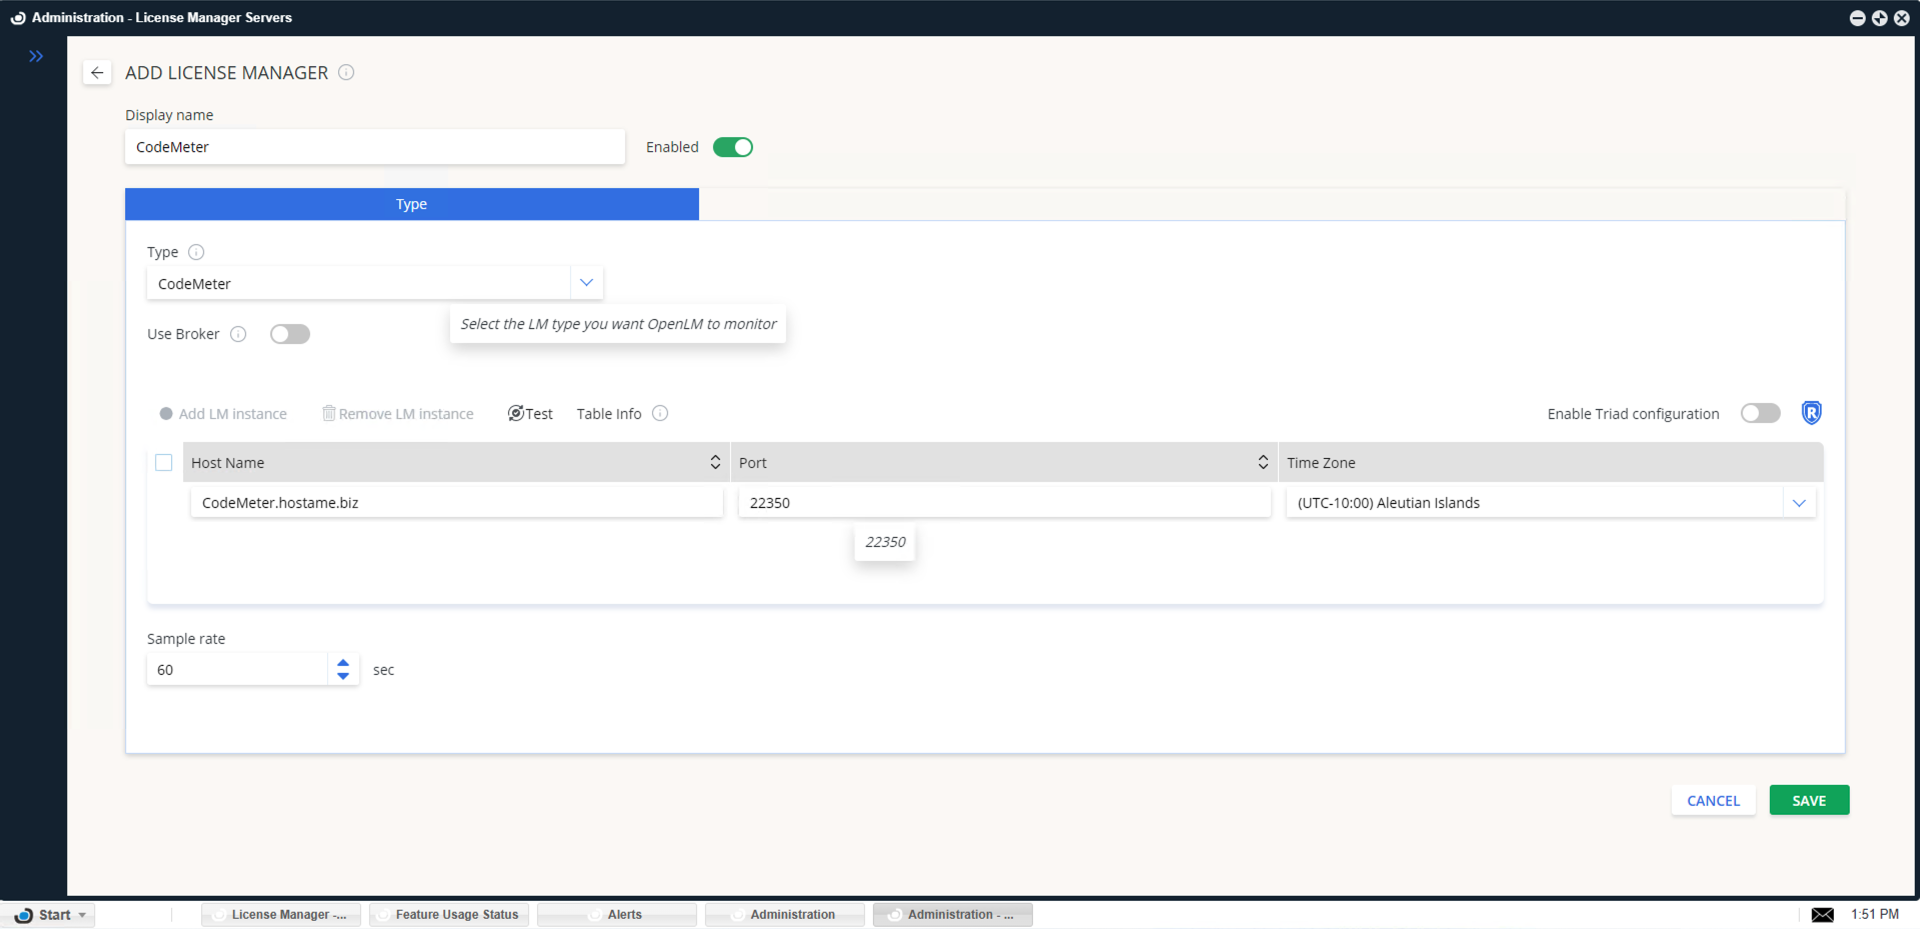
- Go to Start → Administration → License Manager Servers. Select Add LM.
- In Display Name, enter the license manager name. Turn on Enabled.
- From Type, select CodeMeter. Turn off Use Broker.
- Enter the Hostname and Port (default: 22350).
- Select the correct Time Zone.
- Keep Is Triad Configuration off.
- Select Save.
At this point, the configuration is complete. Continue with Verify the configuration.
Configure OpenLM Broker for CodeMeter
If OpenLM Server is not installed on the same machine as CodeMeter, install OpenLM Broker on the CodeMeter server to query license usage locally.
Activate CodeMeter logging.
To configure Broker:
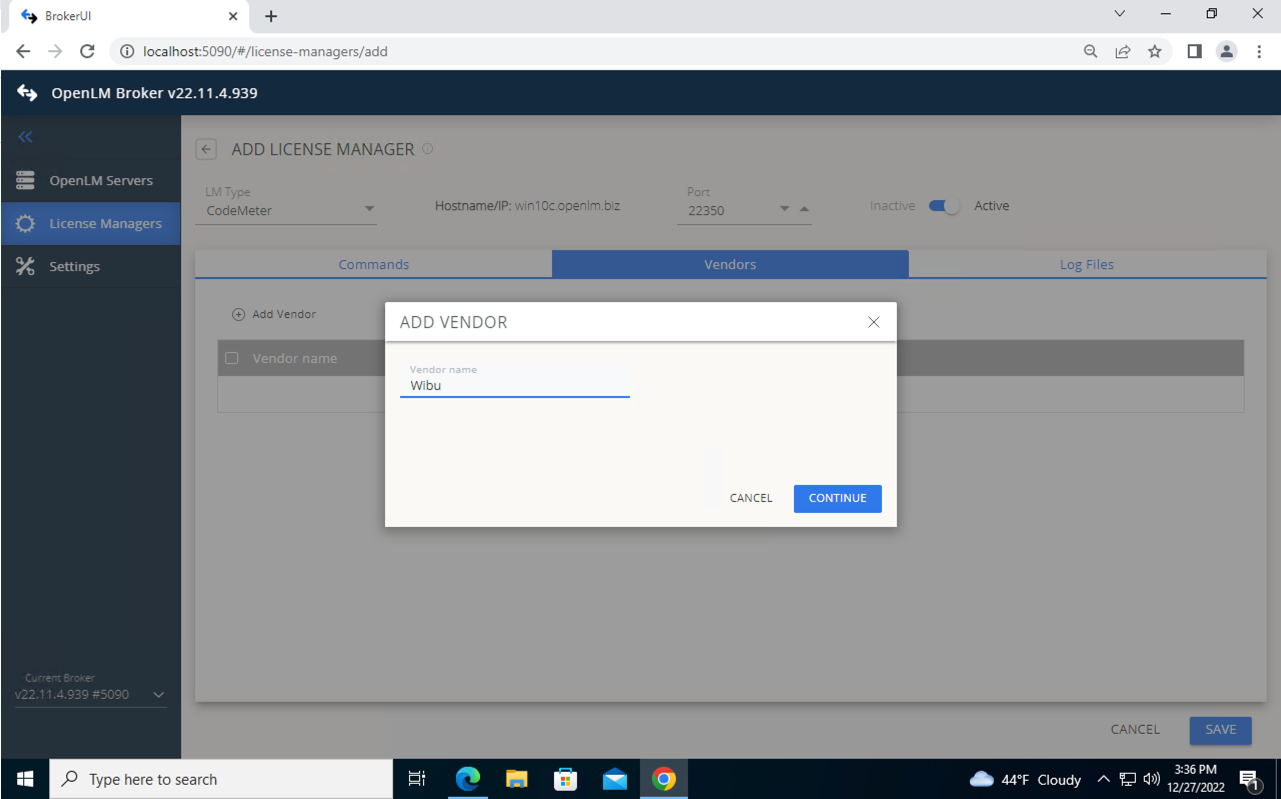
- Open the Broker web UI: http://localhost:5090 → License Managers tab.
- Select Add License Manager.
- Enter the CodeMeter port (default: 22350). From Type, select CodeMeter. Select Add.
- In Commands, set the Executable path to the location of
CMU32.exe(typicallyC:\Program Files (x86)\CodeMeter\Runtime\bin). Select Execute to test the query. - Go to the Vendors tab. Select Add Vendor and enter the vendor name.
- Go to the Log Files tab. Select Add Log File. Enter the path to the CodeMeter log files (default:
C:\Program Data\Codemeter\Logs).- Use Advanced to configure file reading frequency, data limits, encoding, and log rotation handling.
- Turn on Watch files by pattern to track license denials.
- Select Continue.
- Select Save.
Verify the configuration
After setup, confirm that OpenLM Server is communicating with CodeMeter:
- Open EasyAdmin UI at
http://<OpenLM Server hostname>:5015/. - Go to Start → Widgets → License Servers. Approve the pending CodeMeter License Manager.
If properly configured, the CodeMeter license manager appears in the list with a green status circle.
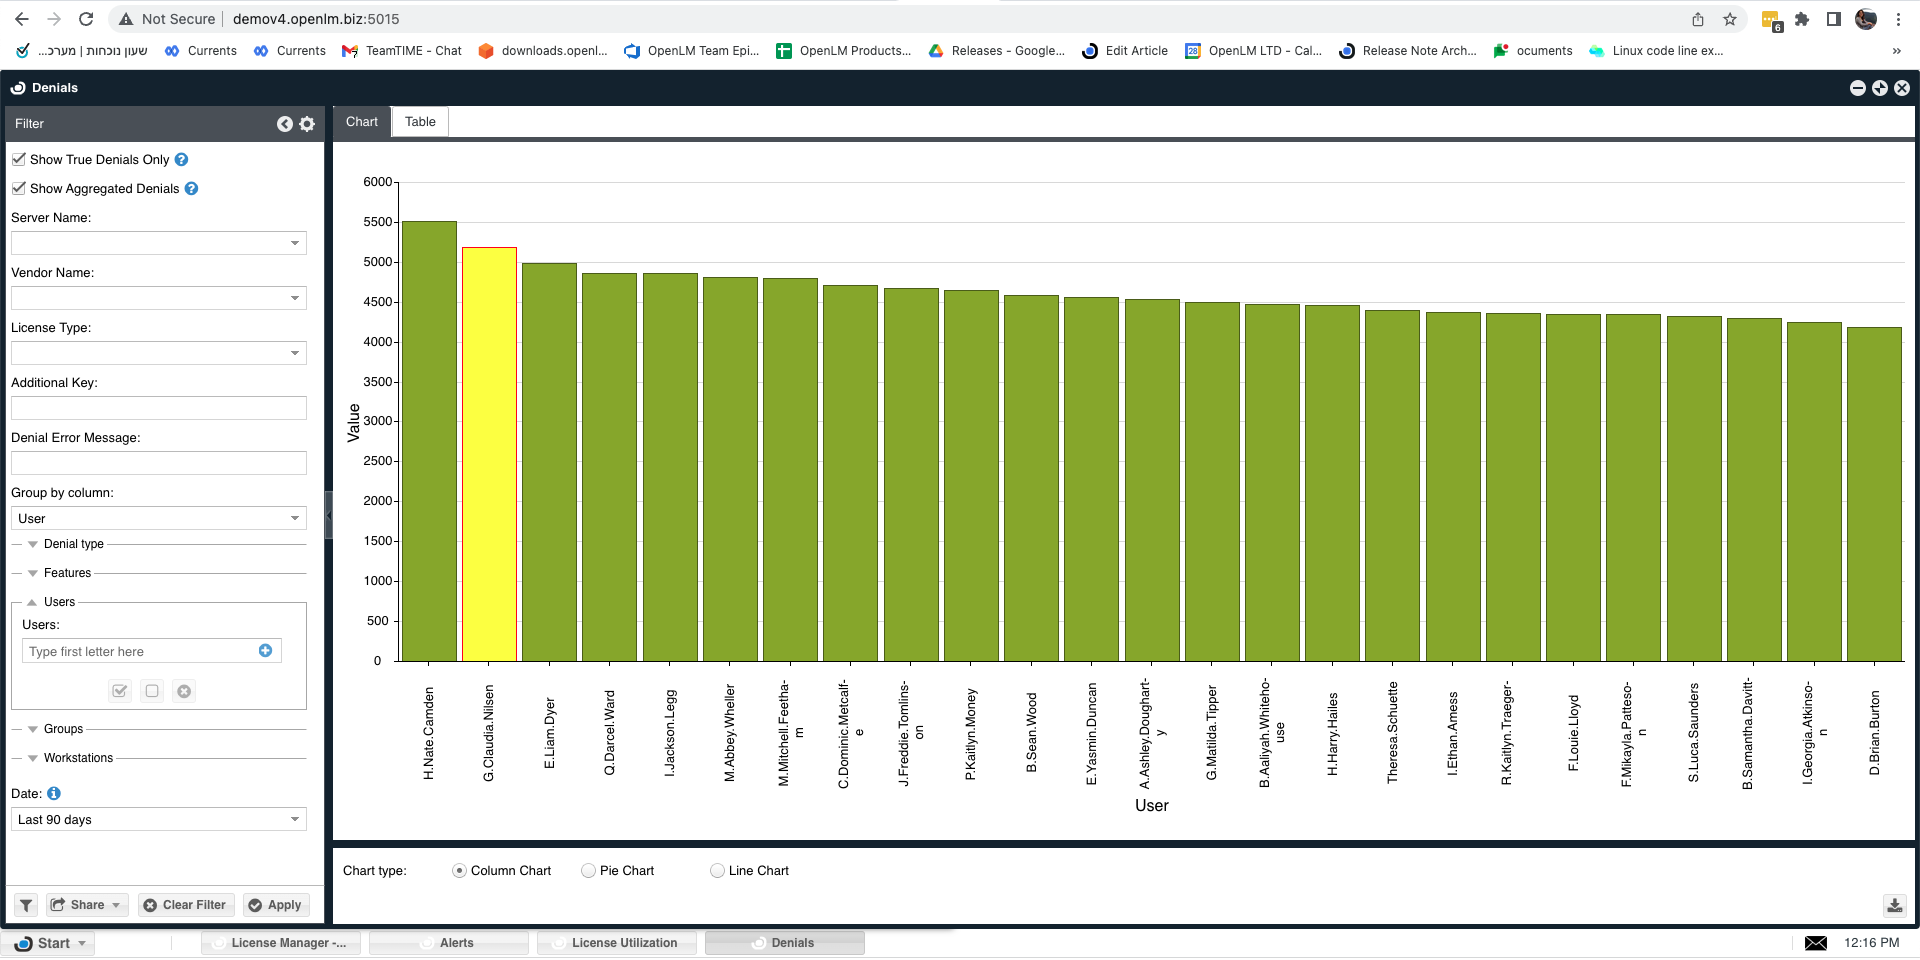
To view denials:
- In EasyAdmin UI, go to Start → Reports → Denials.
- Apply filters to generate the report.