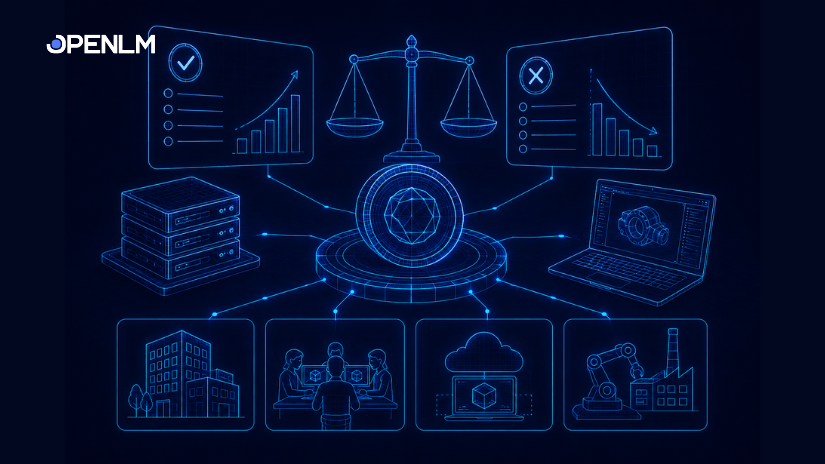
General
The OpenLM Server is capable of synchronizing users and groups with an organization’s LDAP to combine license management, license statistics, and report extraction with other company information. LDAP synchronization provides automatic maintenance of Users’ and Groups’ data.
LDAP Synchronization holds many advantages, for different levels of decision makers in the organization. On an administrative and managerial standpoint, it can be applied for enforcing license usage permissions, implementing usage chargeback (usage billing), analysis of usage trends etc. Administrators may gain in automating FlexLM Option file management, thus streamlining FlexLM reporting. From the end-user point of view, this information may be applied to easily locate other users holding a required license.
The Groups synchronization functionality is part of the Users and Groups extension, and requires additional licensing.
Additional information
Please refer to the video tutorial section on the OpenLM site, for a demonstration of Active Directory synchronization.
Users and groups presentation
The Users and User groups which exist in the OpenLM Database are apparent in the EasyAdmin web application, in the Users and Groups windows respectively. Initially, upon installation of the OpenLM server, the Users and Groups windows are only populated by the logged user (e.g. ‘Orik’ – that’s me), the default ‘generaluser’ user, and the “OpenLM Users” default group.
The Active directory tab – Interfacing the LDAP
This tab is the OpenLM Server’s interface to LDAP (Active directory) synchronization. The 1st thing to do is to connect to the LDAP Database. Type in the LDAP server details:
-
Domain name: the IP Address of the server which is your organization’s domain controller (e.g: 102.101.100.106)
-
Username (e.g: administrator)
-
Password, and
-
LDAP server type: (e.g. “Active Directory”)
Click the ‘Check’ button, and receive an authentication status notification, as depicted below:
Organizations may have multiple domain controllers (for example, if different departments or subsidiary companies have their own servers for user authentication). In order to add a second server, select the row where the asterisk is shown above, and type in the data for the second server. In order to apply another synchronization rule to the same LDAP server, click the “Duplicate” button under the list of domain controllers.
Synchronizing Users
It is important to note that synchronizing to the LDAP is a tricky business. You may end up having taken in more users than you intended, and deleting users from the database is difficult. It is highly recommended to experiment on a separate database, NOT on the production database.
In order to synchronize user information:
-
Check the “Synchronize users” check-box. Other fields on the “Active directory” tab are activated.
-
Click the ‘Select’ button. The active directory browser opens.
-
Select a synchronization start node.In this example, We’ve selected an Organizational Unit (OU): OU_Test. Click ‘OK’ and the node path appears in the “Synchronization Start Node” text box. The LDAP would be synchronized from this node down.
- Set the “Sync time interval” value. The value in this example states that the user details would be updated every 12 hours.
- It is highly recommended to Check the “Sync only active users of licenses” in order to avoid adding users that do not actively use the application. New active users would be added to the list of users as they check out a license, and their LDAP details would be synchronized when the “Sync time interval” elapses.
-
Set the “Sync username attribute”.
-
“sAMAccountName” is good for Pre Windows server 2000 Active directory versions.
-
“userPrincipalName” is good for Post Windows server 2000 Active directory versions.
-
“cn” should be used for any LDAP configuration other than “Active Directory”, i.e. “Novelle Directory” or “Apache DS” .
The value of the selected field (sAMAccountName or userPrincipalName or cn) within the Active Directory would be applied as the user name recognized by OpenLM.
-
Synchronization of Groups
Check the “Synchronize groups” checkbox to enable a variety of options for associating users with groups in the OpenLM database, according to the data structure on the LDAP.
AD Groups:
This option goes through the list of users that populate the nodes beneath the selected node. The “AD Groups” selection should be used carefully, because it may introduce a large amount of undesired groups. This is because users who are members of groups within the selected node may also be members of groups from beyond that node, resulting in additional introduction of these external groups.
Attribute:
OpenLM groups may be created according to specific attributes their members may have. In order to do that, select the “Attribute” radio button, and pick up a suitable attribute from the adjacent drop-down list of attributes. Examples for attributes are: “Division”, “Employee ID”, “Initials” or “Cost center”. Type in a Regex expression that would articulate the required attribute.
Fixed:
This option enables the administrator to associate a particular group name to all users of a specific node within the AD tree. The ‘Fixed’ name typed in the textbox is the group name of the users that would consequently be synchronized in this method.
OUs (organizational units):
This option is in use by organizations that have an organizational hierarchy represented in the LDAP; for example departments nested inside divisions. By selecting the OU synchronization method:
-
Users would be introduced into groups in the OpenLM database. These groups would be named after the LDAP OUs under which the users have been created.
-
If the “Add full hierarchy” checkbox is ticked, the entire OU hierarchy tree descending from the start node would be introduced as groups in the OpenLM database. OUs in which no users have been defined in the LDAP, would be presented in OpenLM as empty groups.
- If the “Add full hierarchy” checkbox is not ticked, OpenLM would flatly create groups named after the LDAP OUs, and populate these groups by the users which have been defined under these OUs. No empty groups would be created.
Case study
In order to demonstrate the different group synchronization methods, I have created the following OU structure, and enabled all users. Note that Users U_A1 & U_AB2 are members of more than one group:
Case 1: Synchronize users only
Procedure: OU_AB was selected as the start node.
Outcome: All Users were synchronized. No Groups or OUs synchronized.
Case 2: Synchronize AD Groups (1)
Procedure: OU_AB was selected as the start node.
Outcome: All groups and users beneath OU_AB were synchronized. The Hierarchical tree was not preserved.
Case 3: Synchronize AD Groups (2)
Procedure: OU_B was selected as the start node.
Outcome:
- Users B1 & AB2 have been synchronized.
- Group B1 was synchronized.
- Group A1 was synchronized, with only user AB2.
Case 4: Synchronize AD Groups (3)
Procedure: OU_A was selected as the start node.
Outcome: Mirror image of the previous case:
- Users A1, A2, A3 & AB2 were synchronized.
- Groups A1, A2, A3 & B1 were synchronized. Group B1 only contains user AB2.
Case 5: Fixed
Procedure: Start node = OU_A. The “Fixed” name was named “The_A_Team”.
Outcome: All of OU_A’s users were gathered in “The_A_Team” group.
Case 6: Attribute
Reminder: Users A1 & B1 are the only users to have been defined owning “division” attributes with the value “my_division” (See LDAP diagram).
Procedure: OU_AB was selected as the start node. The “Attribute” synchronization method was chosen. The ‘division’ attribute with the value “my_division” was configured in the Active directory configuration form.
Outcome: All Users in OU_AB were synchronized. Users A1 & B1 were gathered in the “my_division” group.
Case 7: OU
Procedure: OU_AB was selected as the start node. “Add Full Hierarchy” was not checked.
Reminder: Users AB1 & B1 were created under the OU_AB Operational Unit. All other users, i.e. A1, A2, A3, AB2 were created under OU_A.
Outcome: All users under OU_AB were synchronized. OpenLM has flatly created groups named OU_AB, and OU_A. Each of these two groups contain the users which have been created under the respective LDAP’s OUs:
- Group “OU_AB” contains the users AB1 & B1 (see image below).
- Group “OU_A” contains all other users, i.e. A1, A2, A3, AB2.
Case 8: OU (2)
Procedure: OU_AB was selected as the start node. “Add Full Hierarchy” was checked.
Outcome: This time the OU hierarchy was preserved, so OU_A and OU_B appear under OU_AB. The users are again grouped according to the position in which they were created:
- Group “OU_AB” contains the users AB1 & B1.
- Group “OU_A” contains all other users, i.e. A1, A2, A3, AB2 (see image below).
- Group “OU_B” is empty.