Comos
Follow these steps to configure OpenLM to monitor license usage and retrieve statistics from the Comos license manager.
Requirements
Before starting, make sure you have:
- OpenLM Server v2.x installed on a machine in your organization
- OpenLM Broker v22.3 or higher installed on the same machine as the Comos license manager
Monitoring capabilities
The current monitoring capabilities for Comos through OpenLM Broker are:
| Feature | Resolution | License totals | License usage | Denials reporting | Borrowed license reporting | Expiration date reporting | Multiple server redundancy |
|---|---|---|---|---|---|---|---|
| Support | By second | ✔ | ✔ | ✔ | ❌ | ✔ | ❌ |
OpenLM Broker configuration
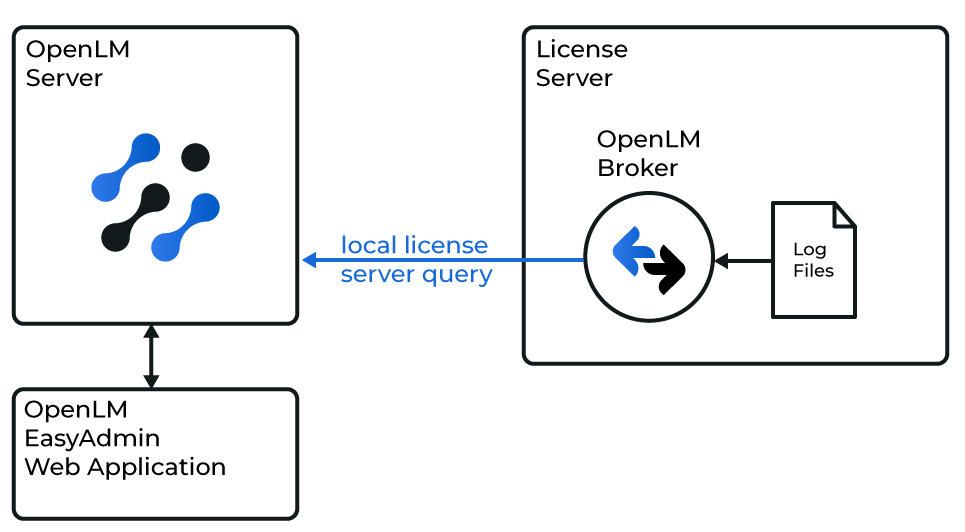
Diagram of how OpenLM interfaces with the Comos license manager
note
Install and configure OpenLM Broker before starting these steps.
Automatic configuration
- Open the Broker configuration tool.
- Select Detect in the bottom-right corner.

- If the Comos service is running, Broker will detect and configure settings automatically.
- Run the Data Inquiry command to verify that the output is valid.
Manual configuration (Broker desktop UI)
- Select Add Port and enter the Comos server port (for example,
27003). - From License Manager Type, select Comos. Select Apply.
- In the Update path for commands field, enter or browse to the Comos installation path.
- Select Data Inquiry under Commands and select Execute to confirm there are no errors.
- Go to the Vendors node, enter Comos as the vendor name, and select Apply.
- Select Log Files, browse to the
ComosLSLicenseWorkloadlog file, and check Watch file by pattern. - Select Apply and restart Broker.
Manual configuration (Broker web UI)
- Open a browser and go to http://localhost:5090/.
- Go to License Managers → Add License Manager.
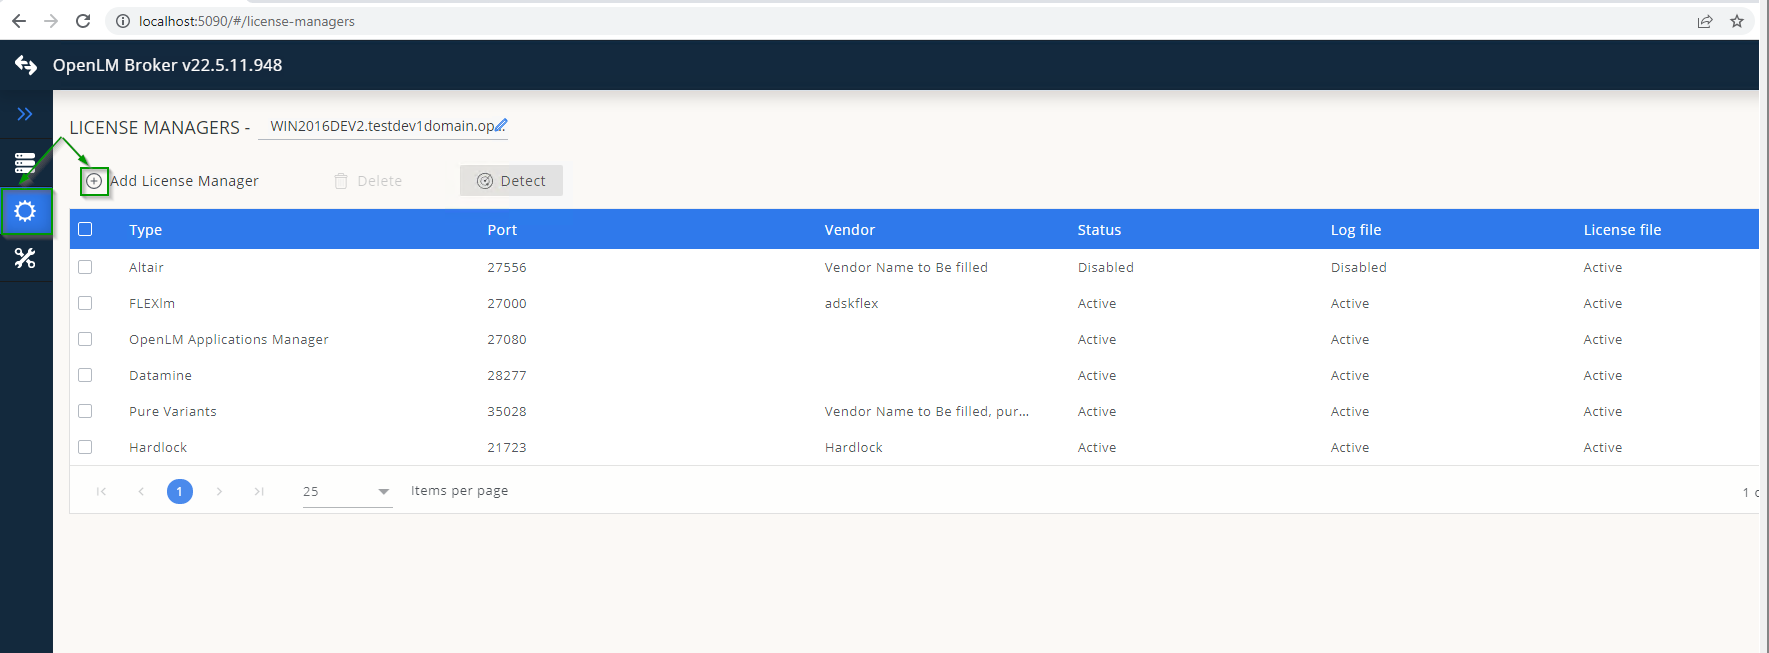
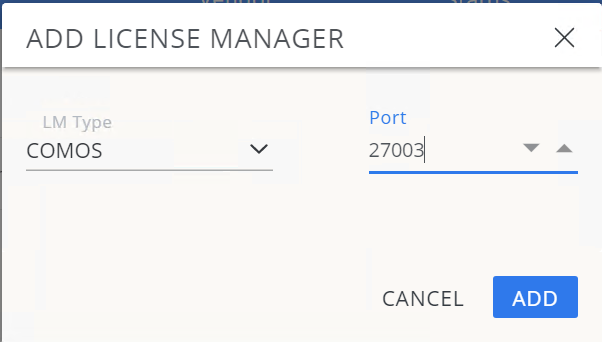
- Select Comos from the type dropdown, enter the port number, and select Add.
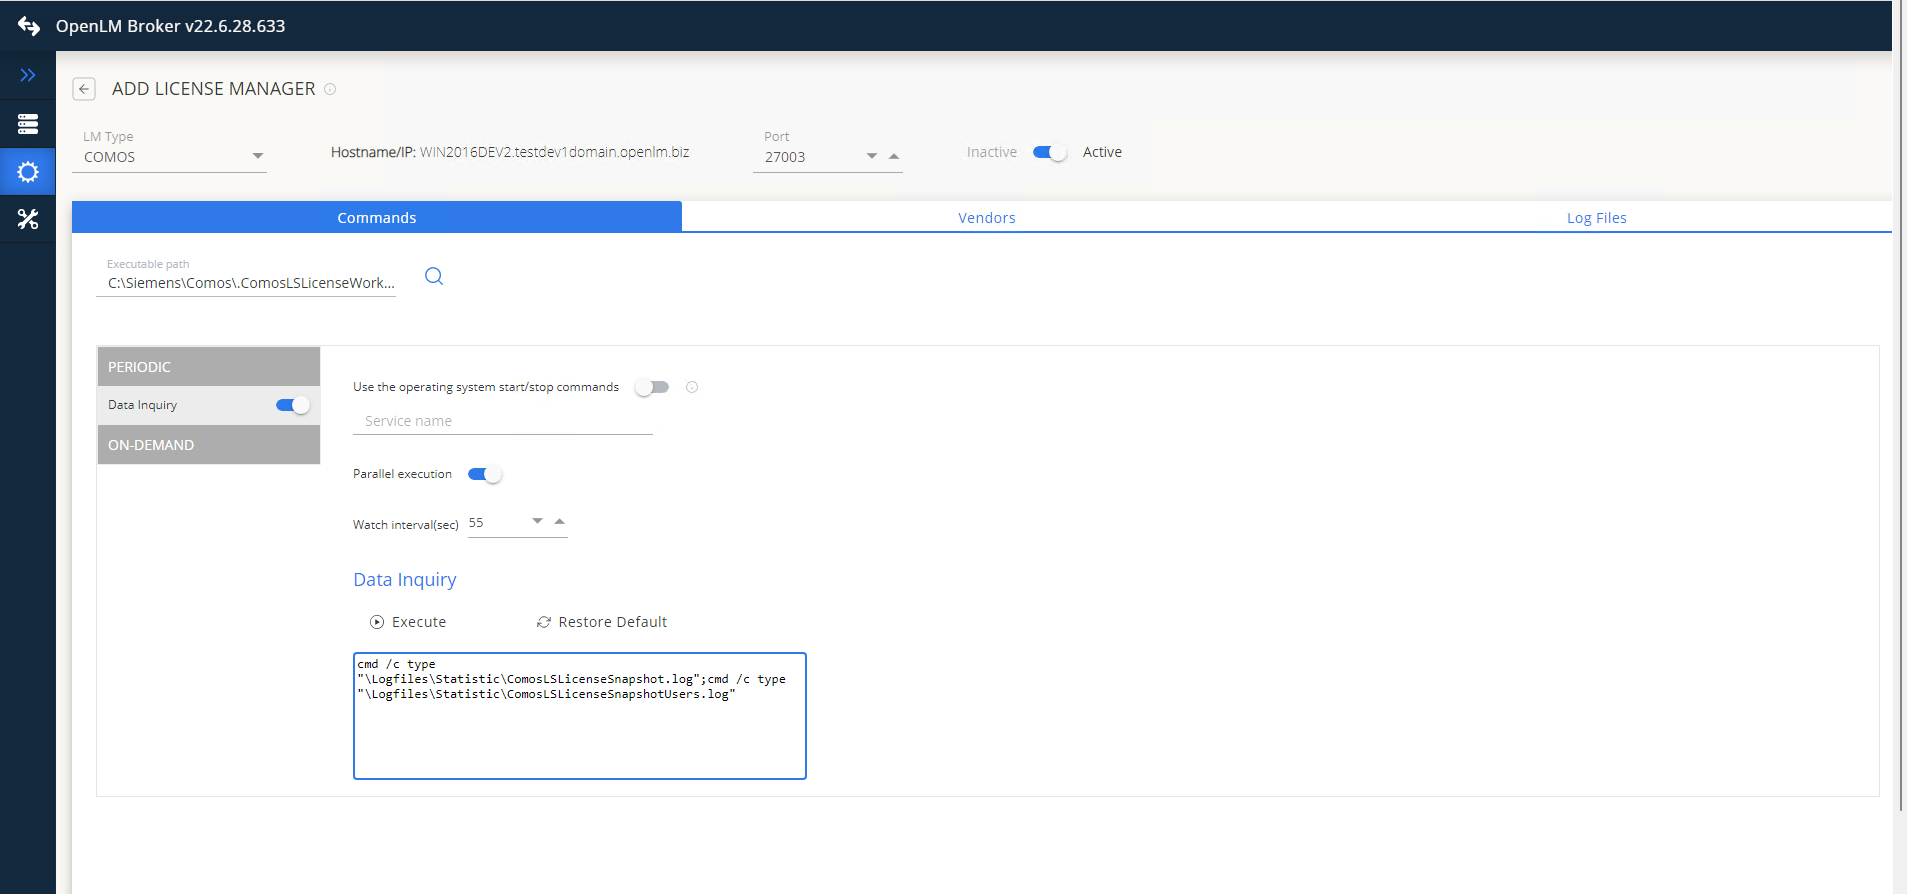
- In the Commands tab, set the Comos installation path and select Execute to check for errors.
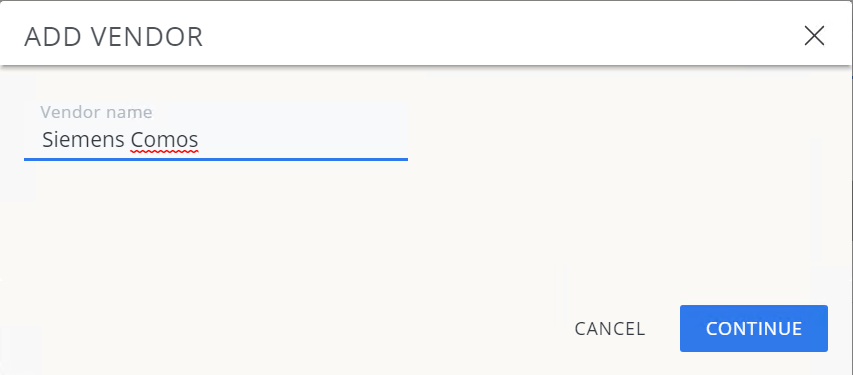
- Go to the Vendors tab → Add Vendor, enter Comos, and select Continue.
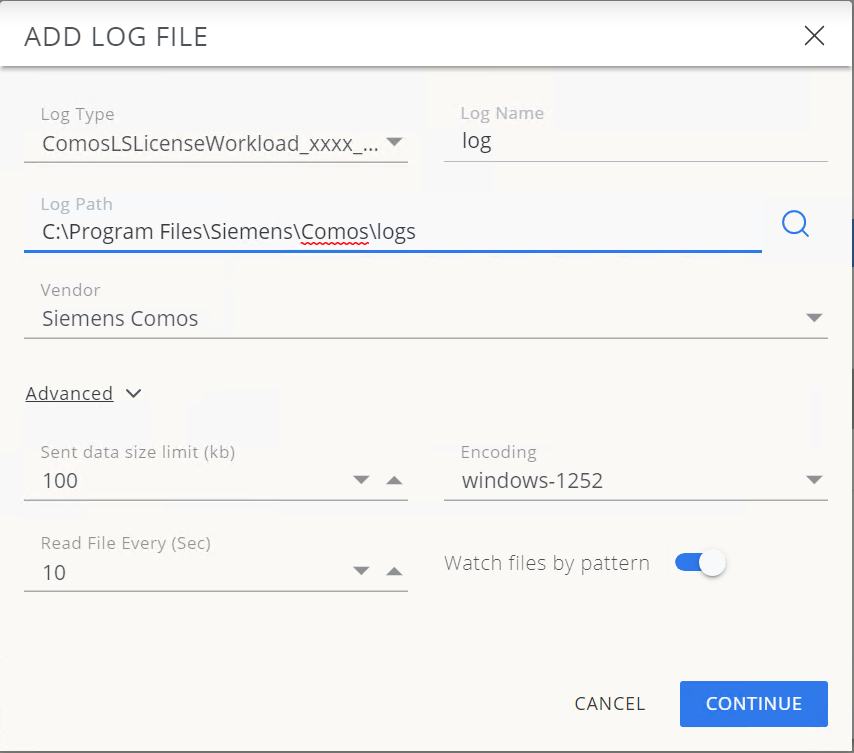
- Go to the Log Files tab → Add Log File, browse to the Comos log file, enable Watch file by pattern, and select Continue.
- Select Save.
OpenLM Server configuration
Automatic configuration through EasyAdmin
- Open EasyAdmin (Start → Widgets → License Manager - Servers).
- Select the Servers pending approval icon.
- Double-click the Comos entry (type will show as OpenLM Generic).
- Optionally, rename the connection. Leave type as OpenLM Generic, ensure Enabled is on, and select Approve.
Verify your configuration
- Open EasyAdmin in your browser.
- Go to Start → Widgets → License Servers.
- Confirm that Comos appears in the list with a green status circle.
note
It may take up to 3 minutes for a new connection to display as active.